651-439-91202
BEFORE YOU BEGIN
Inventory and inspect all your parts carefully. If anything is
missing or defective, please call us right away.
_____A.
_____B.
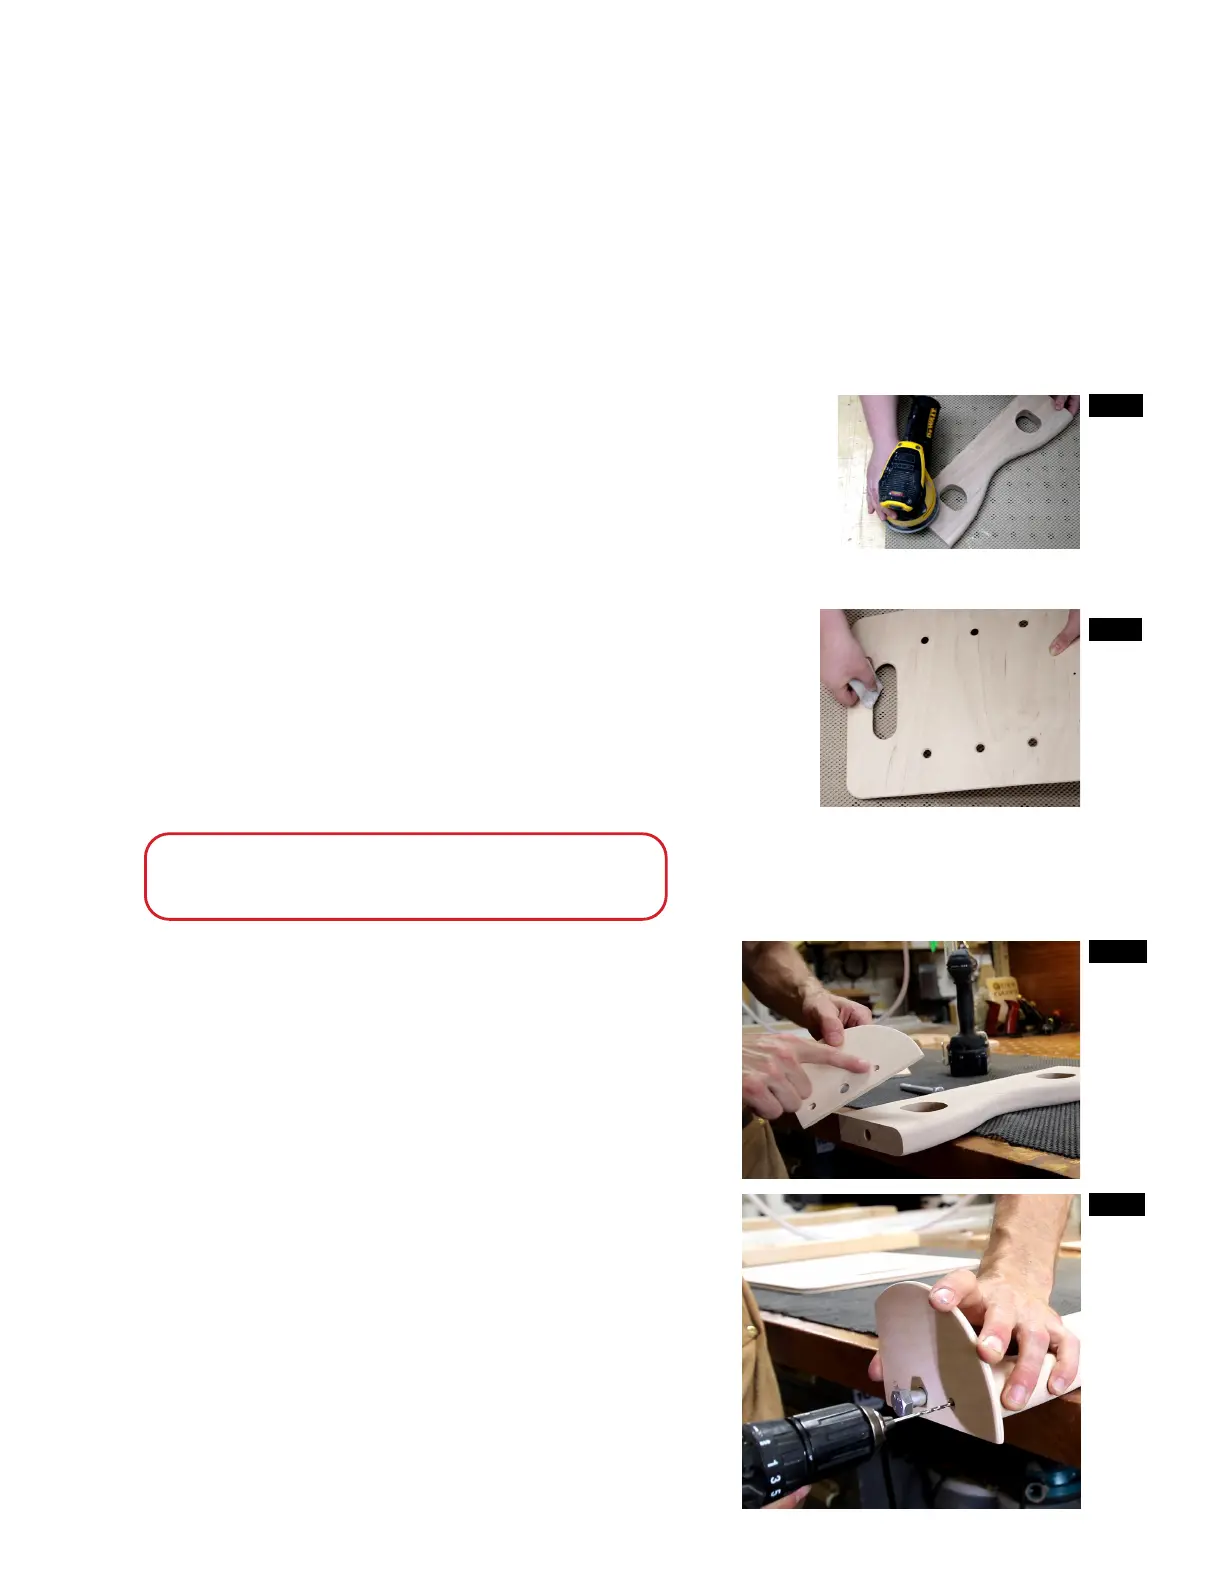
It is a good idea to read through the entire assembly instructions before you start, just to get an
overview of the project. (fig. A)
651-439-9120
____1. Sand all the pieces of your kit with 120-grit sandpa-
per. Switch to 150- and finish with 180-grit after the
previous scratches are gone. Sand with the grain.
If you have an orbital hand sander, this will make the
job easy and quick. Sand away the machine marks,
but be careful to not reshape the parts.
Do not sand over ends of axle where the fenders will
go. (fig. 1A)
Soften edges with the palm of your hand and 150- or
180-grit paper. (fig. 1B)
____2. Locate the fenders. Be sure to orient the counter-
sink of the holes toward the outside. (fig. 2A)
FIG. 1A
p
Be sure to sand all the pieces of your wheels before
assembly.
FIG. 1B
FIG. 2A
FIG. 2B
ASSEMBLE THE WOOD PARTS
SAND
Use the 1/2” bolt to line up the fender and the
axle. Align the fender flush with the edge of the
axle. Hold in place and drill pilot holes for wood
screws with 7/64” drill bit. (fig. 2B) Drill deep
enough for the 1” wood screws.