Removing i125-series Suction Adapter
5.4.8 Radial Bearings
Two pairs of large and small radial bearings are used. Put the disassembled parts in order to distinguish
which bearing has been used where.
5.4.8.1 Disassembly
a) Put the radial bearing with the side containing the bearing for bearing head [11] faced upward.
b) Remove stop rings [29-1] [29-2], and pull out the outer rings of radial bearings [27-1] [27-2].
* For the i125*, the snap ring is attached to the main rotor casing side.
c) Pull out the outer ring of the radial bearing from the main rotor casing.
d) Remove the inner ring of the radial bearing from the rotor after inspection. As the inner ring is
shrink-fitted to the rotor, pull it out by heating it with a tool like a burner.
Beforehand, remove oil such as lubricating oil sufficiently. Set the rotor with its inner ring (which is to
be pulled out) faced downward and heat the inner ring only. Then the inner ring will come off.
5.4.8.2 Inspection
Replace the radial bearing with a new one during regular inspection, regardless of whether or not it is
found defective.
However, if there is an extreme problem, find the cause and review the operating state or periodic
inspection interval to prevent recurrence of such problem.
5.4.9 Suction Strainer and Check Valve
The structure of the suction strainer and check valve differ
between i125 and i160.
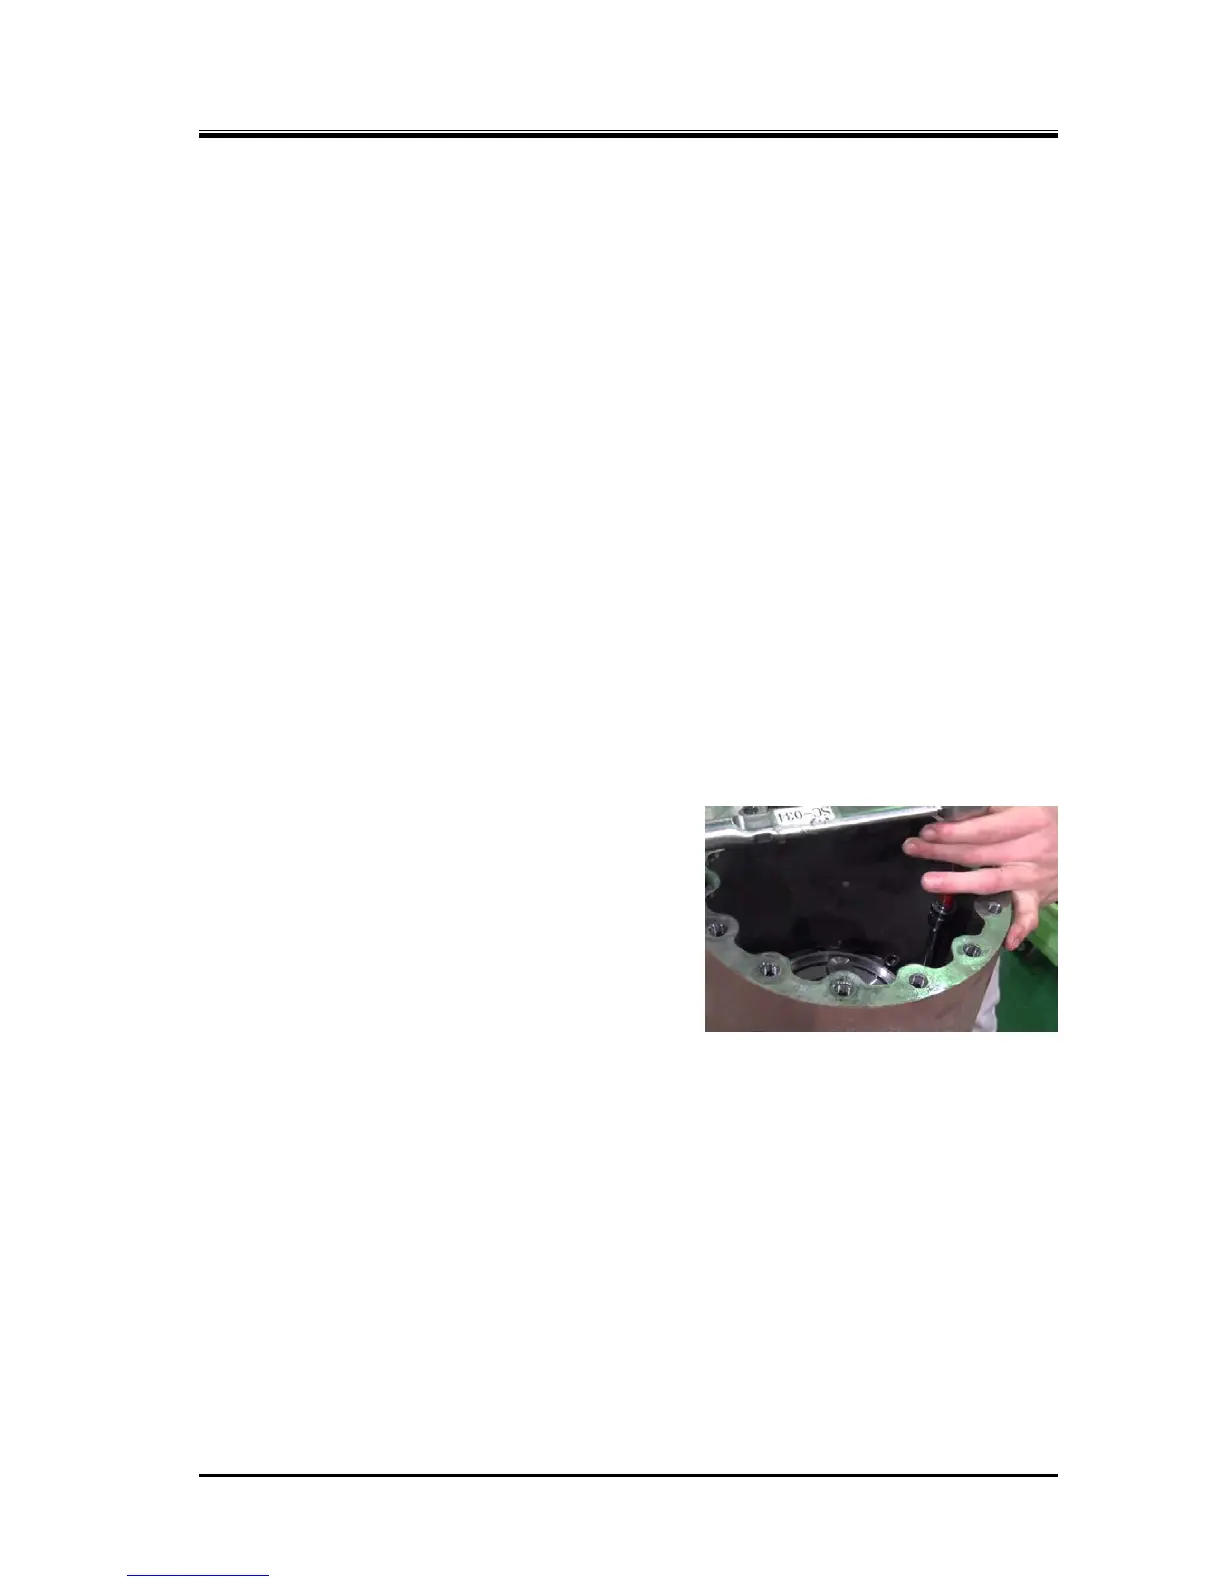
5.4.9.1a Disassembly (i125*)
a) Remove strainer cover [5-2]. Remove wave washer
[546], strainer element [480] and O-ring [7].
b) Check that the main body of the check valve moves
smoothly.
c) Of the bolts securing suction adapter [5-1], remove all
but the two on the opposing sides. Attach two M12 eye
bolts and lifting to the suction adapter, remove the
remaining bolts, and remove the suction adapter.
d) Lay the suction adapter on the work bench. Remove
hexagon nut [486], plain washer [46-2], valve plate [490], valve seat [489], seat stopper (1) [488-1],
seat stopper (2) [488-2] and O-ring [495]. Pull out the check valve shaft [491] and check valve
spring [485].
5.4.9.1b Disassembly (i160*)
a) Remove the R1/8 plug from strainer cover [5]. At this moment, lubricating oil remaining inside may
flow out. Prepare a container to catch oil.
b) Remove the strainer cover. If gasket [6] is stuck, use a jack bolt to remove it.
c) Remove strainer element [480] and strainer mounting seat [481]. Remove O-rings [7-1] [7-2] from
the strainer cover and the strainer mounting seat.
d) Observe the main body of the check valve from the strainer cover side. Check that it moves
smoothly.
 Loading...

