2203M4JE-MY-iS2-N_2017.04.
Chapter 5 Maintenance
Screw Compressor i-series 5.5 Reassembly
5-20
5.5 Reassembly
When reassembling, ensure that the replaced O-rings are of the correct standard
(size, material, use for fixed portion or sliding portion, etc.). Incorrect
replacement can lead to defects such as oil leakage.
Some gaskets are asymmetrical. In that case, ensure that the assembly direction
is correct. If the assembly direction is not correct, problems such as blocking of
oil passages machined in the casing may occur, resulting in serious defects.
After completing the disassembly and inspection procedures, start the assembly process.
First, read again Section 5.1 "Precautions for Maintenance and Inspection" in this Chapter 5.
Before starting the assembly, check the replacement parts once again.
Like gaskets, all O-rings that have been removed during the compressor disassembly must be replaced
with new ones.
The reassembly sequence is mostly the reverse of the disassembly sequence. First of all, clean the
work bench and the tools to be used.
Immediately prior to the assembly, use washing agent (e.g., kerosene, parts cleaner) oil to clean the
parts to be assembled, dry them with compressed air, and sufficiently apply lubricating oil, etc. For this,
prepare a sufficient amount of clean lubricating oil for the reassembly. Also, apply oil on both sides of
the gasket.
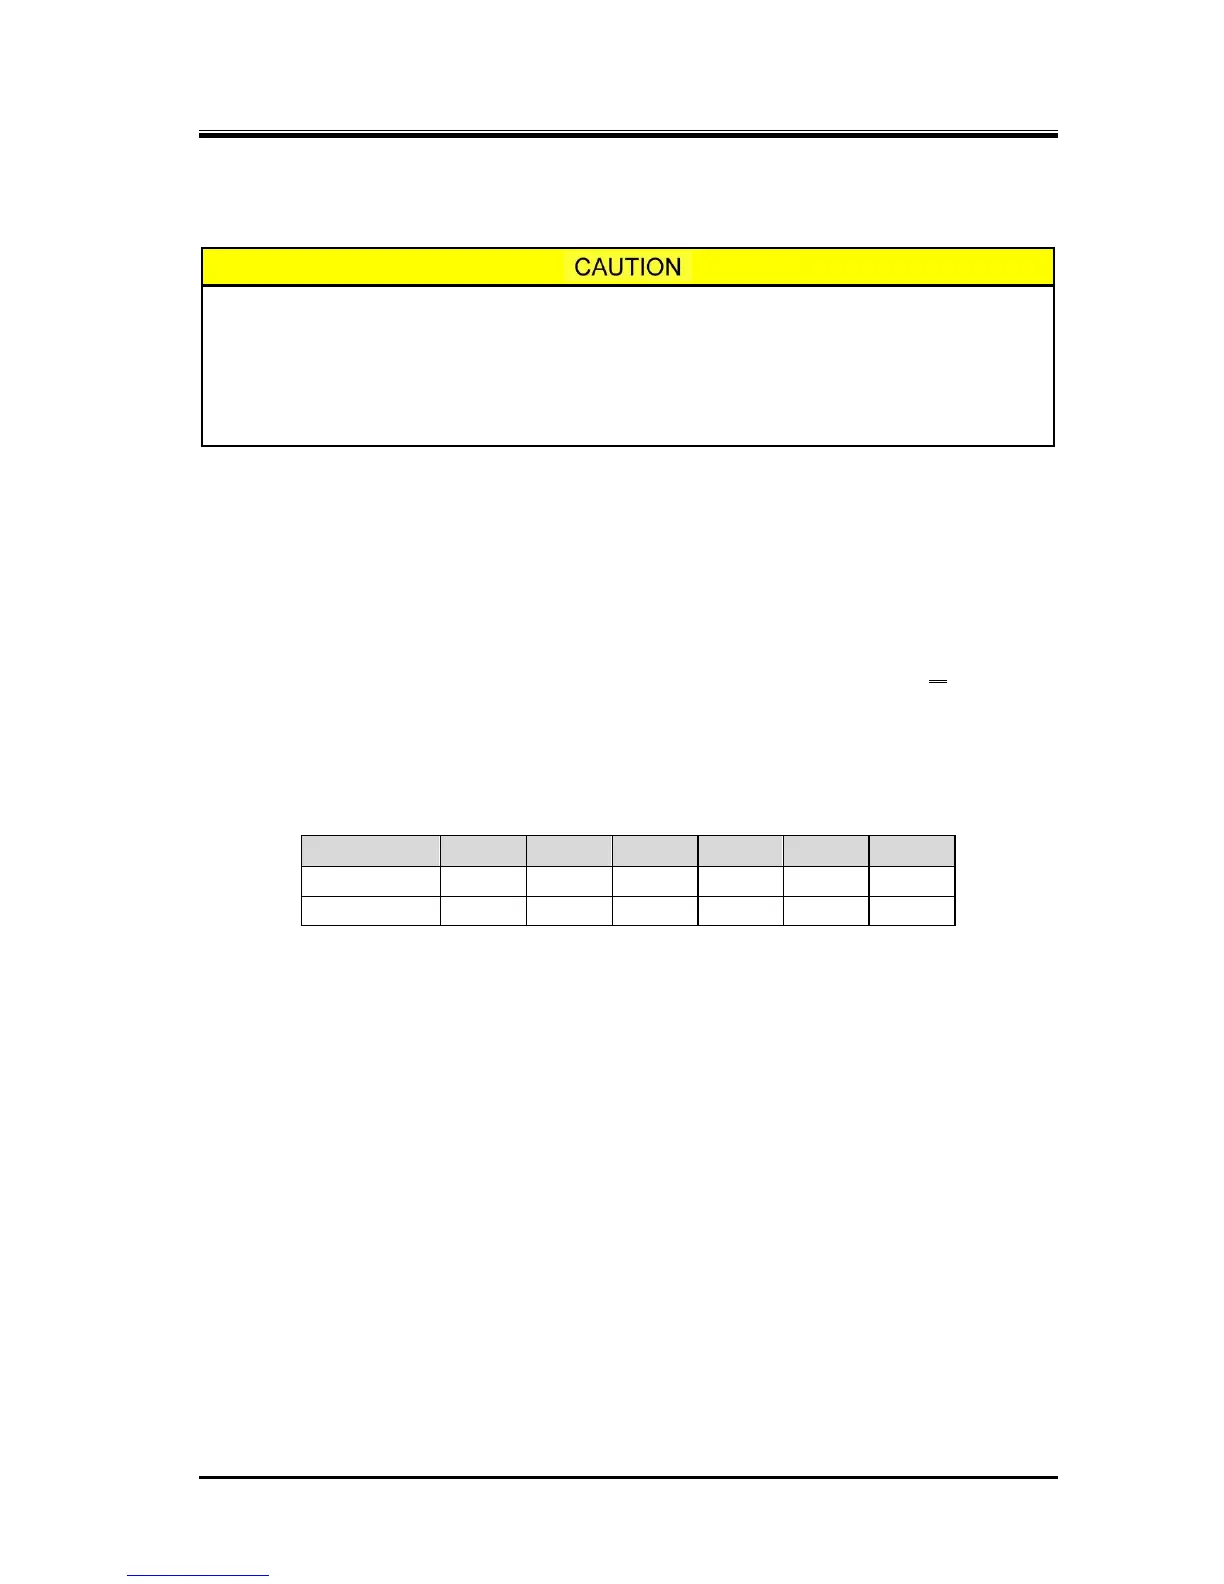
Table 5-11 Tightening Torques for Hexagon Socket Head Cap Screws