2203M4JE-MY-iS2-N_2017.04.
Chapter 5 Maintenance
Screw Compressor i-series 5.5 Reassembly
5-29
5.5.9 Shaft seal Block
The standard mechanical seal assemblies used in the current shaft seal of standard
screw compressors are of the BBSE (balance bellows single) type.
a) Before assembly, clean the portion where the mechanical seal will be installed.
b) In particular, recheck immediately before assembly that the stepped portion where the axial seal will
be mounted is free of damage.
c) Assemble oil seal [50] to seal retainer [48].
Since the design modification in November 2002, the oil seal attachment direction has been
changed from "facing the atmosphere side" to "facing the opposite side". The purpose of this
change is to improve oil flow from inside the seal box so that the pressure will not rise too high.
Place a Teflon or other kind of resin block on the oil seal and tap on the block to push the oil seal
into the retainer evenly until it bottoms. When it gets fully pushed in, you will know by the change in
the tapping sound and feel.
After assembly, check that the step formed at the boundary between the oil seal and the retainer is
even. See from the opposite side, and confirm that they are evenly assembled.
d) Using two eye bolts (M8), install the seal retainer with the oil seal along the rotor shaft.
At this time, ensure that the retainer's oil hole is on the upper side of the rotor shaft, and accurately
align the rotation stop spring pin [20], which has been screwed to the bearing cover, with the notch
of the oil seal retainer.
After assembly, try to turn the retainer's eye bolts to check that they are secure.
If they are properly aligned, the retainer will not rotate.
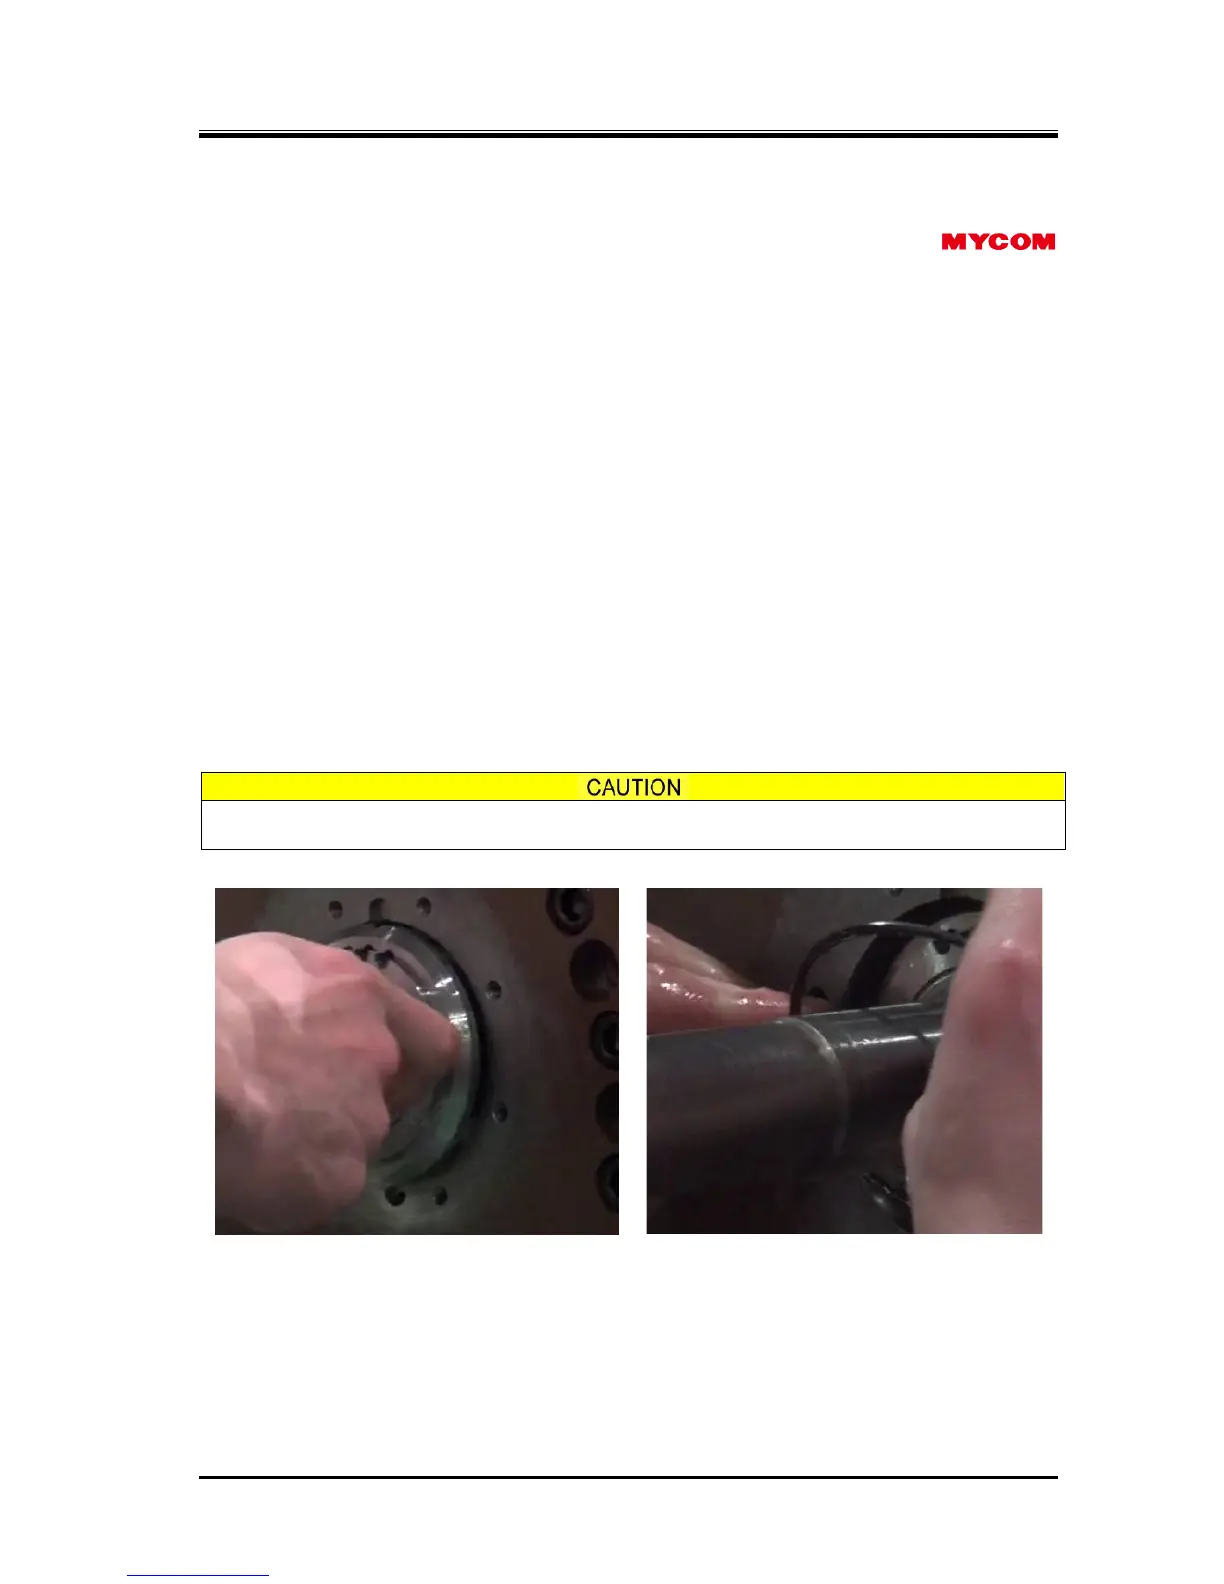
e) Then, insert the O-ring [49] for the seal retainer.
Photo 035
Assembling Seal Retainer Photo 036 Inserting O-ring [49]
f) Install the seal collar [109], which has the O-ring [112] attached to its inner periphery, to the rotor
shaft. Before assembly, apply sufficient lubricating oil onto the rotor shaft and wash away dirts.
Push in the seal collar, carefully not to damage the O-ring [112] by the step on the rotor shaft. After
installing the seal collar, push it by hand and check it’s normal movement in the axial direction.
 Loading...

