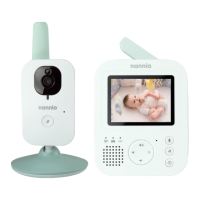
3
Using AC Power
1. Plug one end of the provided power adapter into a wall outlet and the other end
into the monitor (See Fig. 6).
Note : Use the adapter labeled OUTPUT: 6V DC with the monitor.
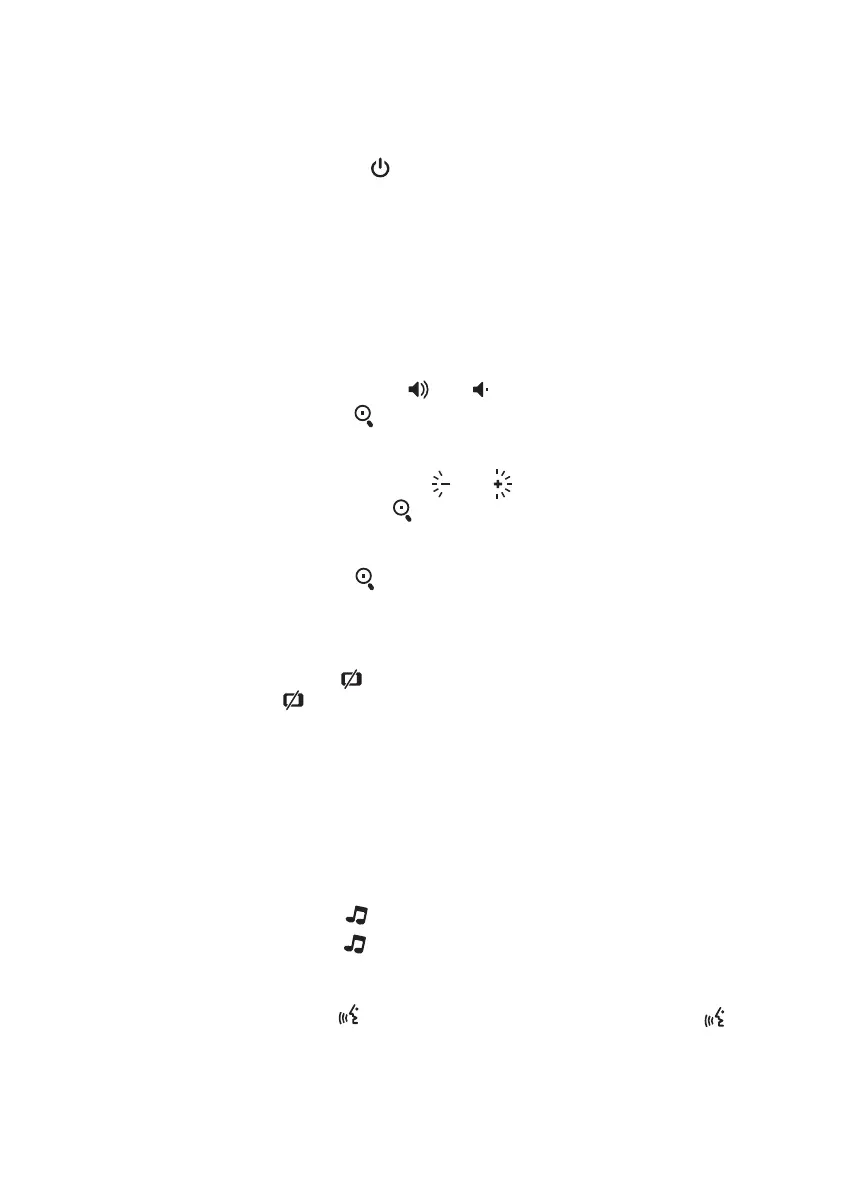
2. Press the POWER button and keep it around 3 seconds to turn the monitor
on(See Fig. 6).
Note 1: When charging starts or power on the monitor, "Power/Charging" LED
will light up (green light).
Note 2: "Out of Range" will be displayed on the LCD screen if the monitor
exceeds the range (unlink).
Volume Setting
Press the volume selection button & to adjust volume level, and then
press the Zoom/OK button to confirm the setting (See Fig. 7).
Brightness Setting
Press the brightness selection button & to adjust brightness level, and
then press the Zoom/OK button to confirm the setting(See Fig. 8).
Zoom in Function
Press the Zoom/OK button on monitor once for a 2X zoom of image and press
again to change back to normal view (See Fig. 9).
VOX ( Voice-Operated Transmission) Function
1. Press the VOX button on the monitor unit. This will turn off the screen
but VOX LED will remain ON (green) (See Fig. 10).
2. When the sound from the camera reaches the setting level (See Fig. 18), the
screen will turn ON automatically. It will turn OFF again after 30 seconds. If
the sound from the camera still reaches the setting level during the 30 seconds,
it will extend 30 seconds to turn OFF the screen from the last voice event.
Lullaby Function
There are three lullabies that can be selected to play on the camera unit for your
baby.
1. Press the music button , the camera will play music(See Fig. 11).
2. Press the music button again, the camera will play the next song.
Talkback Function
Press the talkback button to speak through the camera unit, and the icon
will then be displayed on the screen (See Fig. 12).
2.2
2.3
2.4
2.5
2.7
2.6
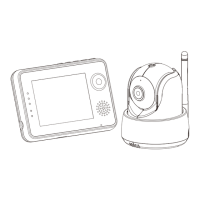
Fixing the Camera / Befestigung der Kamera / Fijación de la cámara
/ Befestigung der Kamera / Fissaggio della videocamera
Fits screw, M6