Do you have a question about the NanoCam Plus NCP-DVR1080 and is the answer not in the manual?
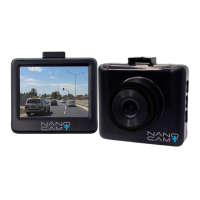
Lists the main features of the NanoCam Plus Car DVR.
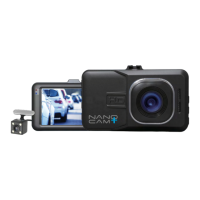
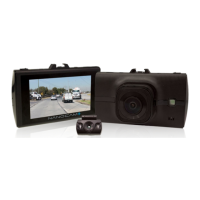
Details the items included in the product package.
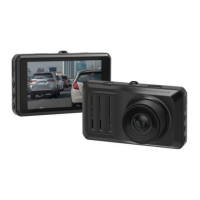
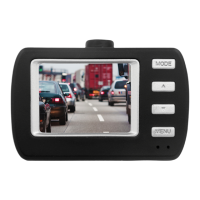
Identifies and labels the physical components of the Car DVR.
Instructions for inserting and removing the Micro SD card.
Steps for mounting the DVR on the vehicle's windshield, including position and power connection.
Explains how to turn the device on, off, and reset it, including auto and manual operations.
Guides on how to transfer and play recorded videos on a computer.
Steps to format the SD card and set the device's date and time for proper operation.
Covers basic operation of the DVR, including recording, locked recording, and understanding the recording screen.
Instructions on how to start and stop video recording manually or automatically.
How to manually start a locked recording to protect video files from overwriting.
Explains the icons and indicators displayed on the DVR's recording screen.
Details how to access and operate the DVR in video recording mode.
Details the various settings available within the video menu for customizing recordings.
Sets the video quality, affecting detail and file size.
Configures the duration of video clips before a new one is created.
Manually controls light sensitivity settings for the camera.
Adjusts the camera's dynamic range to improve image quality in varying light conditions.
Enables/disables the feature that starts recording upon detecting motion.
Allows muting or enabling the microphone during recording.
Stamps footage with the current date for future reference.
Sets the sensitivity for triggering emergency recording upon impact detection.
Reduces the output size of video files, potentially impacting quality.
Activates monitoring and recording triggered by impact when the vehicle is off.
Stamps the vehicle's license plate onto the footage for identification.
Details settings for capturing still images, such as timer, resolution, and quality.
Sets a delayed timer for capturing photos.
Sets the resolution for still images, affecting detail and file size.
Activates or deactivates taking a sequence of 3 photos when triggered.
Adjusts the image detail level, impacting file size.
Controls the boldness and outlines of the captured images.
Adjusts settings to counteract different light conditions for accurate colors.
Selects the color palette for the captured images.
Manages light sensitivity, affecting brightness and motion blur.
Manually controls light settings for photo capture.
Sets the duration the photo is displayed after capture.
Stamps photos with the time and date they are taken.
Configures operational settings for the DVR, like language and system preferences.
Sets the internal clock of the camera for accurate time stamping.
Enables or disables audible feedback for button presses.
Selects the preferred language for the device menus.
Adjusts the camera's frequency setting for optimal performance.
Sets the duration of inactivity before the screen enters sleep mode.
Formats the inserted Micro SD card, deleting all data.
Resets the camera's settings to their original factory defaults.
Screen used for viewing recorded photos and videos.
Options for managing recorded media, including deletion and protection.
Instructions for deleting unlocked media files from the SD card.
Protects or unprotects media files from accidental deletion.
Displays saved photos and videos as a slideshow.
| Brand | NanoCam Plus |
|---|---|
| Model | NCP-DVR1080 |
| Category | Dash Cameras |
| Language | English |