10
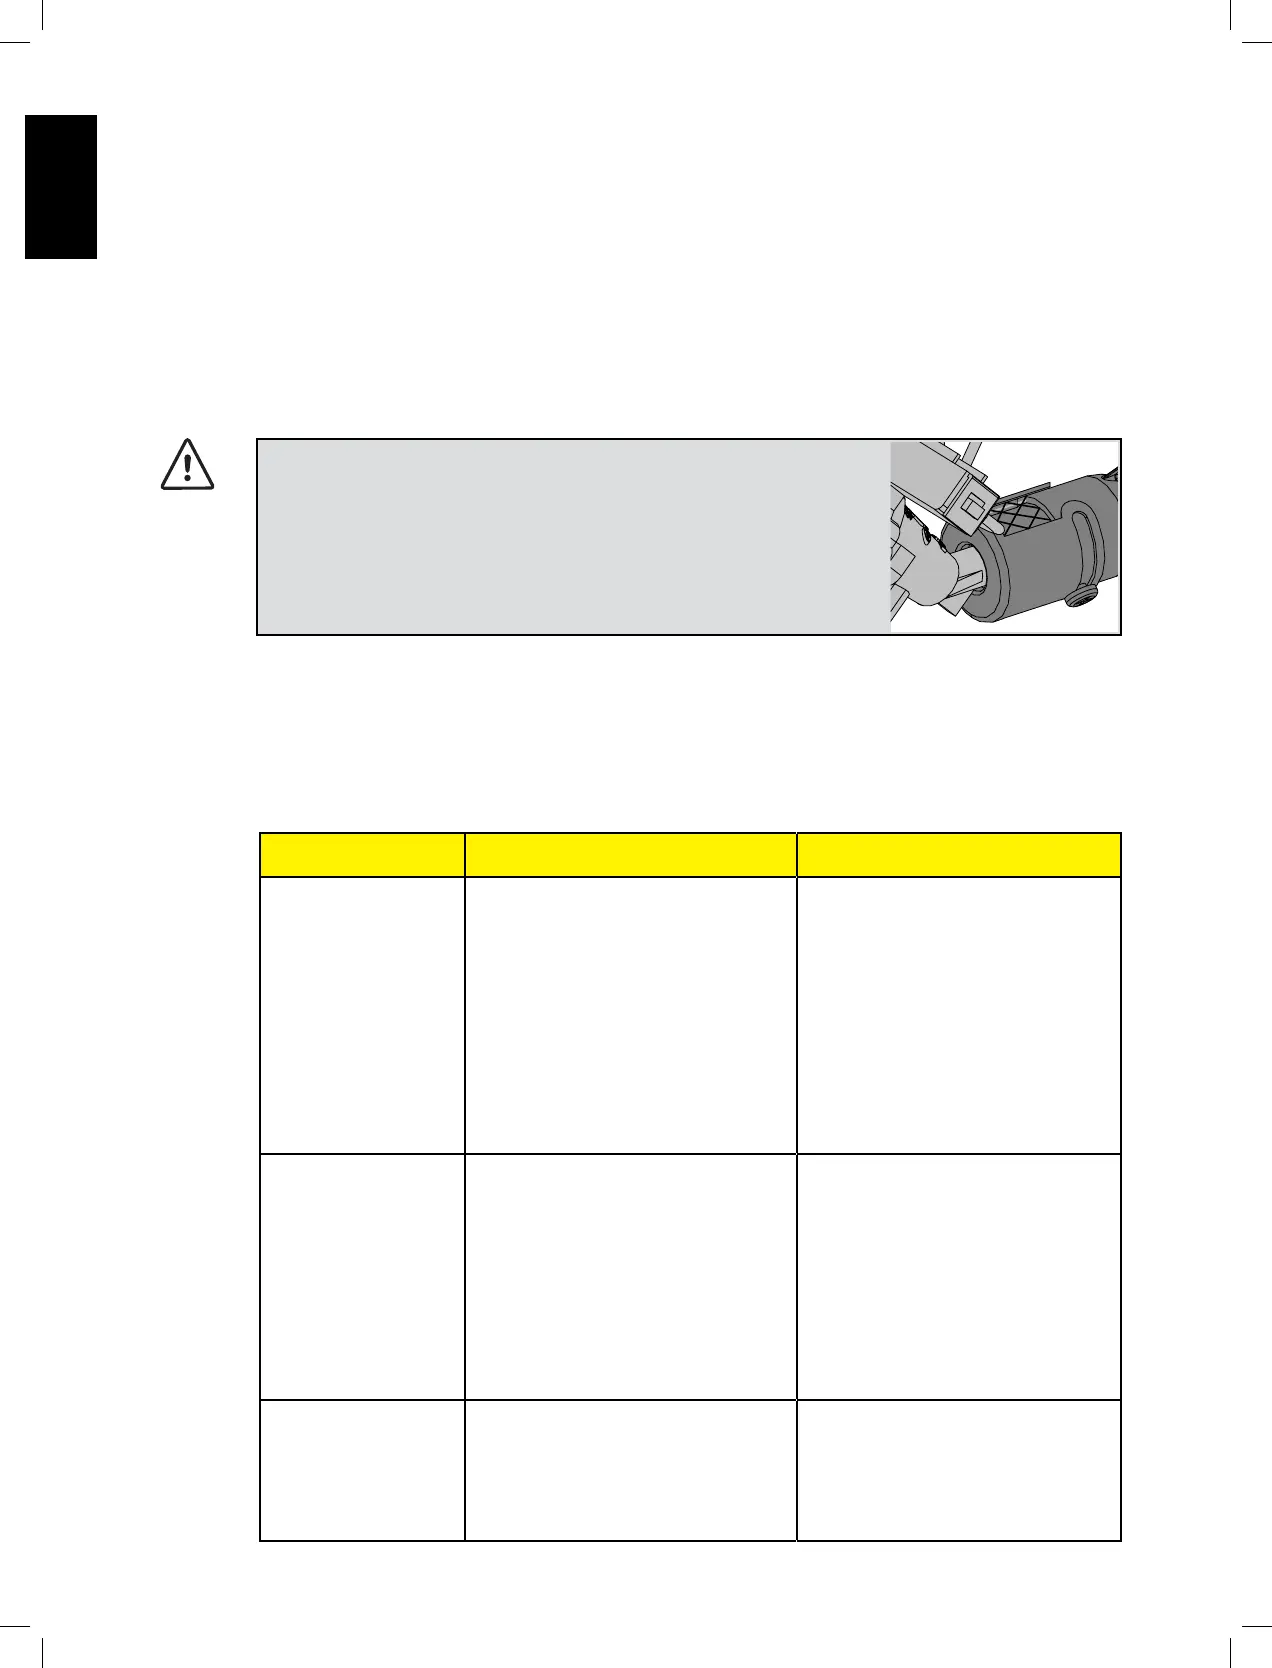
or orange ame or cause a re (ashback) at the air shuer beneath the control panel. To clean the inside
of the burner, it must be removed from the gas grill: Remove the screw that aaches the burner to the
back wall. Slide the burner back and upwards to remove.
: Use a exible venturi tube brush to clean the inside of the burner. Shake any loose debris from
the burner through the gas inlet. Check the burner ports and valve orices for blockages. Burner ports
can close over me due to cooking debris and corrosion, use an opened paperclip or the supplied port
maintenance bit to clean them. Drill out blocked ports using this drill bit in a small cordless drill. The ports
are easier to clean if the burner is removed from the grill, but it can also be done with the burner installed.
Do not ex the drill bit when drilling the ports, as this will cause the drill bit to break. This drill is for burner
ports only, not for the brass orices (jets) which regulate the ow into the burner. Take care not to enlarge
the holes. Ensure the insect screen is clean, ght, and free of any lint or other debris.
Reverse the procedure to reinstall the burner. Check that the valve enters the burner when
installing.
Low heat / Low ame
when valve turned to
high.
For propane - improper lighng procedure.
For natural gas - undersized supply line.
For both gases - improper preheang.
Ensure lighng procedure is followed
carefully. All gas grill valves must be
in the o posion when the tank valve
is turned on. Turn tank on slowly to
allow pressure to equalize. See lighng
instrucons.
Pipe must be sized according to
installaon code.
Preheat grill with both main burners on
high for 10 to 15 minutes.
Excessive are-ups/
uneven heat.
Sear plates installed incorrectly.
Improper preheang.
Excessive grease and ash build on sear
plates and in drip pan.
Ensure sear plates are installed with the
holes towards the front and the slots on
the boom. See assembly instrucons.
Preheat grill with both main burners on
high for 10 to 15 minutes.
Clean sear plates and drip pan regularly.
Do not line pan with aluminum foil. Refer
to cleaning instrucons.
Burners burn with yellow
ame, accompanied by
the smell of gas.
Possible spider web or other debris, or
improper air shuer adjustment.
Thoroughly clean burner by removing.
See general maintenance instrucons.
Open air shuer slightly according to
combuson air adjustment instrucons.
(This must be done by a qualied gas
installer.)
: Clean casngs periodically with warm soapy water. Aluminum will not rust, but high
temperatures and weathering can cause oxidaon to occur on aluminum surfaces. This appears as white
spots on the casngs. To renish these areas, clean rst and sand lightly with ne sandpaper. Wipe the
surface to
remove any residue and paint with high temperature barbecue paint. Protect surrounding areas
from over-
spray. Follow the manufacture’s direcons for curing.
 Loading...