8
FUEL 3100 / DIESEL 3200 Installation and Operation Manual
NAVMAN
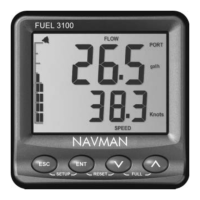
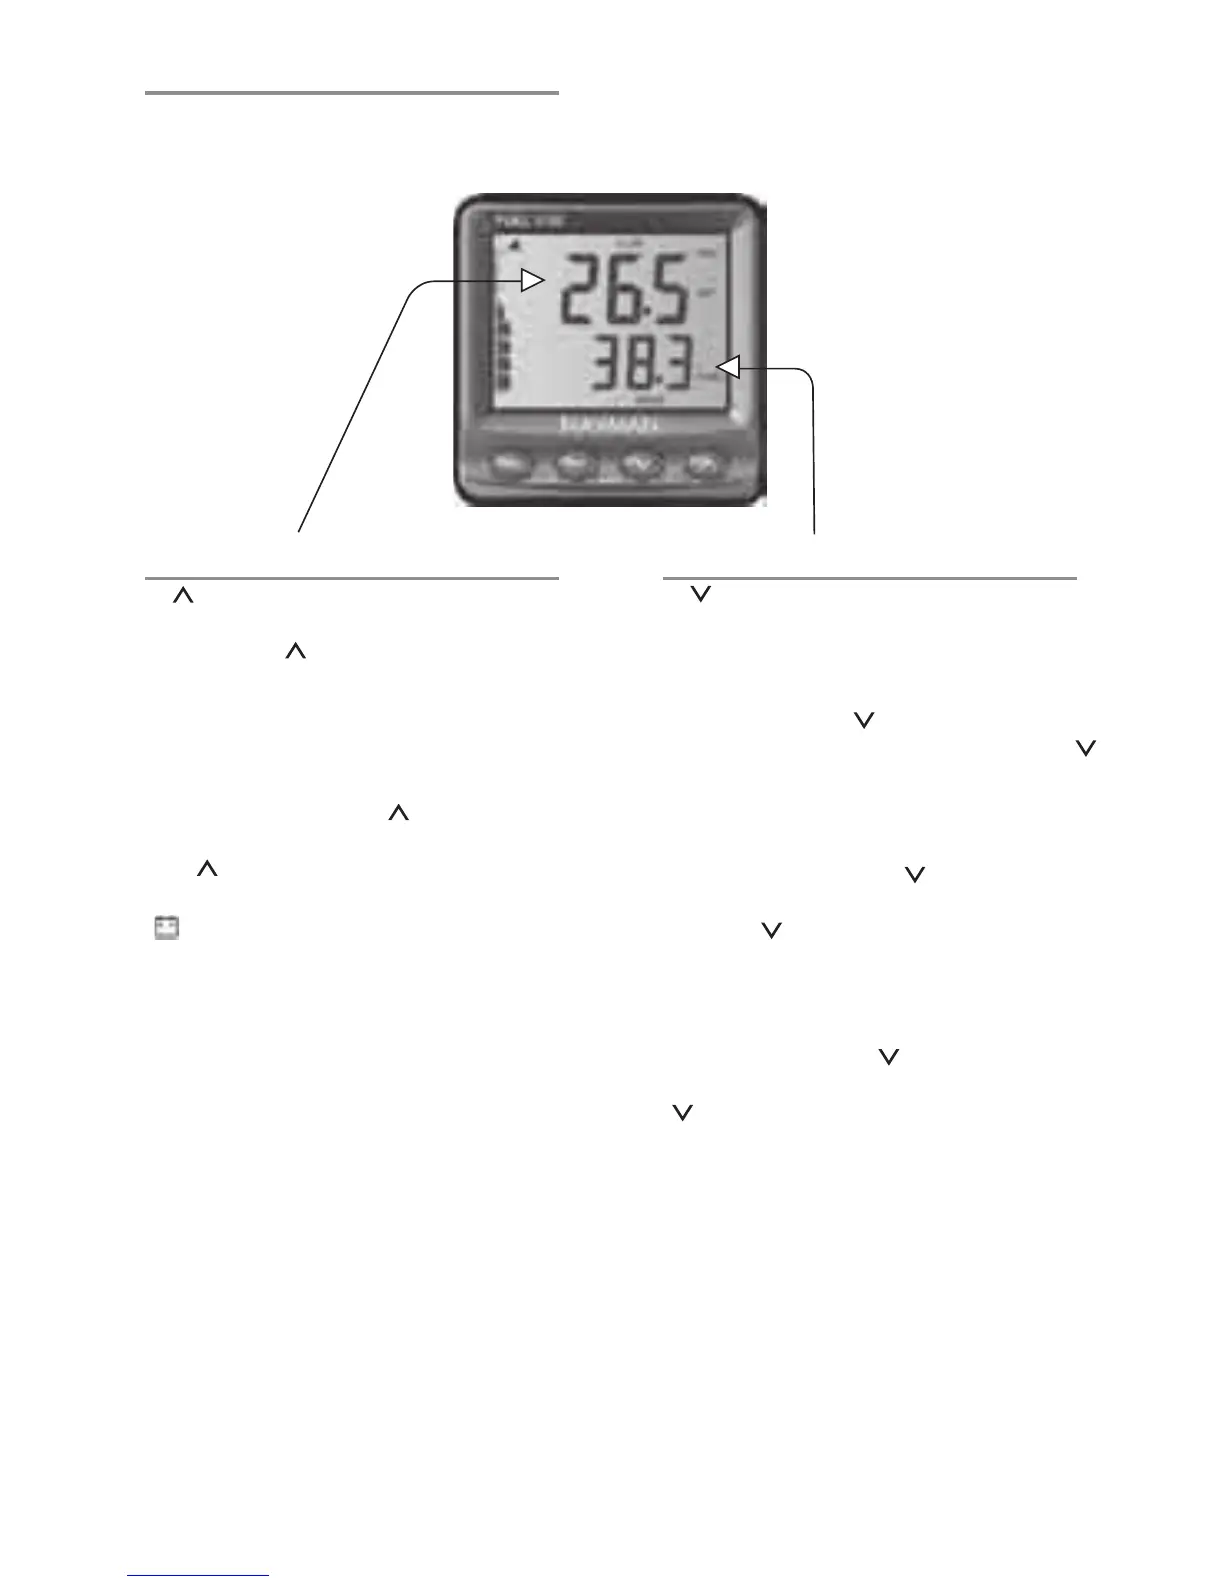
2-4 Upper display
Press one or more times to change what is
displayed (for example, if the display shows
USED then press to change the display to
FLOW):
• REMAINING: Fuel remaining. Update this
when you add or remove fuel (see section 5).
• USED : The fuel used since last reset.
To reset fuel used, press one or more
times until used is displayed, then hold ENT
and together until the reading resets
to zero.
• : Displays supply voltage to the head unit.
• FLOW: Fuel flow rate.
• ECONOMY: Distance travelled per unit of
fuel used (requires optional speed input, see
section 3-6)
• RPM: Engine RPM (DIESEL 3200 only).
PORT RPM: Port engine RPM (displayed on
upper display)
STBD RPM: Starboard engine RPM
(displayed on lower display)
Note:
• If the boat has twin engines, then when
FLOW is displayed, press ENT one or more
times to display PORT, STBD or TOTAL
flow.
• If the boat has a twin fuel tanks, then when
REMAINING or USED is displayed, press
ENT one or more times to display PORT,
STBD or TOTAL data.
2-5 Lower display
Press one or more times to change what
is displayed:
• LOG: Trip distance; the distance travelled
since log was reset.
To reset log, press one or more times
until log is displayed, then hold ENT and
together until the reading resets to zero.
• TOTAL LOG: Total distance; the distance
travelled since total log was reset.
To reset total log, press one or more
times until total log is displayed, then hold
ENT and together until the reading
resets to zero.
• hours: Hours the engine has run since
hours was reset.
To reset hours, press one or more times
until hours is displayed, then hold ENT and
together until the reading resets to zero.
• RANGE: Estimated distance that can be
travelled on the remaining fuel at the
current consumption.
• SPEED: Boat speed.
Note:
• LOG, TOTAL LOG, RANGE and SPEED
require the optional speed input (see
section 3-6).
The display and keys are backlit for easy
reading in dim light. To change the backlight,
change LAmP in the LAmP menu.
(see section 3-3)
2-3 Setting the backlight
 Loading...