 Loading...
Do you have a question about the Nayax VPOS Touch and is the answer not in the manual?
| SAM Slots | 2 |
|---|---|
| Operating System | Linux |
| Communication | 4G, Bluetooth |
| Payment Methods | Magnetic Stripe |
| Certifications | PCI PTS 5.x, EMV L1 & L2 |
| Operating Temperature | -20°C to 70°C |
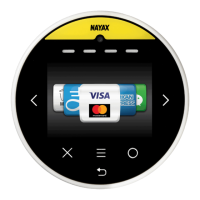
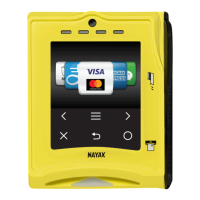
| Supported Cards | Visa, Mastercard, Amex, Discover, JCB, UnionPay |