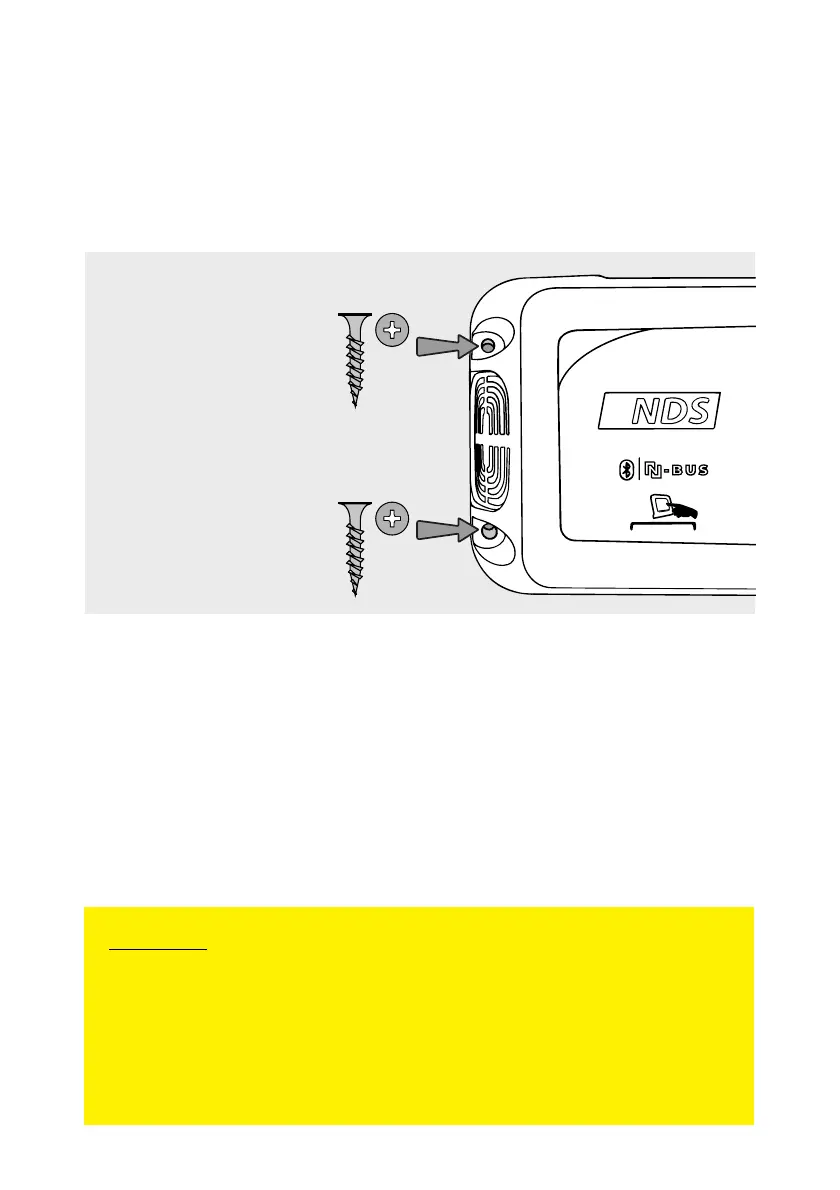
7. INSTALLATION
Place the SUNCONTROL2 on the chosen surface and
secure the entire device using the fixing holes
integrated in the shell with the supplied screws or
equivalent (Fig.1).
All electrical and setup connections are on the front, it
is not necessary to disassemble the plastic shells,
except for the protection fuse replacement.
On the front side, after the power connections, there's a
Dip Switch for the charging curve selection, it's
important to select the correct curve according to the
type of battery supplied, for the selection of the correct
curve please refer to the chapter "Charging curve
selection".
CAUTION
• For electrical connections, use cables of appropriate cross-
section: from 6 mm
2
.
• In case of a long stay, it is advisable to disconnect the
negative cable from the device to completely neutralize any
residual consumption that may inadvertently discharge the
leisure battery.