EasyManua.ls Logo

Neato Robotics XV - User Manual

Neato Robotics XV
2 pages
Print Icon
To Next Page IconTo Next Page
Loading...
1) Locate the tool provided
with your Neato Battery
Replacement Kit to
remove the screws
on the battery doors.
2) Locate the four screws
securing the two battery
doors on the underside of
your Neato robot.
3) Remove the four screws on the battery doors
and access the batteries.
4) Replace the batteries, making sure that they are
facing the proper direction, allowing the battery
door to close.
5) Plug the battery connector in firmly until fully
seated, making sure that it is oriented properly
and the connector shapes match up.
6) Replace the battery doors and secure using the
new screws provided.
7) Charge on the charging base until the light turns
solid green.
Note: Your battery will perform optimally after the first 2-3 complete cleaning cycles.
Instructions for Replacing your Neato Robotics Battery
SH02V01

Other manuals for Neato Robotics XV

Question and Answer IconNeed help?

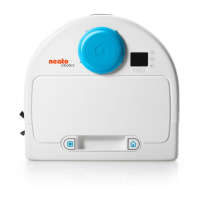
Do you have a question about the Neato Robotics XV and is the answer not in the manual?

Neato Robotics XV Specifications

General IconGeneral
BrandNeato Robotics
ModelXV
CategoryVacuum Cleaner
LanguageEnglish

Summary

Instructions for Replacing your Neato Robotics Battery

Locate Replacement Tool

Find the tool needed to remove battery door screws.

Locate Battery Door Screws

Identify the four screws on the robot's underside that secure the battery doors.

Remove Battery Doors

Unscrew and remove the battery doors to access the batteries.

Install New Batteries

Insert new batteries correctly oriented for door closure.

Connect Battery Connector

Firmly plug in the battery connector, ensuring correct orientation and shape alignment.

Secure Battery Doors

Reattach the battery doors and fasten them with the new screws.

Charge Battery

Place robot on the charging base until the indicator light is solid green.

Related product manuals