216
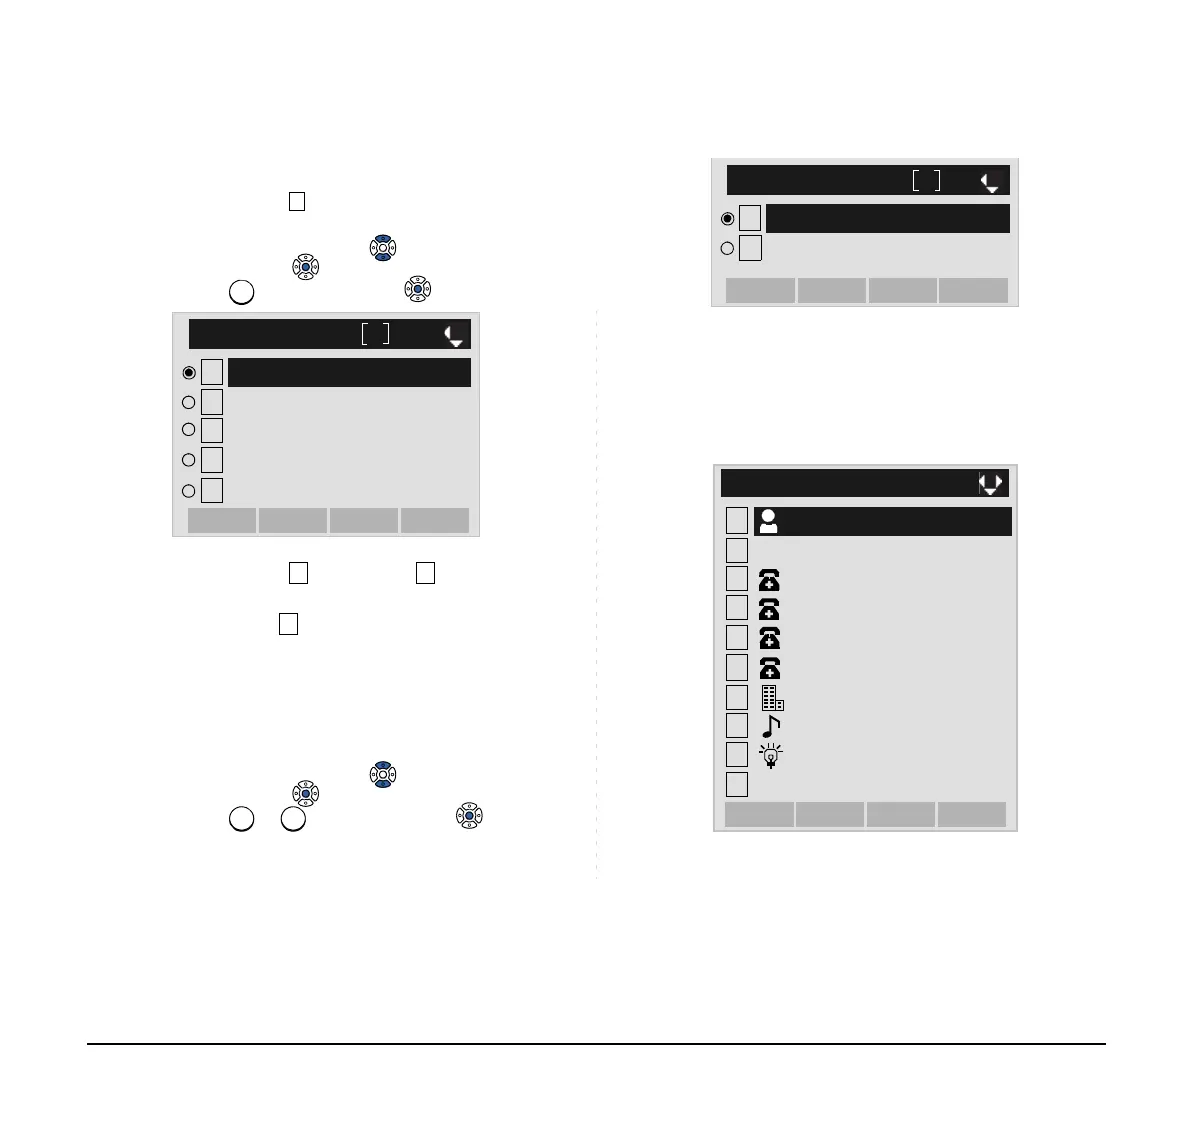
STEP 8: Select a Category to which the telephone
number belongs.
In this example, Company is selected.
Select an item by either of the following operations.
• Highlight an item by using or UP/DOWN soft key,
and then press or OK soft key.
• Press key, and then press or OK soft key.
STEP 9: Select either Disable or Enable.
A maximum of four telephone numbers can be set
to an entry. If Enable is selected here, the tele-
phone number which is being edited will be given
top priority. In that case, the telephone number is
automatically selected when you make a call with-
out specifying a specific telephone number.
Select an item by either of the following operations.
• Highlight an item by using or UP/DOWN soft key,
and then press or OK soft key.
• Press or key, and then press or OK soft
key.
STEP 10:The display moves to the Edit screen of Di-
rectory. “7205” has been registered to Tel #2.
See TO EDIT DIRECTORY DATA in Directory Opera-
tion, and edit the data as necessary.
1
2
[Category]
3
4
5
Company
NextBack
Others
Home
Mobile
Voice Mail
1
2
[Priority Flag]
Disable
OKPrev
Enable
1
2
[Edit]
3
4
5
6
7
8
9
0
Gr
No
OK
Back
Tel #4
7205
Tel #3
0
Save
0800XXXXXXX
Ken Kobus
Colleagues
NEC
Automatic
Blue