10
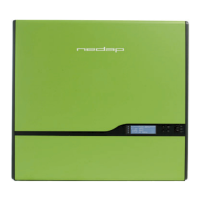
Connecting alarm to potential-free contact
Once the alarm settings have been congured, the
alarm must be assigned to a set of potential-free
contacts. The terminals for these contacts are labelled
K201 (relay 1) and K202 (relay 2) and are located to the
right of the AC LOCAL OUT connection.
The potential-free contact can be activated in two ways:
1. Normal: The contact closes when the alarm is
activated and opens when the alarm is deactivated.
2. Pulse: The contact opens and closes at the selected
frequency for the congured length of time when the
alarm is activated and does so again when the alarm
is deactivated.
Figure 10: Relay 1 of 2
 Loading...