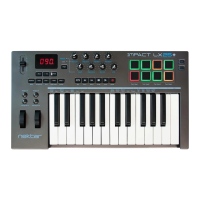
2 Using Nektar Impact LX+ with Reaper www.nektartech.com
Reaper Integration Installation and Setup
The Impact LX+ Reaper Integration is compatible with Reaper 4.59 or later. We recommend that you upgrade to the latest
version if you have not already done so.
These instructions assumes you have a compatible Reaper program installed running on either Windows Vista, 7, 8, 10 or
higher or Mac OS X 10.7 or higher.
Installation
· If you have just completed a fresh install of Reaper, make sure to
first open Reaper once and quit again, before installing the Impact
Reaper DAW integration files.
· Locate the Impact_GX_LX+_Reaper_support installer included with
this package and run it.
· Plug-in your Impact LX+ and make sure it’s switched on (if you did-
n’t do so already)
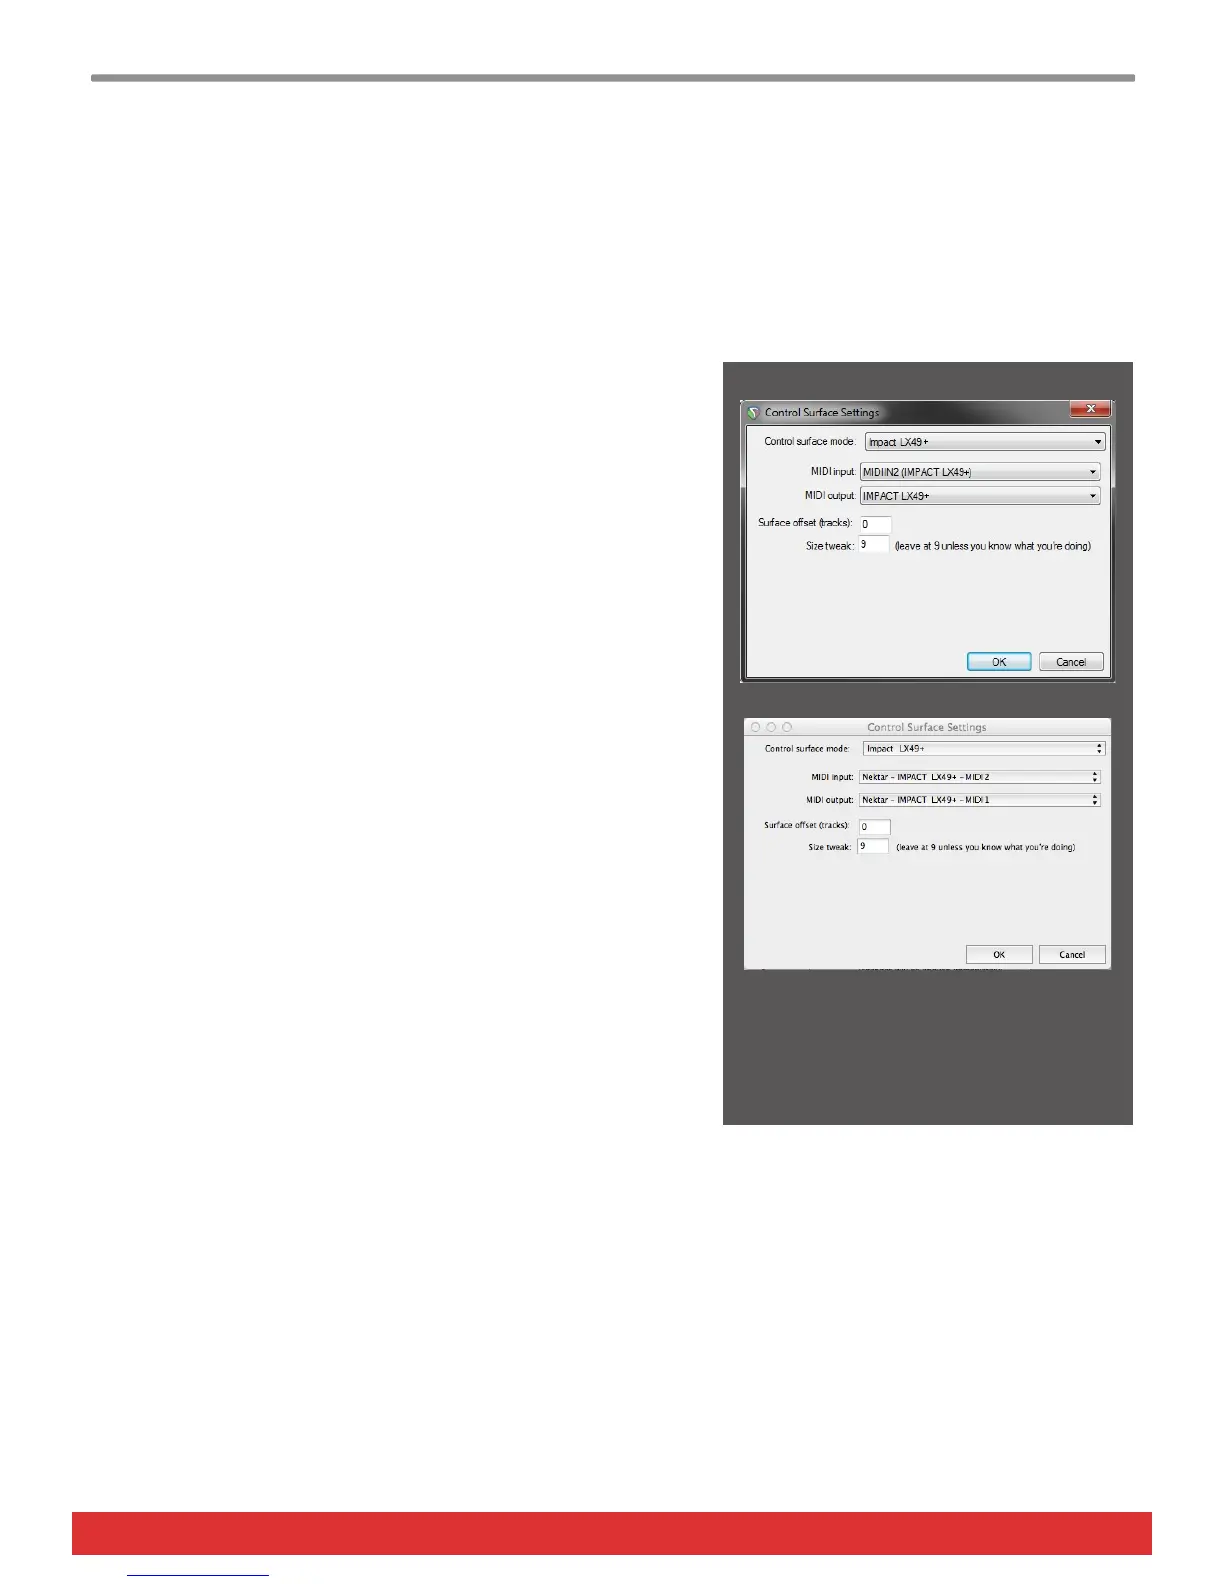
· Launch Reaper and go to Options/Preferences/Control Surfaces
· Click “Add”, then in the pop-up window, select your Impact LX+
model in the “Control surface mode” list. As long as your Impact LX+
is connected and switched on, Reaper should automatically detect
the correct ports. (See Image 1 for Windows setup and Image 2 for
OS X). Click “Ok”
· Go to Preferences/Audio/MIDI Devices next and enable Port 1 for
your Impact LX+. The mode should be “Enable+Control”. The other
2 Impact LX+ ports should remain disabled.
· Click “Apply” and OK
That’s it, setup is now complete and you can move on to the fun part,
learning how it all works.
Image 1 - Windows
Image 2 - OS X