N6. Attach your accessories N7. Switch on the machine
1st Inl. Lett
No service
11.02.16
£000.00
00000g
E
S
Mem:
The home screen should be displayed as shown.
If you have departments on your machine you will
need to select a department and enter your PIN
code if necessary
2
Congratulations
Your machine is ready to use!
For more information or if you experience
any issues please visit: kb.neopost.co.uk
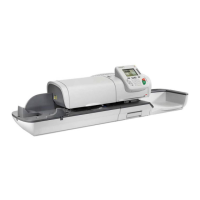
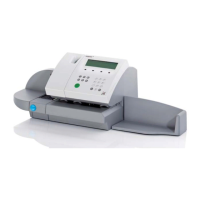
IS-400 Series Base
Product Replacement Guide - Continued
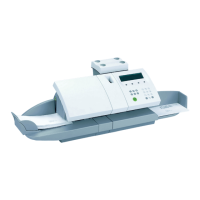
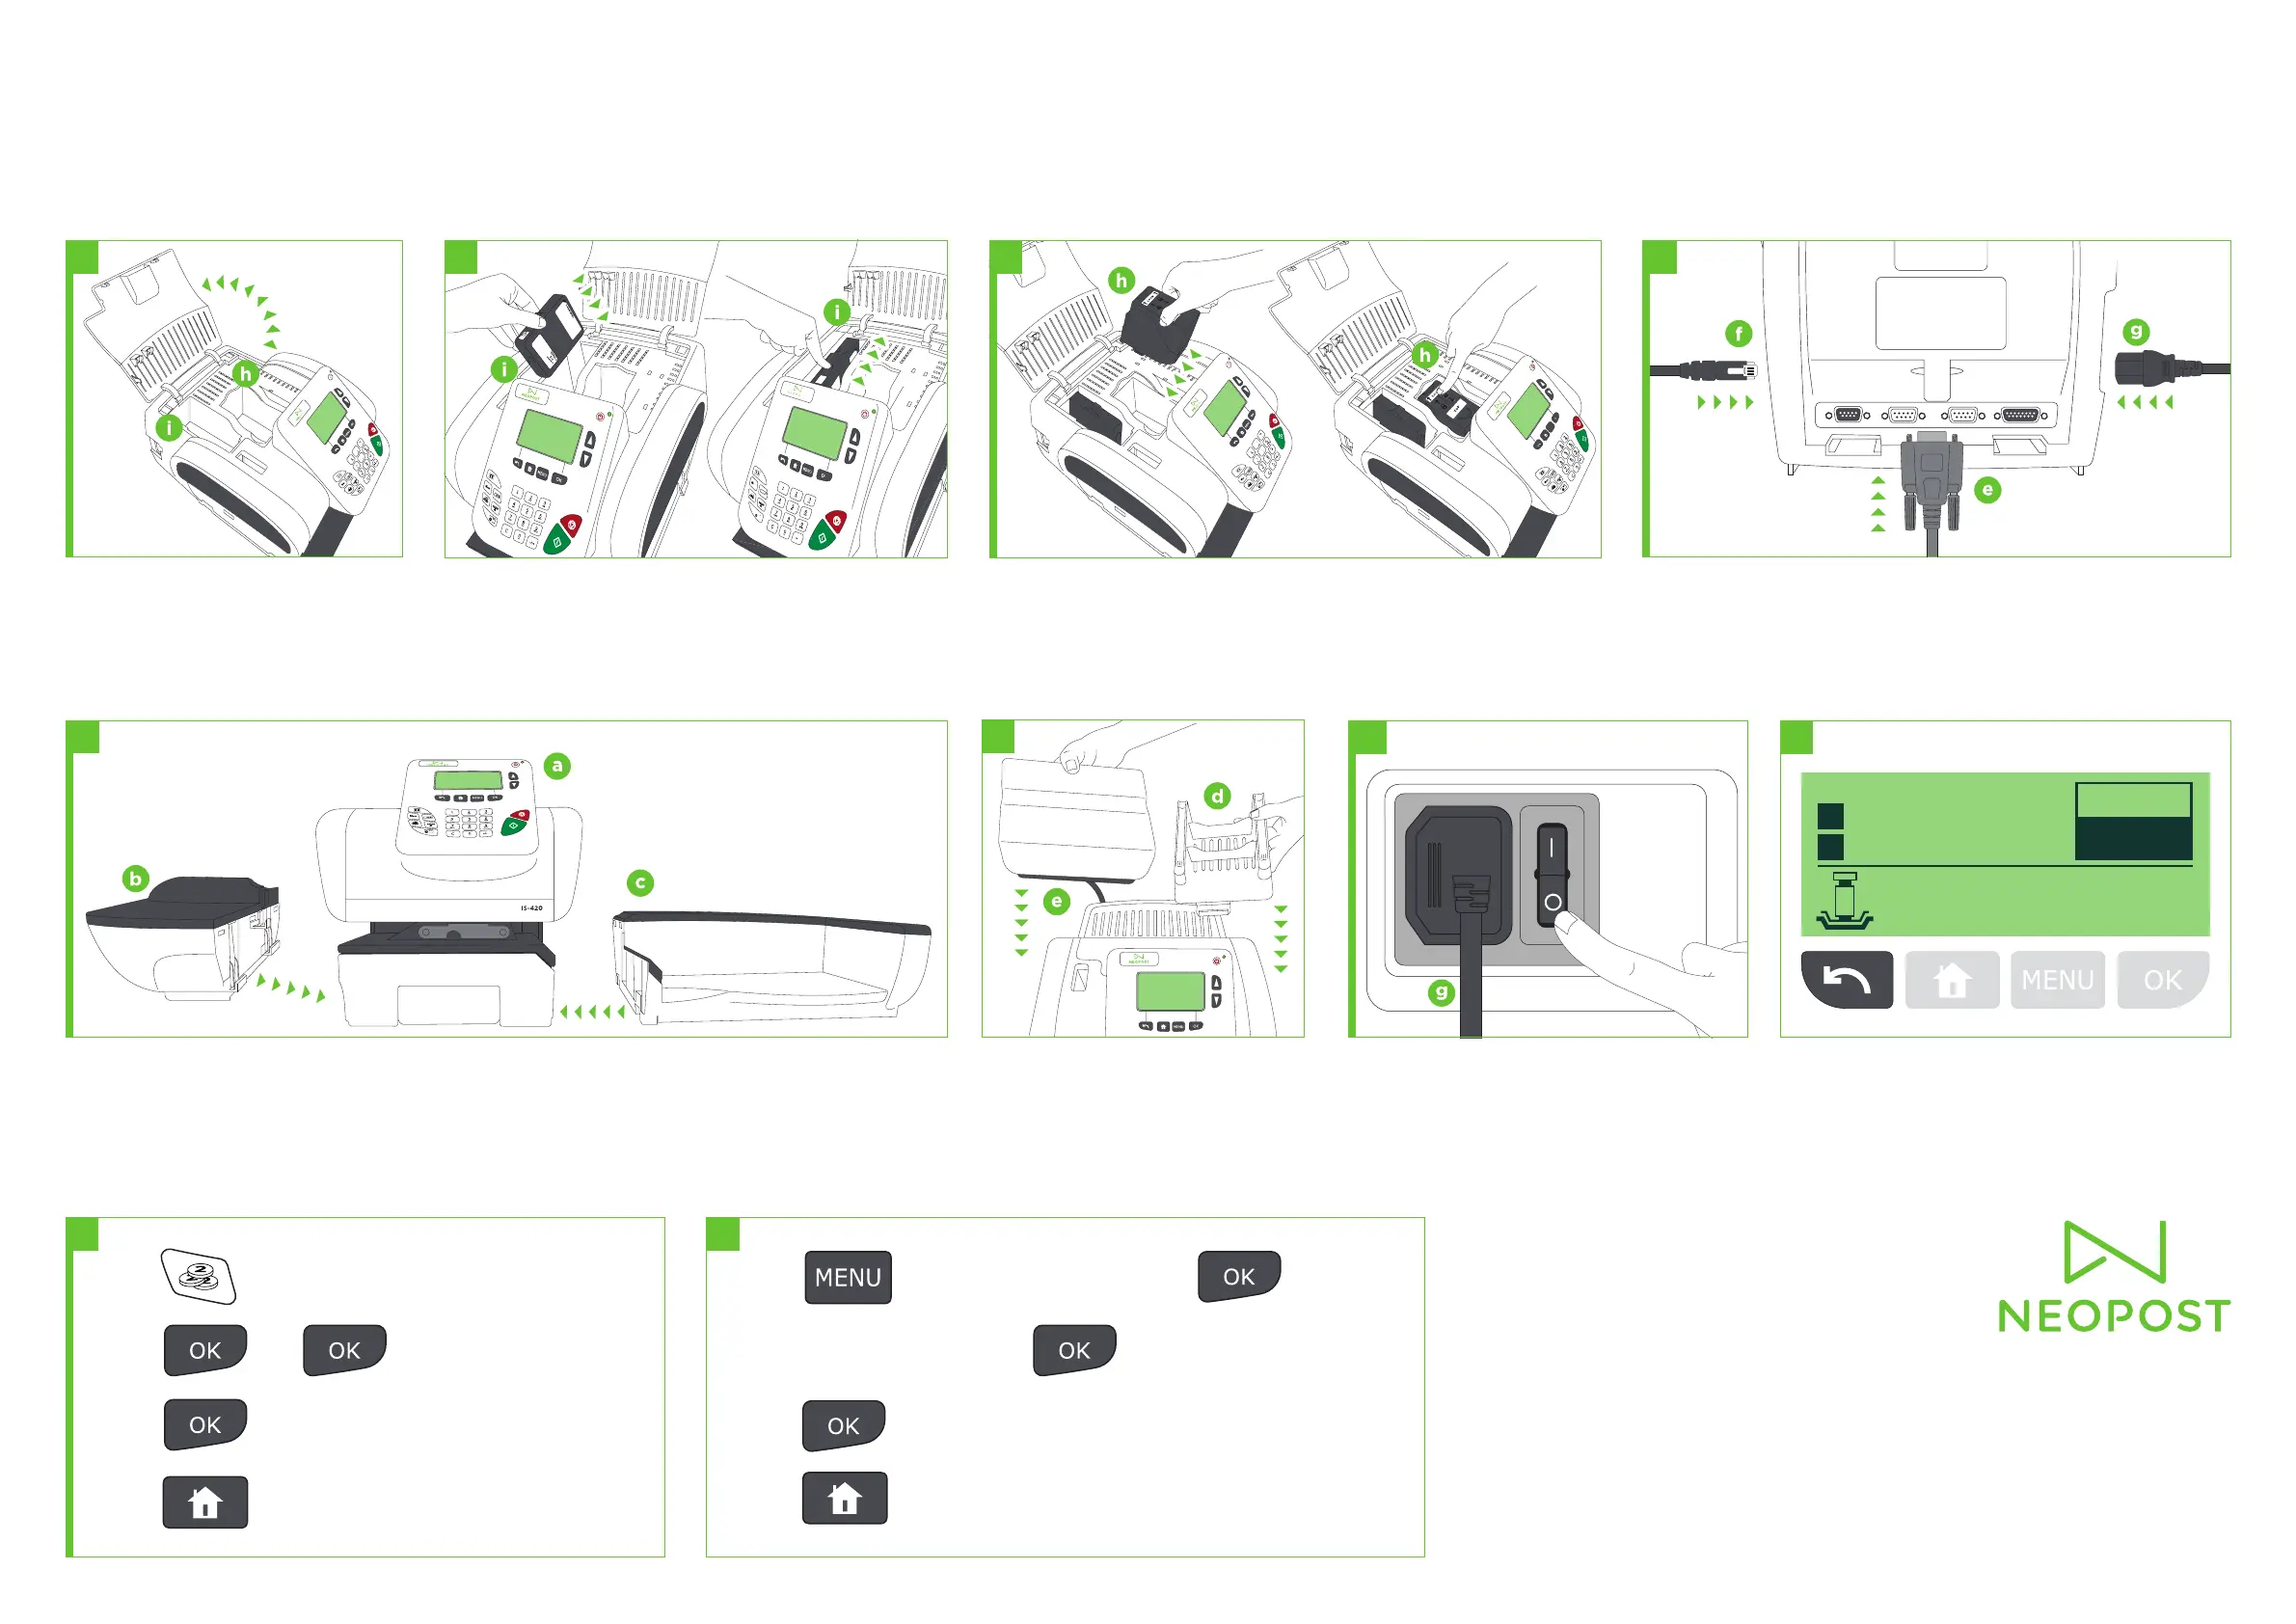
Replace Weighing Platform (e) and
Shelf (if applicable) (d)
Turn on the machine using the switch behind
the Power Cable (g)
1
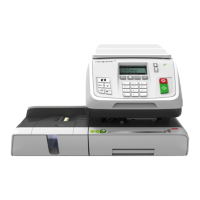
Lift machine slightly on the left hand side and align the hooks to attach the Feed Table (b) –
attach the Catch Tray to the right hand side of the machine (c)
1
N3. Insert the Meter
Place the Meter (i) into the machine compartment and push
backwards until it slots into position
2
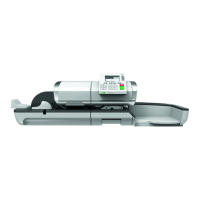
Lift the cover of the replacement machine
to reveal the Ink Cartridge
(h) and Meter
(i) locations
1
N4. Install the Cartridge
Insert the Ink Cartridge (h) at an angle into the machine with the ‘TOP’ and
‘LOCK’ stickers facing upwards. Push the Ink Cartridge (h) towards the back
of the machine until you hear a ‘click’ - close the cover of the machine
1
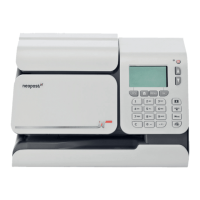
N5. Connect your Cables
Reconnect the Weighing Platform (e) connector into the previously
noted COM PORT (N1 step 6) on the rear of the machine. Then connect
the LAN Cable (f) and Power Cable (g) to either side of the machine
1
COM 2COM 1COM 4COM 3
To finish the replacement process the machine will now need to connect to our server. Please:
N8. Make a connection
2
Press Select ‘ONLINE SERVICES’ & press
Choose ‘GENERIC CALL’ & press
Press when the call has finished
Press key
1
Press Choose ‘AUDIT CALL’
Press and again to confirm
Press when the call has finished
Press key
2
 Loading...