10
1.Power the scanner by connecting to the mains electric (cable supplied)
or you can power directly from
the USB connection to your PC (cable also supplied). Switch scanner on
using the power button.
2.Load negatives / slides / photos into holder as described on previous pages.
3.Insert holder into scanner as described on previous pages.
4.Select the correct ‘Mode’ on the top of main body of scanner (either for
negatives/slides or photographs). The default mode is ‘Film Mode’ for
scanning negatives/slides; press ‘Mode’ key to change between PHOTO
mode and FILM mode.
5.Press Menu Button and select Shooting Mode (see below: colour / black
and white; or to adjust exposure)
6.Press Scan to Convert to Digital
7.When you have finished scanning images to SD card, you can then connect
the scanner to PC using the USB cable supplied and ‘drag’ saved images
to your computer.
Quick Menu Guide
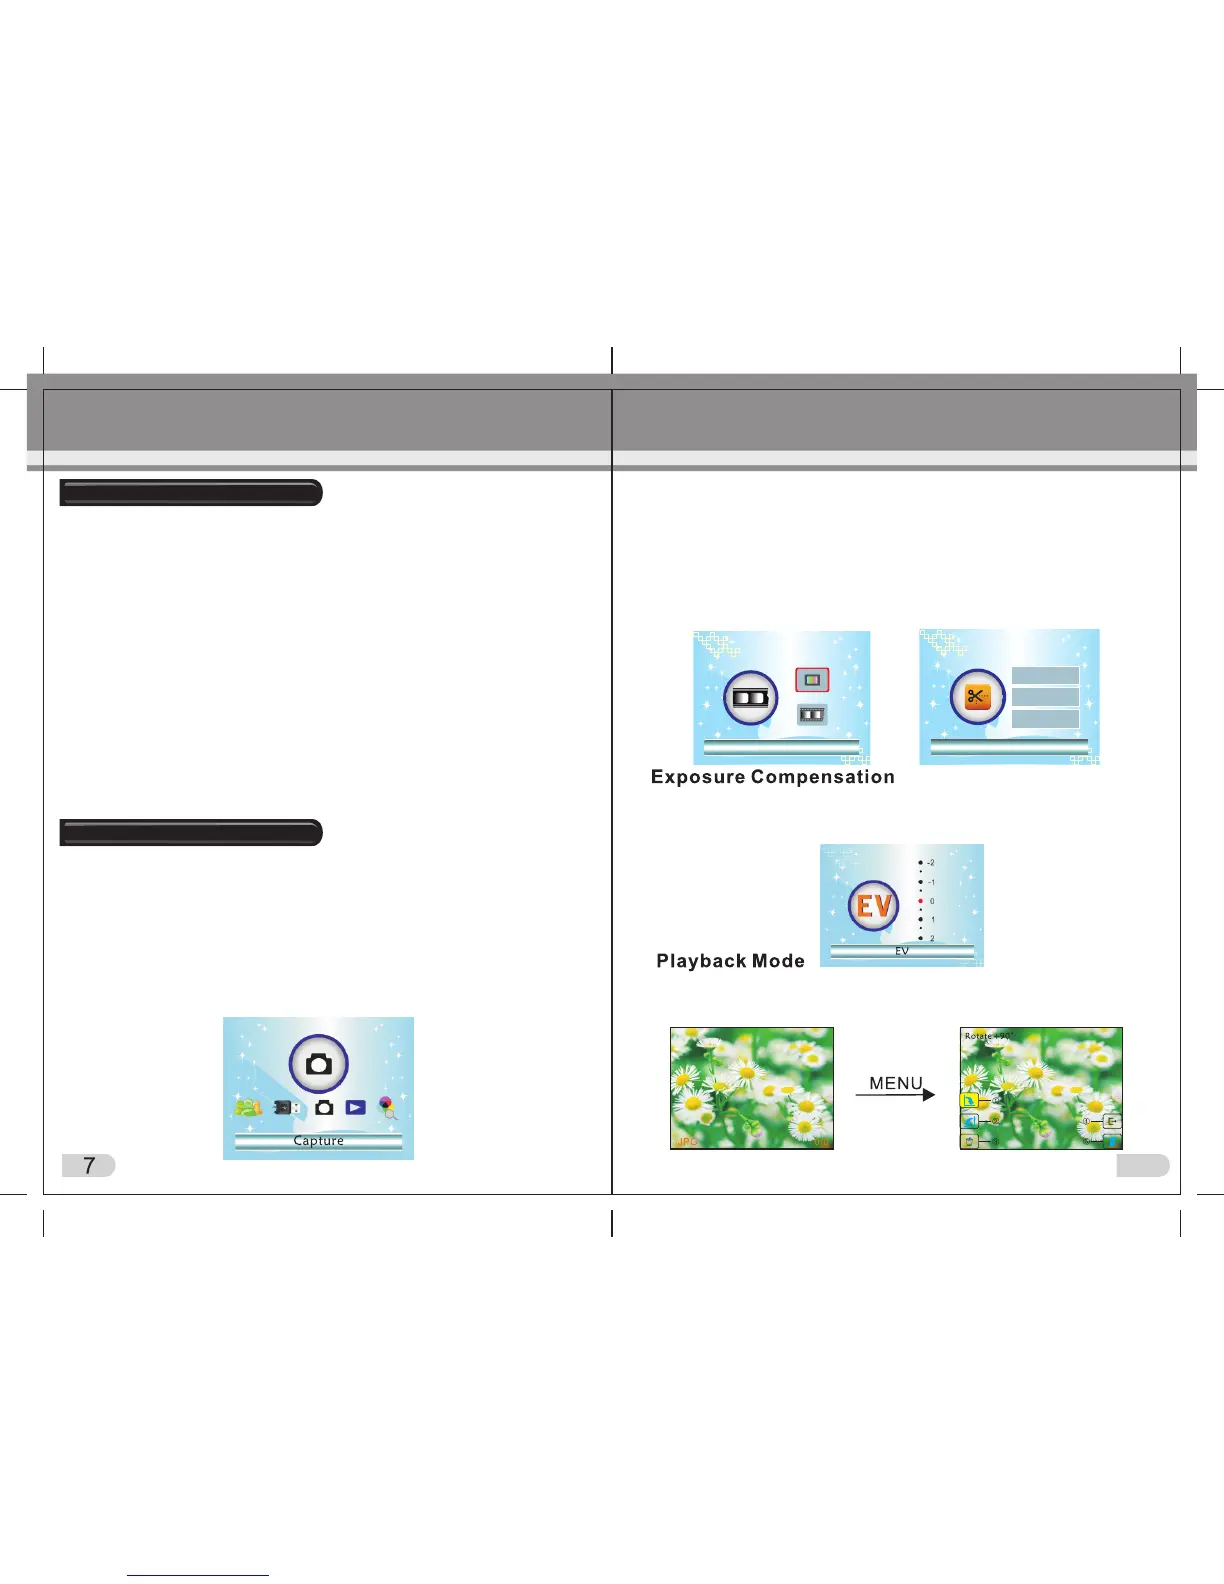
1.Capture Picture Mode: A (select either slide, negative, or black and white)
B: exposure compensation (see page10 for details on exposure
compensation).
2.Playback mode: playback images and view on LCD screen.
3.Resolution: Select either 5 mega pixel or 10 mega pixel (interpolated)
4.Language setting:English, French, German, ltalian, Spanish,
Traditional Chinese, Simplified Chinese,Japanese.
5. Storage: MSDC mode (mass storage SD memory card)
Press menu key to enter into main menu – select Capture Picture
Mode – select EV option to choose exposure compensation, then
set exposure compensation by using the left and right arrows on
top of scanner.
After you enter into playback mode from main menu, image will be
shown on TFT LCD screen. Images can be scrolled through using
left key / right keys.
Positive Film
5R(5 *7 )
” ”
4R(4 *6 )
” ”
3R(3.5 *5 )
” ”
Cut
Quick Start Guide
1.B&W photos/slides/negatives: choose B&W (black and white) if you
are scanning black and white negatives/slides.
2. Select 2 (Slides) if you are scanning Slides.
NOTE –When Scanning Photographs:
If you are scanning photographs (not slides or negatives) then press Menu button
to enter main menu. Then scroll left or right until you find symbol of scissors (Cut –
see image below). Then press Enter. Then select the size of photograph to be scanned
(5R, 4R or 3R). You can now begin scanning photographs.
3.Colour negatives: choose negative film if you are scanning negatives.