28
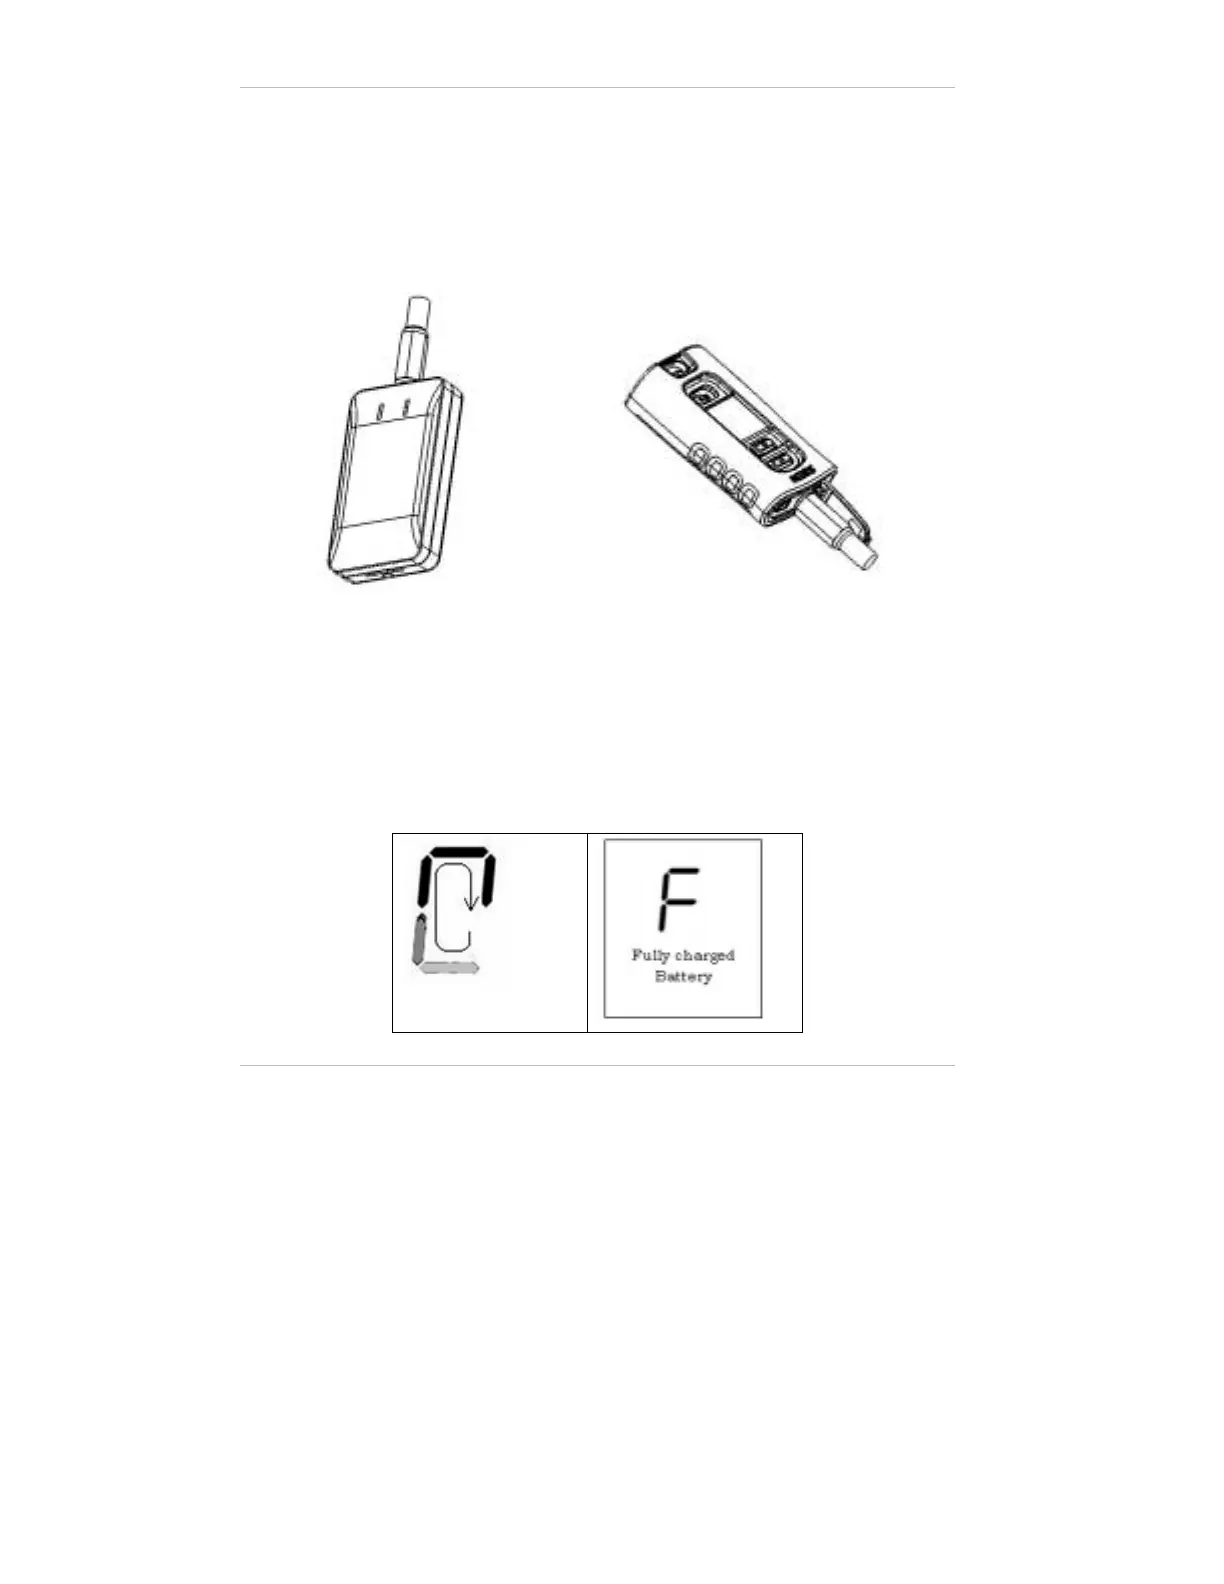
2. Connect the charger cable to the control unit and the orthosis
electronic module as in Figure and plug into the wall socket. You
should see a circular charging icon on the control units' digital
display and the status light on the module should start flashing
alternating between yellow and green.
Figure 10: Charging the Batteries
Leave the charger connected until the letter "F" appears on the
control units' digital display and the orthosis electronic modules'
status light turns a constant green, indicating a full charge. The
charging process should last approximately 3 hours.
Charging Icon
Figure 11: Charging Indicators