Reference Materials
“How To” Quick Reference Guide
Configuring Nest Thermostat for the
installation location and HVAC
system
Just after installation, the Nest Thermostat will guide you through a set up interview,
where you will configure it for the heating and cooling system it’s controlling and for the
home or business where it’s installed.
To help with HVAC configuration, the Nest Thermostat mechanically and electrically
detects the wires inserted into its press connectors. When the Nest Thermostat senses
which wires have been connected to its base, it will automatically configure its software
for the system type it has detected.
As an example, if it’s a heat only system, the Nest Thermostat won’t show any cooling
options. If it’s a heat pump, the Nest Thermostat will know and do a special test to
check the orientation of the O/B wire.
The set up interview will also guide you through connecting to the customer’s Wi-Fi
network, establishing the location through zip code, and establishing if the place of
installation is a home or business. All of this information helps the Nest Thermostat to
build a schedule that is best suited for the customer’s needs.
Use Pro Setup to configure your
customer’s HVAC system
Pro Setup allows professionals to configure how the Nest Thermostat controls each wire
connected to the base. Pro Setup is required when using dual fuel systems (e.g. heat
pump with furnace), humidifiers and dehumidifiers.
Pro Setup also offers configuration choices for other types of systems such as
two-stage heat pumps and emergency heat. It is available to installation
professionals during and after installation and allows them to specify how the Nest
Thermostat should control the HVAC system.
Testing the basic operation after
installation
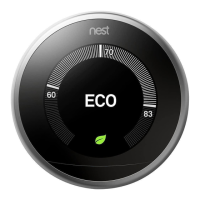
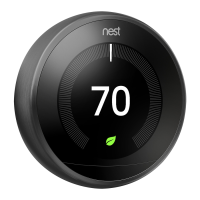
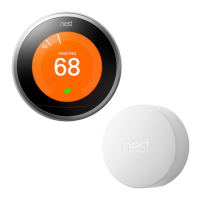
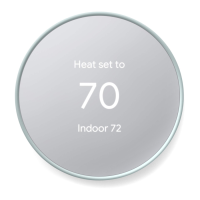
Activate heating and cooling
Simply turn the ring to set the current set point above or below the current ambient
temperature in the room. You’ll need to switch to and from heating and cooling modes as
you do this.
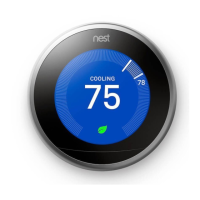
Switching modes
To switch to and from heating and cooling modes, follow these steps:
1. Press the ring to bring up the menu
2. Select the Heating and Cooling icon
3. Turn the ring to select HEAT or COOL
4. Press the ring again to select
Note: To protect the heating and cooling systems it controls, Nest Thermostat’s minimum
on-off times for manual temperature adjustments are 2.5 minutes for heat pumps and air
conditioning systems.
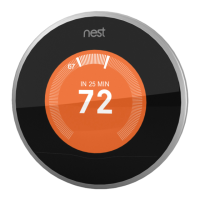
Testing second stage or
auxiliary heat after installation
Conventional Heating
Before Nest Thermostat activates Time-to-Temperature, second stage heat will turn on
when the setpoint is 4°F or greater than the room’s ambient temperature.
Heat Pumps
Auxiliary heat will turn on when the setpoint is 4°F and the outdoor temperature is below
50°F, the default auxiliary heat lockout temperature. Auxiliary lockout can be turned off in the
Heat Pump section of Equipment Settings in order to test auxiliary heat.
To test second stage or auxiliary heat at installation, just raise the temperature 4°F in
heating mode with the auxiliary lockout turned off. Once Time to Temperature is activated,
the Nest Thermostat will use this feature to manage second stage and auxiliary heat.