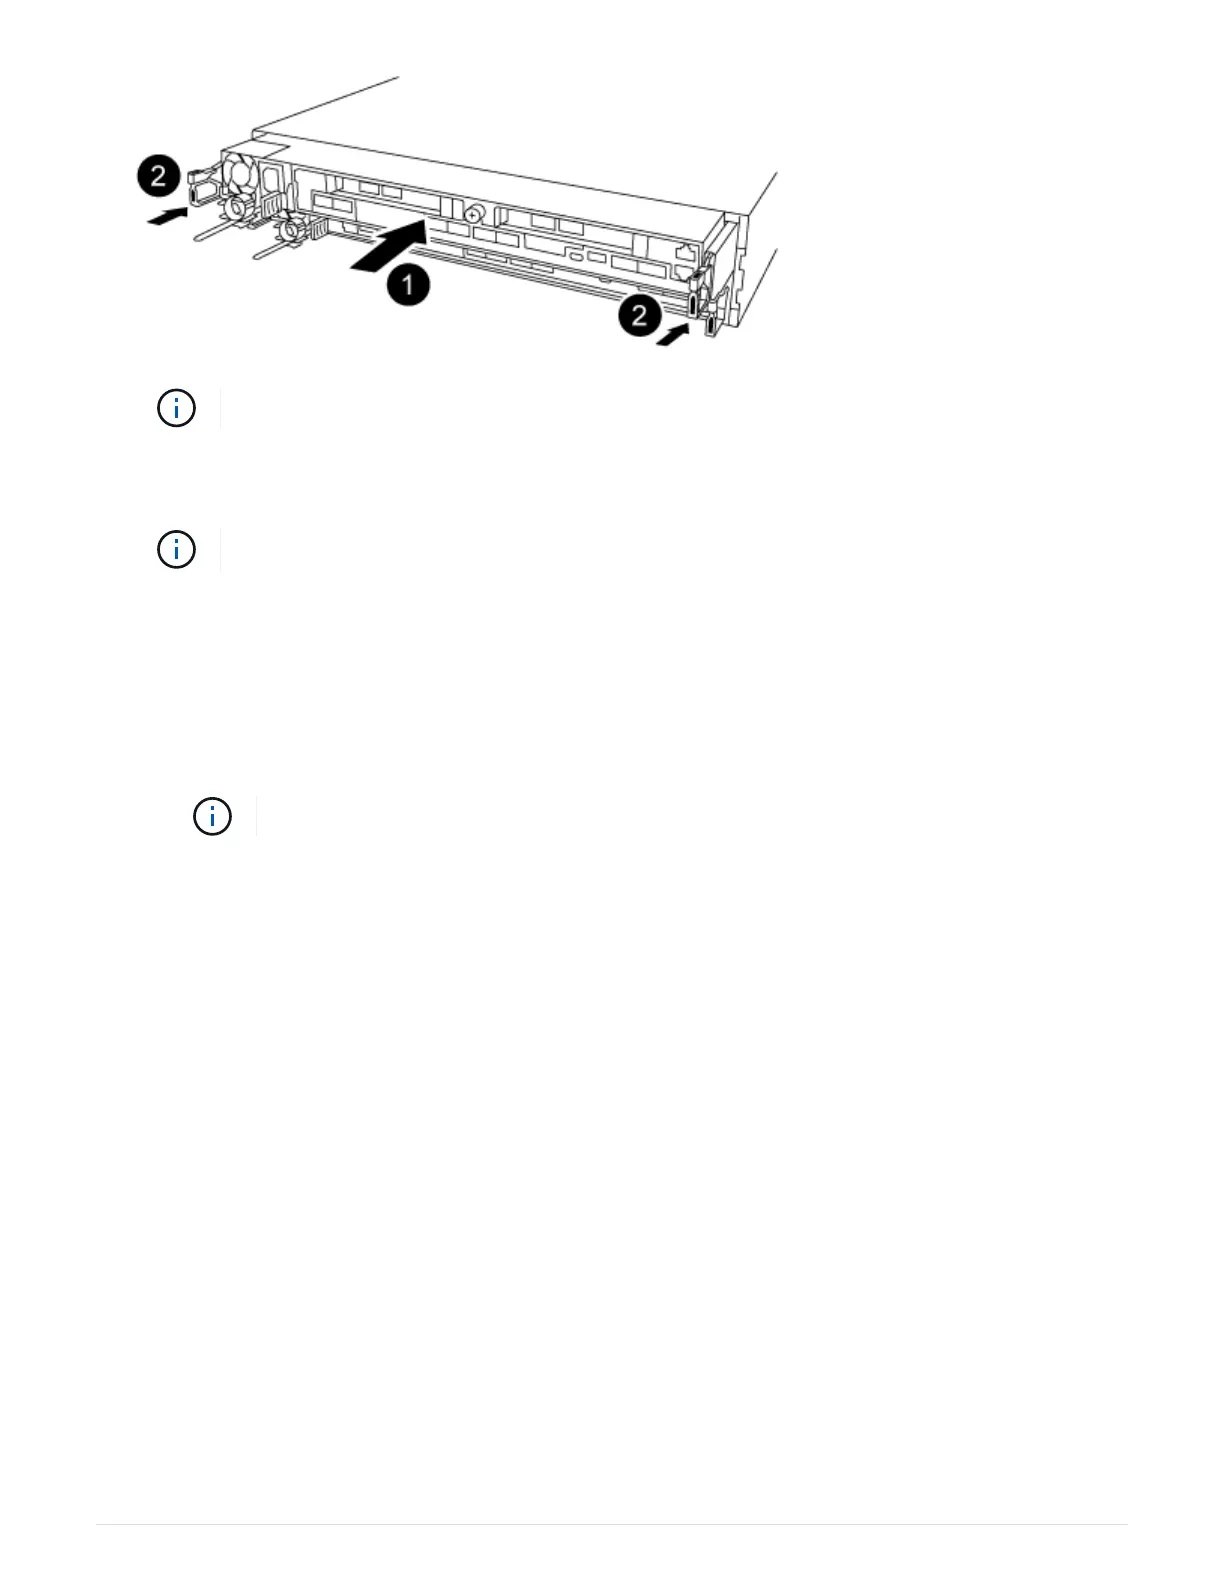
Do not completely insert the controller module in the chassis until instructed to do so.
3. Cable the management and console ports only, so that you can access the system to perform the tasks in
the following sections.
You will connect the rest of the cables to the controller module later in this procedure.
4. Complete the reinstallation of the controller module:
a. Make sure the latch arms are locked in the extended position.
b. Using the latch arms, push the controller module into the chassis bay until it stops.
c. Press down and hold the orange tabs on top of the latching mechanism.
d. Gently push the controller module into the chassis bay until it is flush with the edges of the chassis.
The latching mechanism arms slide into the chassis.
The controller module begins to boot as soon as it is fully seated in the chassis.
e. Release the latches to lock the controller module into place.
f. Recable the power supply.
g. If you have not already done so, reinstall the cable management device.
h.
Interrupt the normal boot process by pressing
Ctrl-C.
Step 5: Run diagnostics
After you have replaced a component in your system, you should run diagnostic tests on
that component.
Your system must be at the LOADER prompt to start diagnostics.
All commands in the diagnostic procedures are issued from the controller where the component is being
replaced.
1.
If the controller to be serviced is not at the LOADER prompt, reboot the controller:
system node halt
-node node_name
After you issue the command, you should wait until the system stops at the LOADER prompt.
559