Below are the instructions for setting Windows 8 to obtain an IP address automatically for your ethernet connection:
1. In Windows 8 Desktop view, move your cursor to the lower right; select Settings, and then Control Panel.
2. Double-click Network and Sharing Center.
3. From the list of tasks on the left, click Change adapter settings
4. For a wired network connection, right-click Local Area Connection, and select Properties.
5. From the Networking tab, make sure Internet Protocol Version 4 (TCP/IPv4) is checked, and then click Properties.
6. Select "Obtain an IP address automatically", and "Obtain DNS server address automatically".
7. Click “OK”, and then click “OK” again.
Below are the instructions for setting Mac OS X to obtain an IP address automatically for your ethernet connection:
1. Click on the Apple Menu, and go to "System Preferences".
2. Click on "Network".
3. Click on “Ethernet” or "Built-in Ethernet".
4. Click on the "Configure" drop-down box, and select "Using DHCP" then click "Apply".
Step 2: Configuring your wireless settings:
Please ensure that your modem/router is connected to your computer using an ethernet cable before continuing.
Troubleshooting Tip
After logging into your router, verify the following settings to troubleshoot issues with your wireless connection:
- Wireless MAC filtering is disabled.
- Your SSID is not hidden.
- Confirm your wireless security settings (Make sure you are using the correct wireless security key).
- Confirm your selected wireless security is supported by your wireless device.
LOGGING IN TO THE WEB INTERFACE
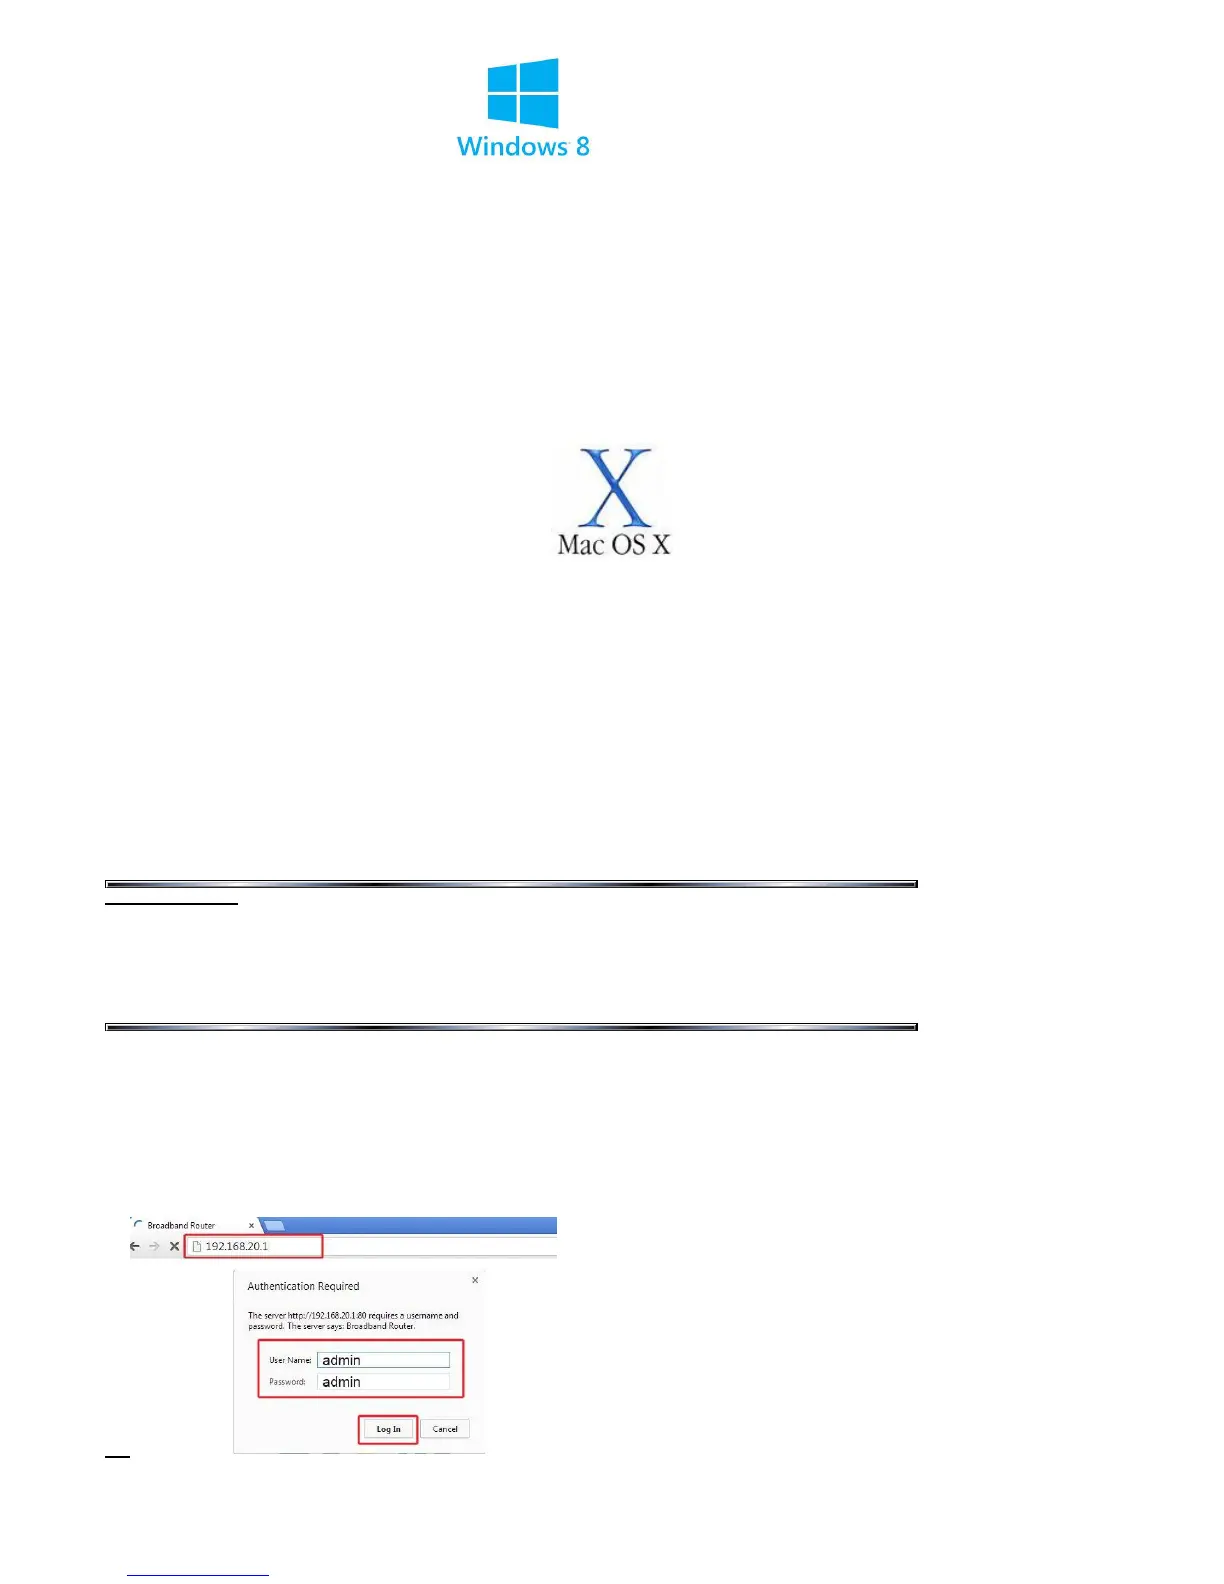
1. Open a web browser (such as Internet Explorer, Google Chrome or Firefox), type http://192.168.20.1 into the address bar and
press enter.
2. At the login screen, type admin into both the Username and the Password fields and click OK.
3. Click on the Wireless menu at the left of the page and then click on Basic options.