Security Gateway Manual SG-3100
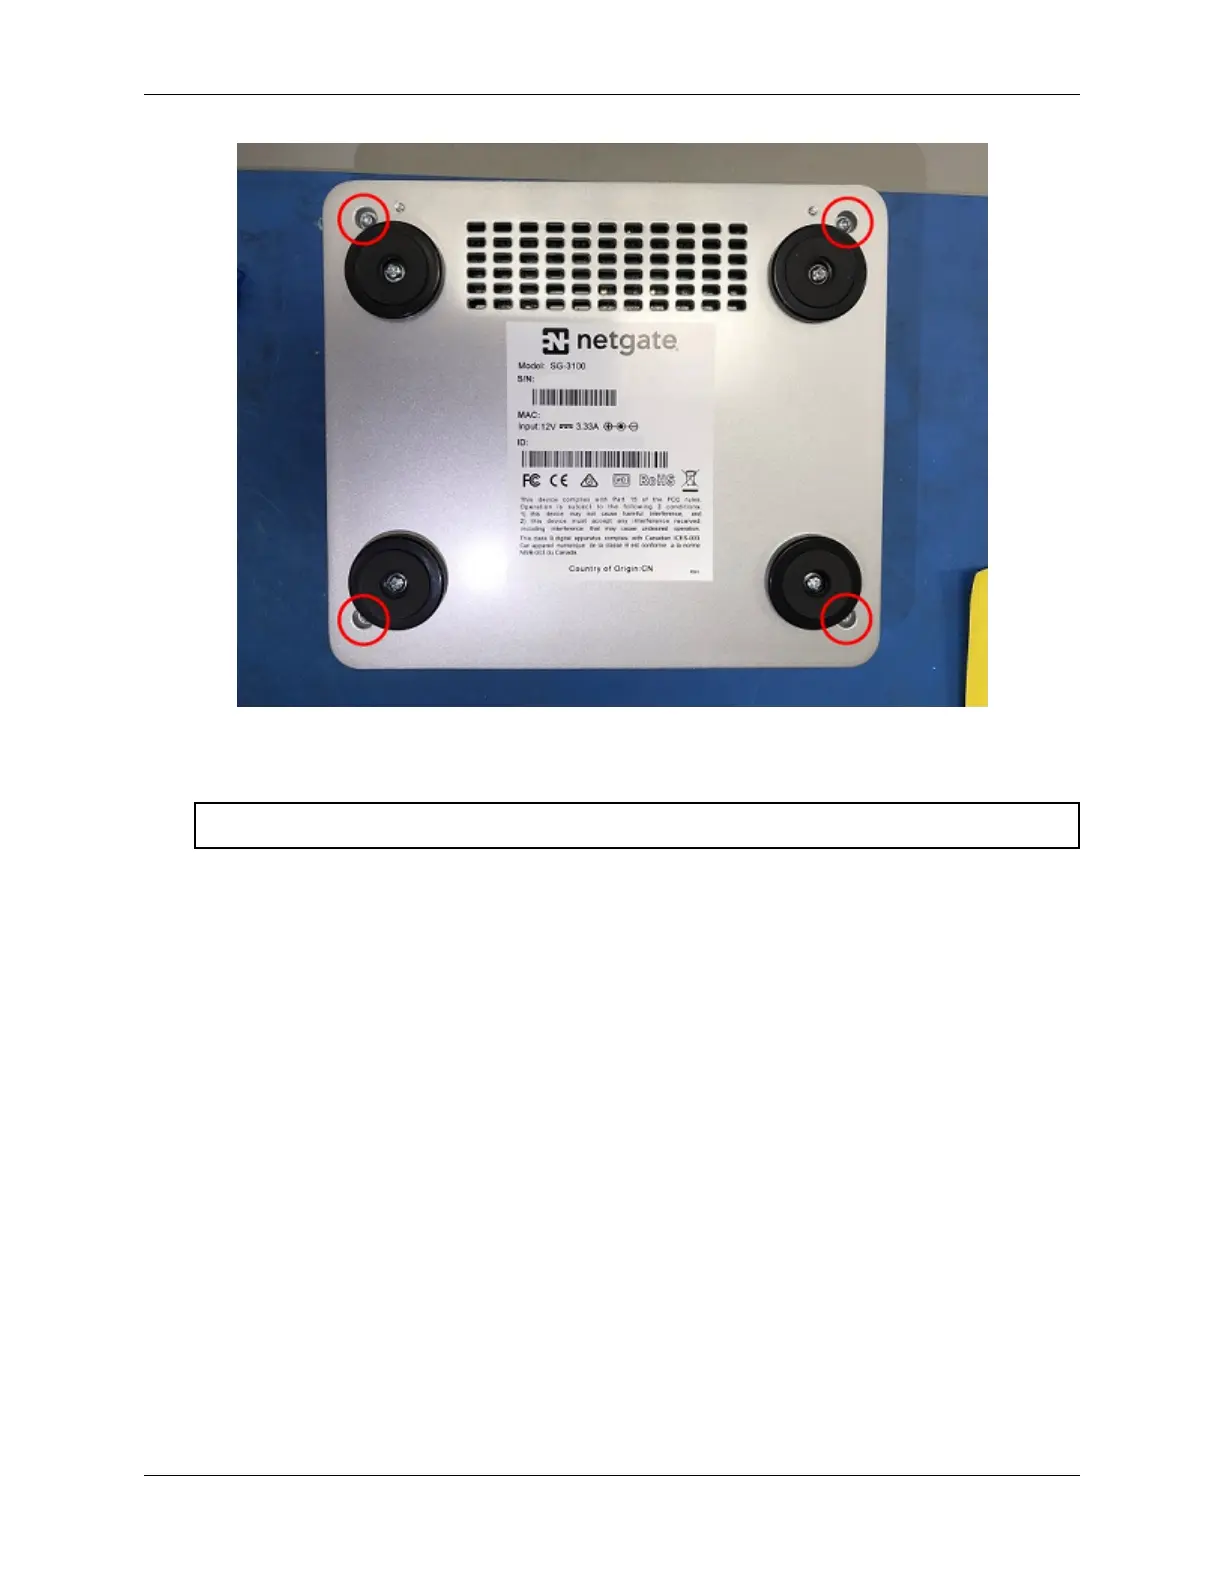
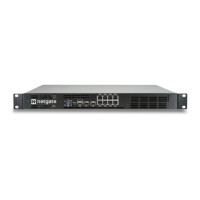
Fig. 4: Removing the SG-3100 Case Screws
Warning: The M.2 SATA card is keyed. Do not force it into the slot.
4. Gently push down the M.2 SATA card and replace the screw into the standoff.
5. Place the cover back on and turn the SG-3100 over. Replace the four (4) T10 Torx case screws. Be careful not
to crossthread the screws.
6. Reinstall the pfSense
®
Plus software on the new M.2 SATA drive.
7. Restore the configuration backup if one is available.
See also:
For information on restoring from a previously saved configuration, see Backup and Restore.
2.4 Configuring the Switch Ports
This optional guide shows the steps required to configure the 4 switched Ethernet ports as discrete ports.
The following attributes are used in this configuration guide but can be changed to suit other requirements:
• SG-3100 Ethernet Port: LAN4
• IP Address Assignment: 192.168.100.1/24
• VLAN Tag: 4084 (VLAN tags should be 4081-4084 for LAN Ports 1-4)
© Copyright 2022 Rubicon Communications LLC 38