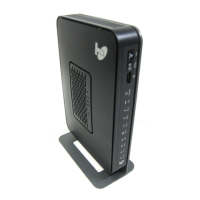
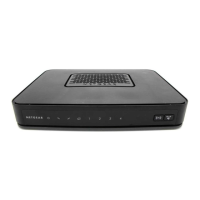
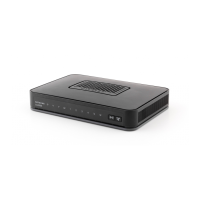
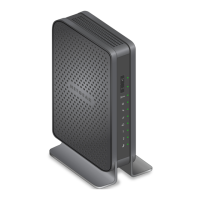
Connect the Gateway
To configure the gateway, you need a computer with DHCP enabled that has an available
Ethernet port.
1. Ensure that the gateway can be conveniently wired to the computer and is close to a power
outlet.
2. For better wireless performance, position the gateway vertically in the stand.
3. Connect cable port on the gateway to your cable line splitter or outlet (A).
Use the coaxial cable from your cable company.
4. Connect your computer to the gateway with the included Ethernet cable (B).
5. Connect the power adapter to the gateway (C).
6. Plug the other end of the power adapter into an electrical outlet.
7. Wait about 50 seconds for the gateway to start.
The Internet LED blinks, then turns solid green, indicating that a link was established to the
cable network.
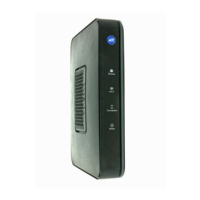
You can use the buttons and LEDs on the front of the gateway to check its status. For more
information, see the following table and the LED table on the other side of this document.