To set up Dynamic DNS if you already created an account:
1. Launch a web browser from a computer or WiFi device that is connected to the network.
2. Enter http://www.routerlogin.net.
A login window opens.
3. Enter the router user name and password.
The user name is admin.The default password is password.The user name and password are case-sensitive.
The BASIC Home page displays.
4. Select ADVANCED > Advanced Setup > Dynamic DNS.
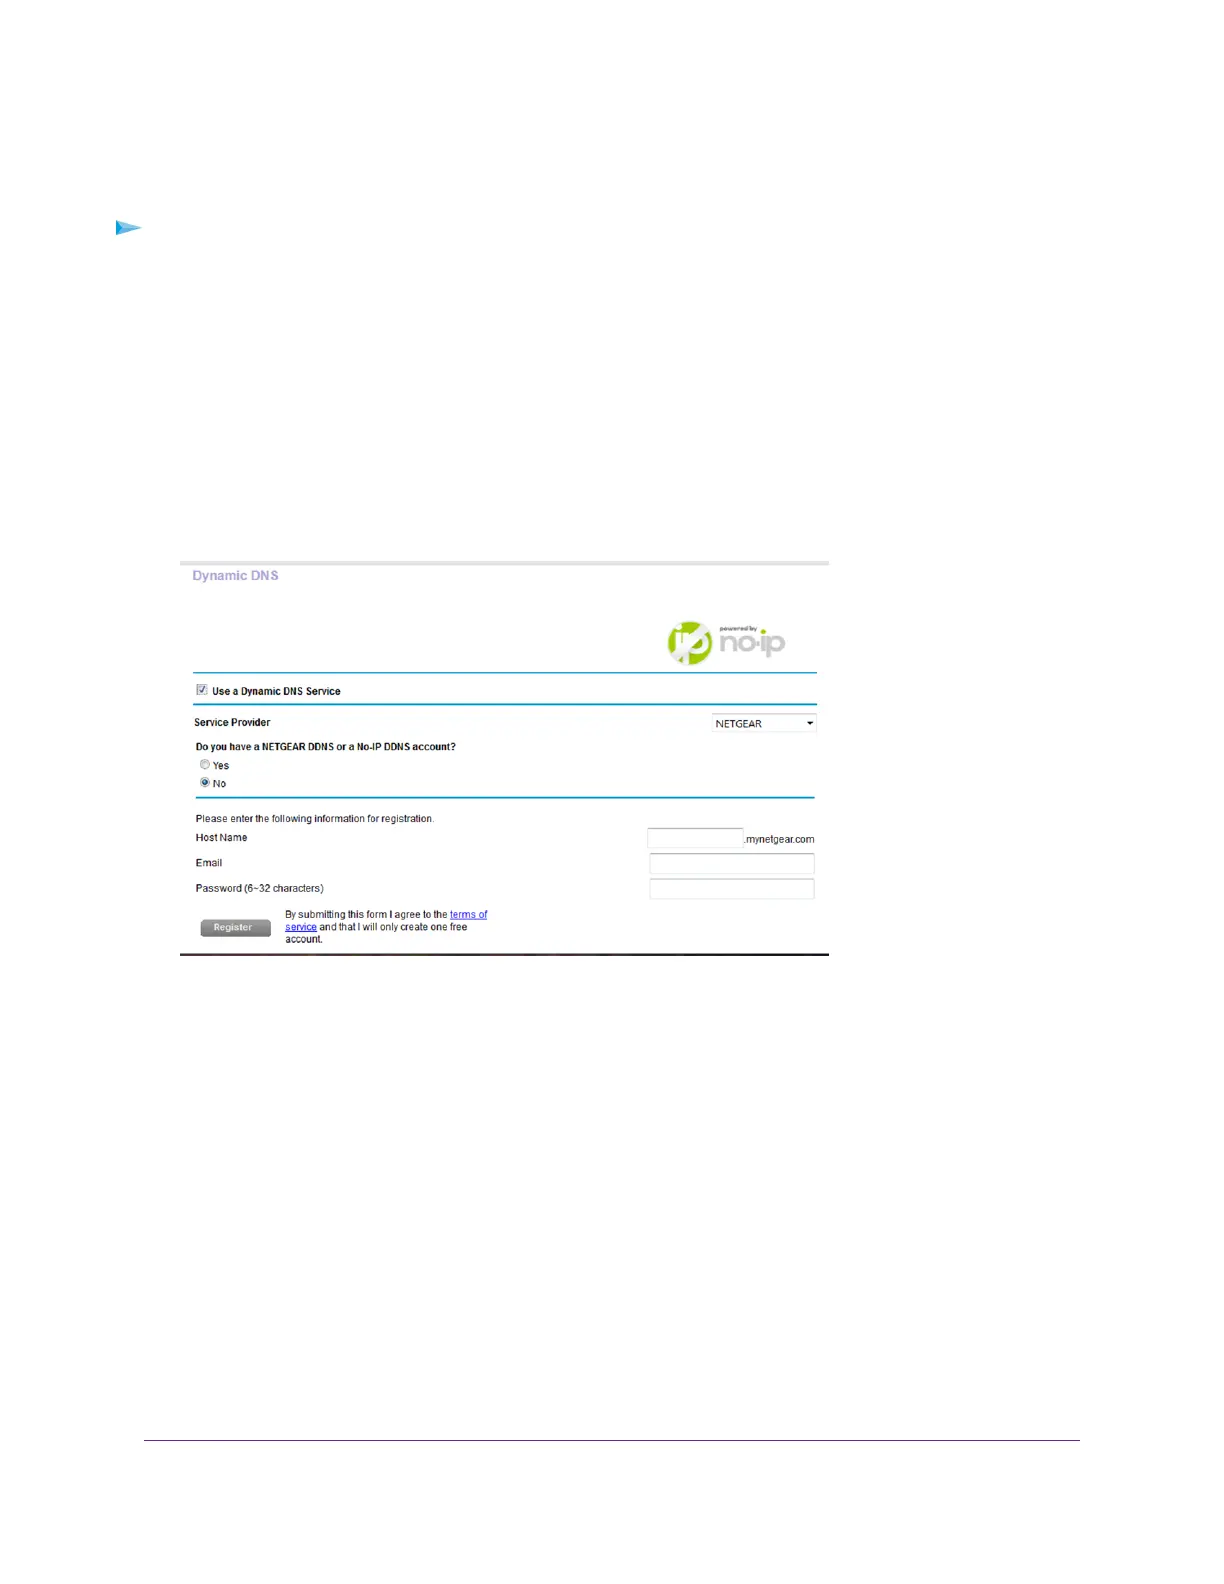
5. Select the Use a Dynamic DNS Service check box.
6. From the Service Provider menu, select your provider.
7. Select the Yes radio button.
The page adjusts and displays the Show Status, Cancel, and Apply buttons.
8. In the Host Name field, type the host name (sometimes called the domain name) for your account.
9. For a No-IP or Dyn account, in the User Name field, type the user name for your account.
10. For a NETGEAR account at No-IP, in the Email field, type the email address for your account.
11. In the Password (6-32 characters) field, type the password for your DDNS account.
12. Click the Apply button.
Your settings are saved.
13. To verify that your Dynamic DNS service is enabled in the router, click the Show Status button.
Use Dynamic DNS to Access USB Storage Devices Through the Internet
143
 Loading...