Ceiling and Wall Installation
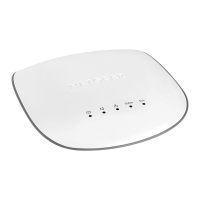
NETGEAR Insight Managed
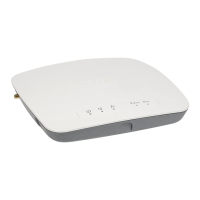
Smart Cloud Wireless Access Point (WAC505)
802.11 Wave 2 AC1200
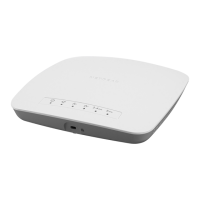
The installation kit includes components that let you mount the access point
to a drop ceiling (that is, to a ceiling bar) or to a wall and rubber feet for
desk installation.
Drop Ceiling Installation
Before mounting the access point in a high location, first set up and test the
access point to verify WiFi network connectivity.
If you are mounting the access point on a hard ceiling instead of a ceiling bar
that is typical for a drop ceiling, use the wall installation instructions.
¾ To mount the access point to a drop ceiling:
1. Slide the T-bar partially into
the metal bracket and attach
the metal bracket to the
ceiling bar.
Then push the T-bar over
the ceiling bar and use the
lock screw to lock the metal
bracket into place.
2. Making sure that the two
protruding hooks on the plastic
bracket are facing down, place
the plastic bracket against the
metal bracket and align the
four inner holes of the plastic
bracket with the four holes of
the metal bracket.
Then insert the four short
screws and secure the plastic
bracket onto the metal
bracket.
Package Contents Ceiling and Wall Installation Kit
• Plastic bracket for either drop ceiling mounting or wall mounting. (1)
• Metal bracket for drop ceiling mounting. (2)
• One metal T-bar for drop ceiling mounting. (3)
• One lock screw to lock the T-bar for drop ceiling mounting. (4)
• Four short screws to attach the metal bracket for drop ceiling mounting. (5)
• Four tall screws to attach the plastic bracket for wall mounting. (6)
• Four anchors for the tall screws for wall mounting. (7)
• Four rubber feet for desk installation. (8)
3. Hold the access point
upside down, with the
bottom facing the plastic
bracket that is attached to
the metal bracket, and align
the two rectangular holes
in the bottom of the access
point with the protruding
hooks on the plastic
bracket.
4. Push the hooks into the
holes and turn the access
point to secure it onto the
plastic bracket
The figure to the right
shows the final result.
4
5
6
7
8
1
2
3