Do you have a question about the NETGEAR WG511 and is the answer not in the manual?
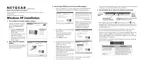
Install the driver and utility by inserting the CD and following the InstallShield Wizard steps.
Insert the PC Card into the CardBus slot and follow the Found New Hardware Wizard.
Right-click the system tray icon, view available networks, and connect to a selected one.
Check the WG511 utility, LEDs, and network connection status for successful connection.
Insert the CD, click Install Driver & Utility, and follow InstallShield Wizard steps.
Insert the PC Card into the CardBus slot and proceed with the Found New Hardware Wizard.
Open the utility, configure network settings, and save as a profile for activation.
Check the status tab, connection information, and LEDs on the WG511 for successful connection.
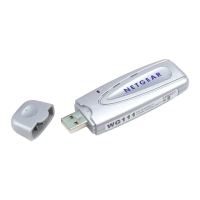
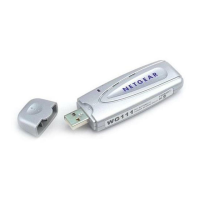
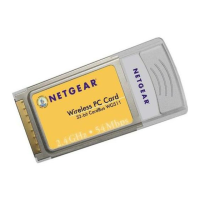
The NETGEAR WG511 54 Mbps Wireless PC Card is a device designed to provide wireless network connectivity for notebook computers. It facilitates connection to an access point, enabling users to access network resources and the internet wirelessly. The installation process is straightforward, guiding users through software and hardware setup, followed by network configuration and verification.
The primary function of the WG511 is to enable a notebook PC to connect to a wireless network. It acts as a wireless adapter, allowing the computer to communicate with an access point (such as a wireless router) using the 2.4 GHz 802.11b/g standard. This enables wireless internet access, file sharing, and other network-dependent activities without the need for physical Ethernet cables. The device supports various operating systems, including Windows XP, Windows 2000, Windows Me, and Windows 98, ensuring broad compatibility with different notebook environments.
The WG511 is designed for ease of use, starting with its installation.
The manual primarily focuses on initial setup and configuration, with limited explicit "maintenance" features in the traditional sense. However, implicit maintenance aspects include:
The NETGEAR WG511 is designed to be a reliable and user-friendly solution for adding wireless capabilities to notebook computers, emphasizing a guided installation and configuration process to ensure a smooth user experience.
| Device Type | Wireless Adapter |
|---|---|
| Frequency Band | 2.4 GHz |
| Data Rate | Up to 54 Mbps |
| Interface | PCMCIA |
| Security | WEP, WPA, WPA2 |
| Operating Systems Supported | Windows 98SE, ME, 2000, XP |