Do you have a question about the NETGEAR XRM570 and is the answer not in the manual?
Place your extender in the same room as your router for initial setup.
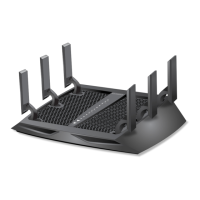
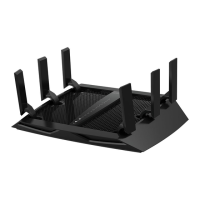
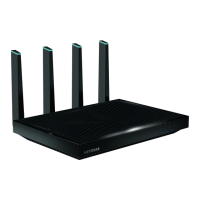
Instructions for setting up the router, including antenna and modem connection.
Connect the modem to the router's yellow Internet port using an Ethernet cable.
Connect power adapters to both devices and observe LED indicators for status.
Use the Router Link LED to determine the connection status between extender and router.
Select between the router web interface or the Nighthawk app for network setup.
Confirm that the Router Link LED and WiFi On/Off button LED are illuminated.
Find the sticker on the router displaying the WiFi network name and password.
Launch a web browser, follow prompts, or visit routerlogin.net to complete setup.
Move the extender to a new location and connect devices to the extended network.
Download the Nighthawk app and ensure the extender's Router Link LED is lit.
Verify router LED, find credentials, and connect your mobile device to the router's WiFi.
Launch the Nighthawk app and follow the on-screen prompts to finish network setup.
Move the extender to a new location and connect your devices to the extended network.
Move extender halfway between router and poor signal area, then power it on.
Use the Router Link LED to find the optimal extender-to-router connection spot.
Launch a web browser from a device connected to your extender's network.
Enter the correct URL (mywifiext.net or IP address) to access the extender's login page.
Enter your router's admin username and password to log in to the extender.
Launch browser, navigate to routerlogin.net, and enter admin username and password.
Use WPS buttons on both extender and router to establish a wireless connection.
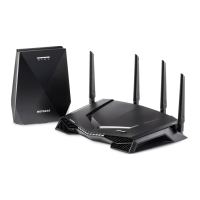
This document provides a quick start guide for the NETGEAR Gaming Router and Mesh WiFi System, Model XRM570. It outlines the steps for initial setup, connecting the router and extender, and configuring the WiFi network, along with troubleshooting tips and support information.
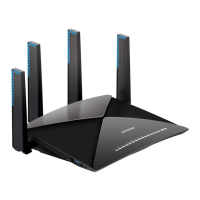
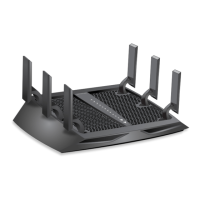
The NETGEAR XRM570 is a gaming router and mesh WiFi system designed to provide a robust and extended wireless network. It consists of a primary gaming router and a WiFi extender, working together to create a seamless mesh network throughout your home. The primary function of the gaming router is to establish the main internet connection and manage network traffic, with a particular focus on optimizing performance for online gaming. This often involves features like Quality of Service (QoS) to prioritize gaming data and minimize latency. The WiFi extender's role is to expand the coverage of the router's WiFi signal, eliminating dead zones and ensuring strong, consistent connectivity in areas further away from the main router. When set up as a mesh system, the router and extender communicate with each other to form a single, unified network, allowing devices to roam seamlessly between the router and extender without manual switching. This integrated approach ensures that devices always connect to the strongest available signal, providing a smooth and uninterrupted online experience across your entire home. The system supports both 2.4 GHz and 5 GHz WiFi bands, offering flexibility for various devices and network demands.
The NETGEAR XRM570 offers several user-friendly features to simplify setup and optimize network performance.
The system offers two primary methods for setting up your WiFi network:
Router Web Interface:
www.routerlogin.net.Nighthawk App:
Nighthawk-app.com.The NETGEAR XRM570 includes features and guidelines that contribute to its maintenance and ensure continued optimal performance.
www.mywifiext.net (if One WiFi Name is disabled) or http://mywifiext.local (for Windows, Mac, and iOS) or the extender's IP address (for Android devices).http://www.routerlogin.net in a web browser. The default username is admin, and the password is the one specified during the first login. The username and password are case-sensitive.www.netgear.com/support for product registration, help, latest downloads, user manuals, and community forums.https://www.netgear.com/about/regulatory/. Users are advised to review this document before connecting the power supply.These features collectively ensure that users can effectively set up, monitor, and maintain their NETGEAR XRM570 Gaming Router and Mesh WiFi System for optimal performance and extended WiFi coverage.
| Model | NETGEAR XRM570 |
|---|---|
| Wi-Fi Performance | AX6000 |
| USB Ports | 1 x USB 3.0 |
| MU-MIMO | Yes |
| Beamforming | Yes |
| Antenna | 4 x External Antennas |
| Wi-Fi Standard | 802.11ac |
| Frequency Bands | 2.4 GHz and 5 GHz |
| Security | WPA3 |