Charging preparation
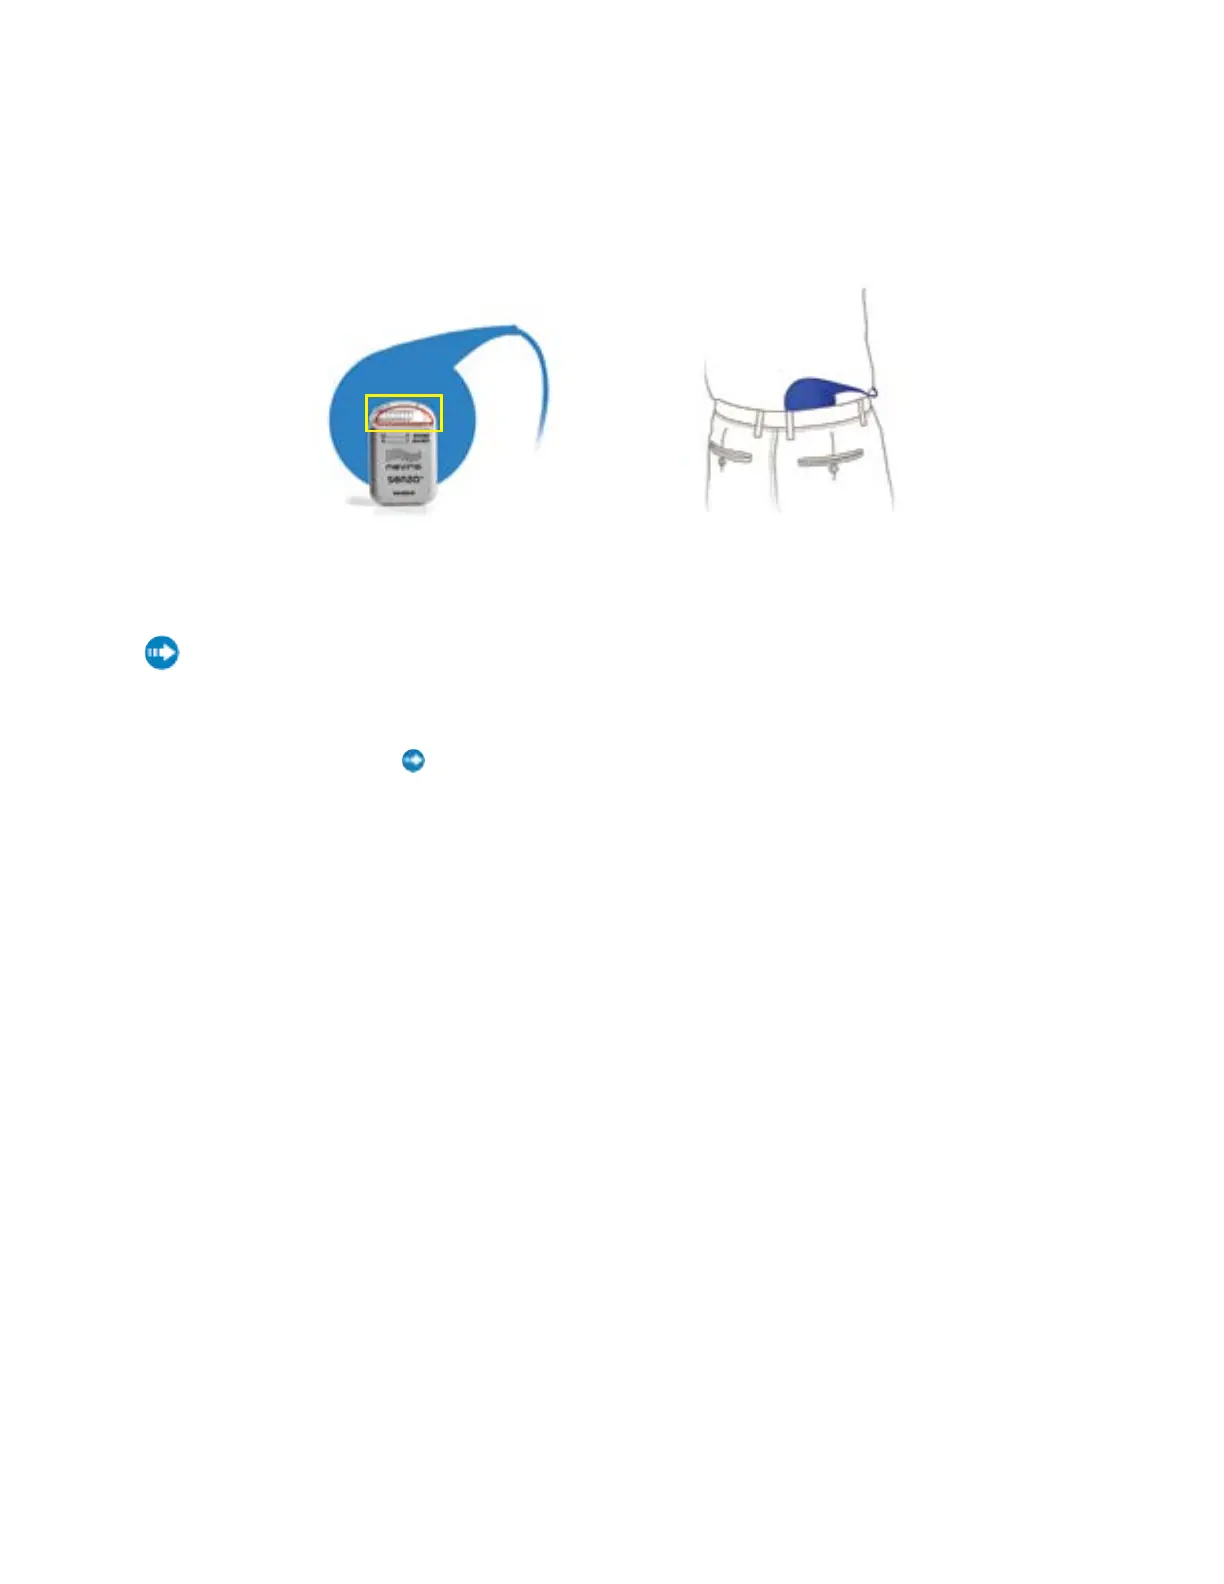
Place the center of the circular Charging Coil over the top of your Implant.
• Figure 1 shows that the top of the Implant (in yellow box) is at the center of the Charging Coil.
• Figure 2 shows an Implant just below the beltline. Your Implant may be in a different location, such as on your
front side, in the abdomen (not shown).
Initiate charging
Press and hold until beeping starts, then release.
1. Beeping and blinking of green lights continues until the Charger links with the Implant.
2. If 10 to 12 seconds pass without a link, the Charger will sound one long beep and shut off. Reposition the
Charging Coil and press hold again.
3. When lights appear on the Antenna Strength Indicator, a link has been made. More lights mean a better link, and
make it less likely that charging will be interrupted by movements.
4. Ifthelinkisinsucientorlost,theAntennaStrengthIndicatorwillshowonlythe small orange bar and beep
intermittently.
Ifthelinkisnotmade,isinsucient,orislost,repositiontheblueChargingCoilslowly and repeat Steps
1 and 2.
Charging
Charging is in progress when you see lights blinking on both the Charger Battery Level Indicator and
the Implant Battery Level Indicator. As charging progresses, the number of lights on the Charger
Battery Level Indicator will decrease and the number of lights on the Implant Battery Level Indicator will
increase.
• If the link is lost, the Charger will beep. Reposition the Charging Coil and repeat Steps 1 and 2.
Figure 1 Figure 2
 Loading...