6
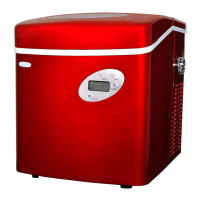
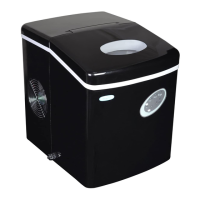
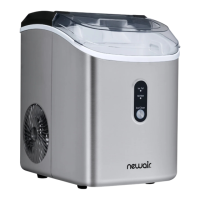
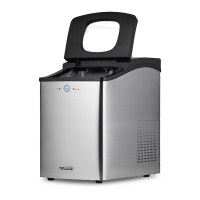
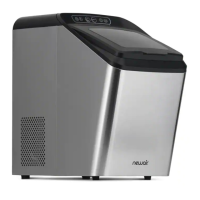
NEWAIR AI-215 SERIES PORTABLE ICE MAKER
ASSEMBLY & INSTALLATION
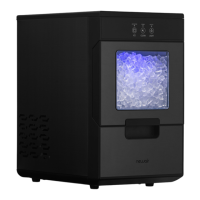
1. Remove the exterior and interior packaging. Check that the ice basket and
ice scoop are included. If any parts are missing, please contact customer
service.
2. Clean the interior with lukewarm water and a soft cloth. Take out the ice
basket and clean it.
3. Place your ice maker in a location that is protected from direct sunlight and
other heat sources (e.g., stove, furnace, radiator). Make sure it is on a level
surface with at least 4 inches of space between the back and sides of the
unit and the wall.
4. Allow one hour for the refrigerant fluid to settle in the compressor before
plugging the ice maker in.
NOTICE: After unpacking your ice maker, it must
rest in an upright position for at least one hour
before you plug it in or the compressor may be
damaged, shortening the life span of the unit.
5. Plug in your appliance into an exclusive, properly installed and grounded
wall outlet. Do not under any circumstances cut or remove the third
(Ground) prong from the power cord. Any questions concerning power
and/or grounding should be directed to a certified electrician.
We recommend you clean your ice maker thoroughly before using it. Please
see Cleaning & Maintenance on page 10 of this guide.
OPERATING INSTRUCTIONS
MAKING ICE
1. Open the unit’s cover, remove the ice basket, and pour water into the
water reservoir. Keep the water level below the “MAX” line marked inside
the reservoir.
2. Plug in the unit to the grounded power supply outlet.

 Loading...