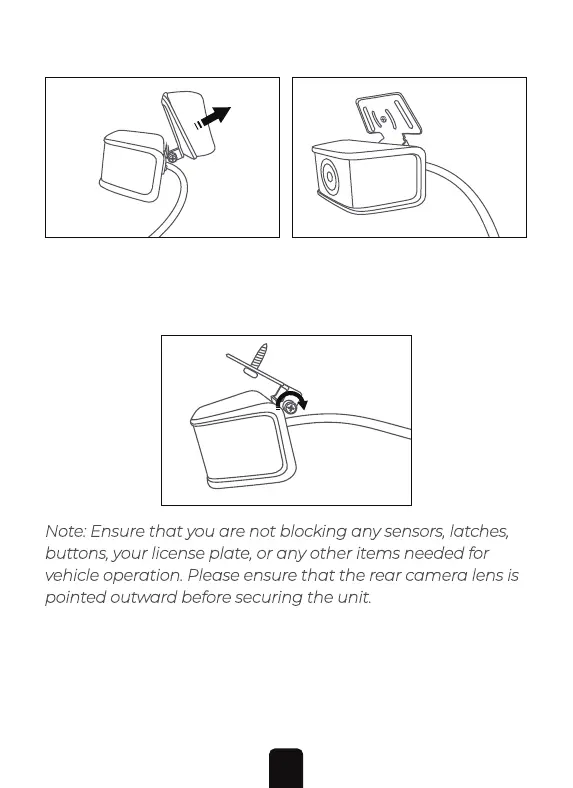
3. Once you have confirmed that the angle of the camera is
correct you can then tighten the hinge screw (shown below)
to secure the unit in place.
Note: Ensure that you are not blocking any sensors, latches,
buttons, your license plate, or any other items needed for
vehicle operation. Please ensure that the rear camera lens is
pointed outward before securing the unit.
Step 2: Access your trunk's wiring areas:
Open your trunk. Using the provided pry tool, or another trim
removal tool, open the interior trunk panel as shown in the
image below. Removing this panel will expose the vehicle's
2. Remove the other side of the double-sided tape's backing.
Secure the rear camera above the rear license plate pointing
outward. Alternatively, you can hard mount the rear camera
in place by utilizing the provided screw.
21