2. Various components of the device and assembling
After opening the box, at frst remove the vertical sensor from the package. At the
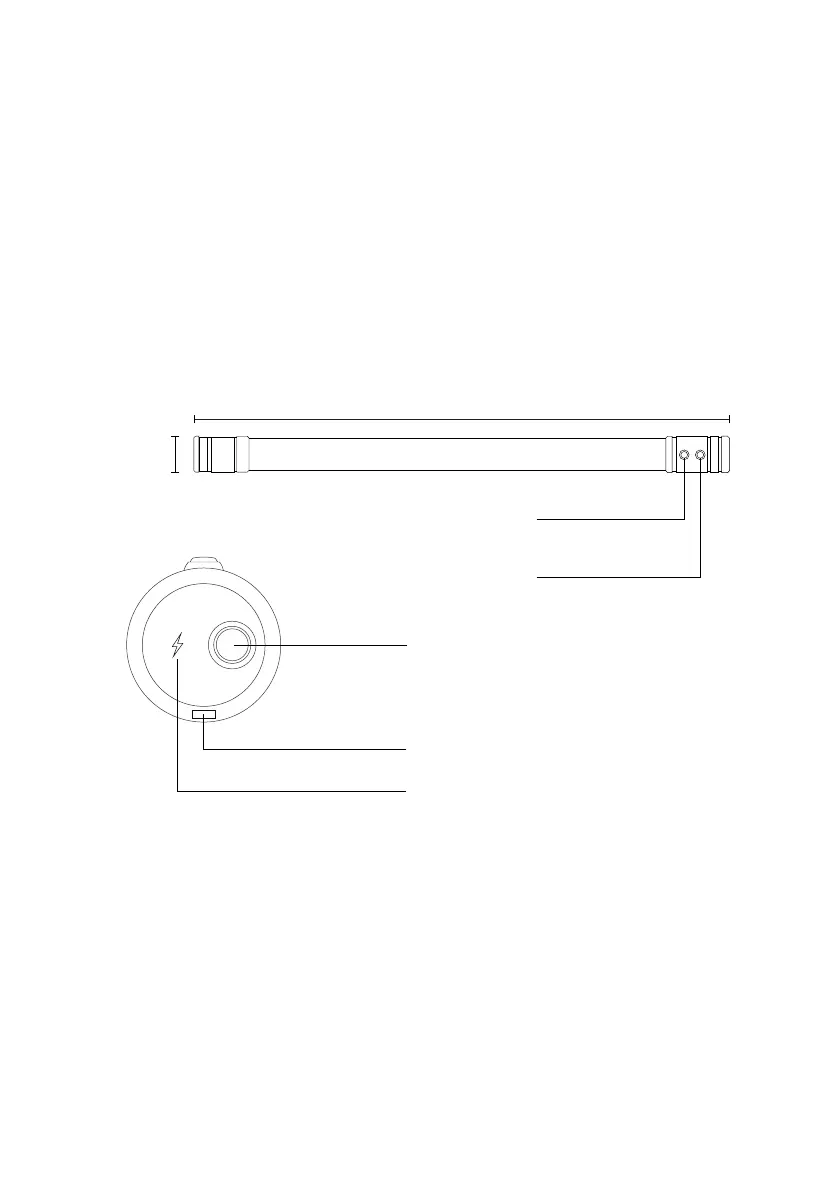
top of the sensor there is an on/o switch and a charging port to charge the sensor.
There are two keys on the handle. The top is marked as “New Line” to start the new
scan path and the bottom key does two things: “Start” and "Ground Balance". To
begin the scanning process, press the on/o switch which is placed on top of the
sensor. Turning on the key should display the green word “Vega” on top of the sensor.
This is a sign which indicates the start of the operation. The important thing to note
is that the hologram must be on the sensor body and the sensor serial number
should match the warranty serial number.
2-1- How to use it correctly
Hold the vertical sensor of the device from the top of it which is the input of the
charger cable and the power switch with your hand. The lower part of the device with
the downward arrow sign must be located near the ground to begin operations.
Please note that the machine must be perpendicular to the ground and this condi-
tion shall not be changed while scanning. To do the scan, go straight to from a place
the end and avoid twisting and shaking the sensor.
6
90 CM
5.6 CM
ON/ OFF Switch
Charger sign
Ground Balance/ Start
New Line
Type C Charger
 Loading...