24
(B) If you are using the lower portion (see picture B below) of the license
plate:
i. Place one shim behind the reversing camera screw holes and
then the other shim on the front portion of the reversing camera
screw holes;
ii. Insert the screw/bolt through the front shim and continue
through the reversing camera screw holes through the rear
shim and then into the lower portion license plate hole;
iii. Screw into the body, but do not screw all the way in yet;
iv. Repeat steps i. – iii. with the second screw into the other lower
portion license plate hole; and
v. Now tighten both screws/bolts until the reversing camera and
license plate are firmly secured to the vehicle body.
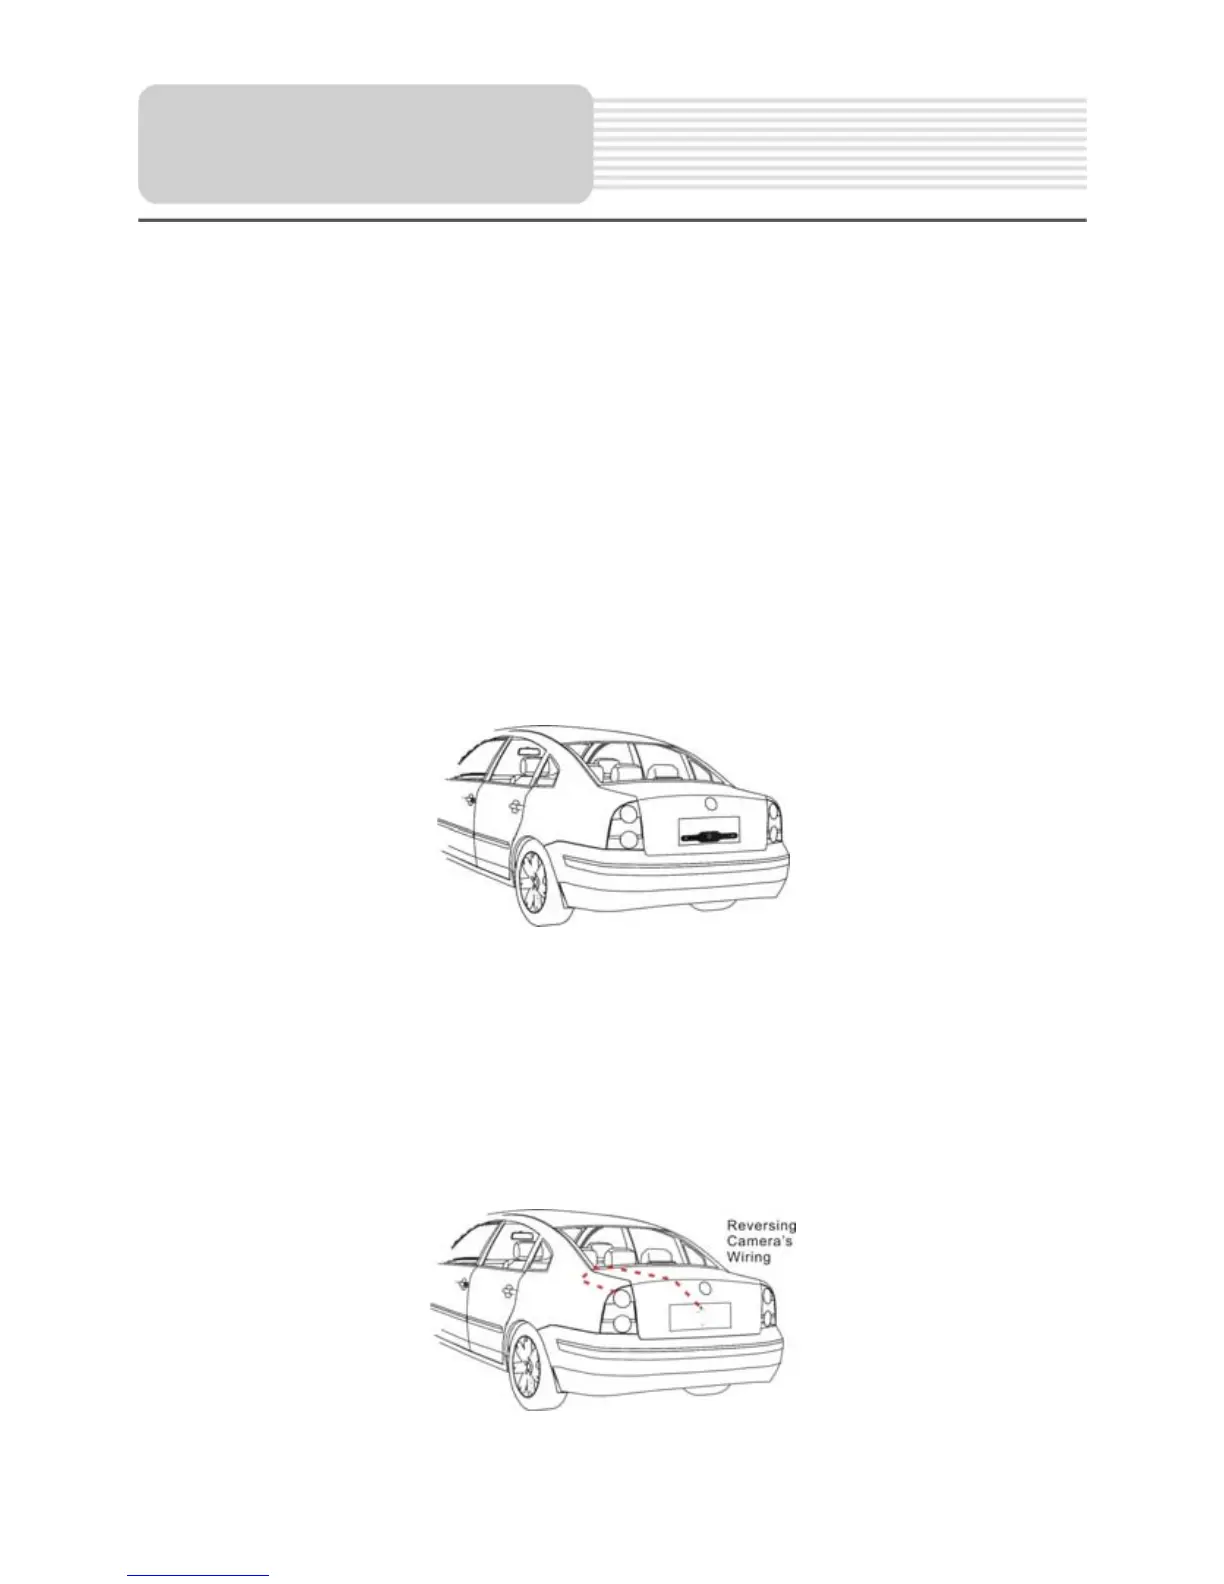
STEP THREE: Accessing the Power Source.
You must now determine a route to run your reversing camera’s wiring to the power
source (the reverse taillight power wiring). Follow pictures C below for a sample route.
Depending on the type of vehicle, the below pictures may not provide an exact replica of
your vehicle set up. For example, an SUV would require a similar route, but along a
different interior. Slip ties (not included) or some other fastener may be needed to
properly run the power wire to the power source.
Reversing Camera