23
Step 15: Press the UP button to run the system into the ceiling to gauge the
flushness of the Ceiling Panel relative to the surrounding ceiling. If adjustments
are needed, run the system down, remove the Interface Plate then either tighten
the Fine Adjustment Screws to move the Ceiling Panel UP, or loosen them to
move the system DOWN.
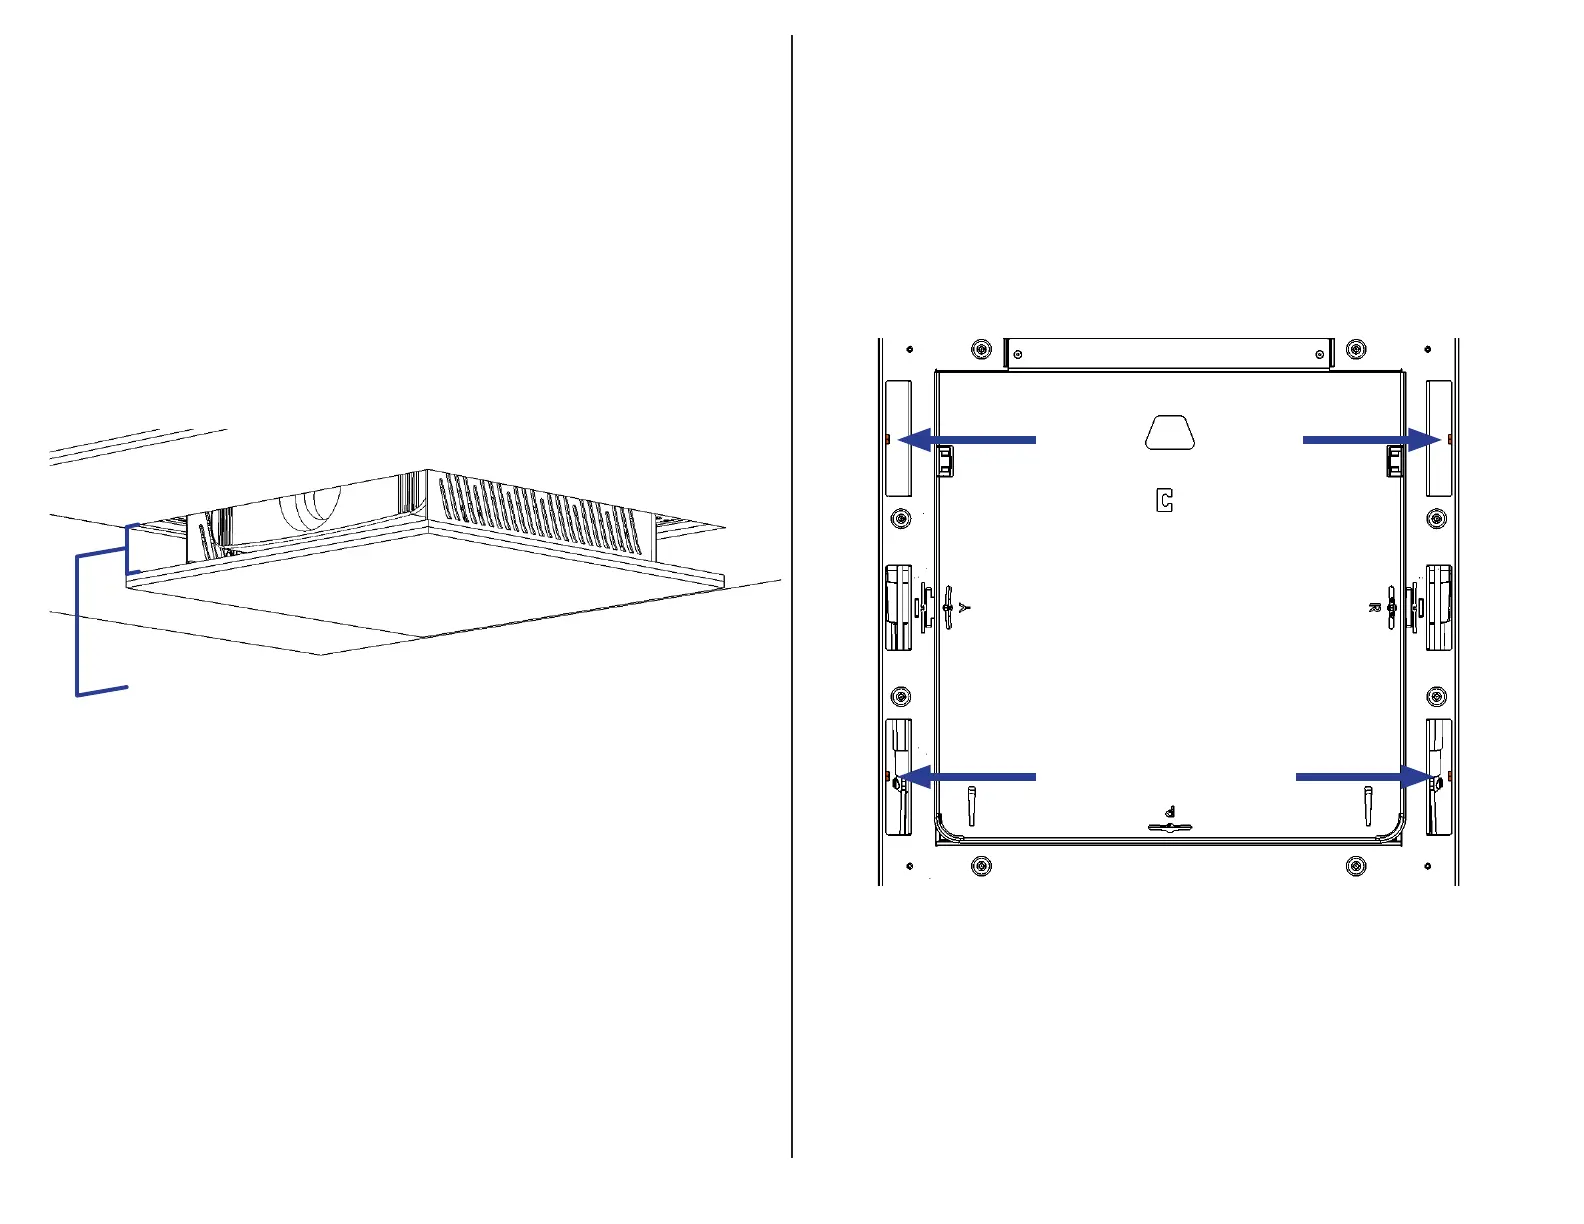
Important Note: You must adjust the Fine Adjustment Screws in a Star
Pattern and in Increments. Do not fully adjust each screw individually as this
may potentially cause the system to wedge itself inside the Installation Bracket.
Step 16: Once the Ceiling Panel is flush, run the system down, remove the
Ceiling Panel once more, and fasten the (4) Set Screws located in the four
corners of Actuation System.
(Gap Exaggerated for Clarity)