18 – English
EN
button.
1. Illuminate the sun sensor with bright sunlight; if the
day is very cloudy, use a lamp. The brightness of
the light striking the sensor must be at least 1 klux.
2. Press and hold the
Button for at least 1 second,
release when the LED starts flashing green.
3. Check that, the motor lowers the awning and the
green LED flashes briefly several times (= threshold
exceeded).
4. Obscure the sun sensor with a hand or a black
cloth which lets no light through, and check:
a) the LED briefly flashes red and green alter-
nately several times (= threshold not exceeded);
b) the motor rises the awning.
5. Remove your hand or the cloth.
6. Press the B Button to end the procedure.
5.2 - Testing the wind sensor (Quick reference
guide - Step 5)
• Before performing the procedure, move the awning
to a middle position.
• To escape the procedure at any point, press the B
button.
1. Press and hold the
Button for at least 1 second,
release when the LED starts flashing red.
2. Rotate the wind sensor blades and check: a) the
motor must raise the awning; b) the sensor must
prevent the motor receiving any other commands
(thus protecting the awning against the wind);
c) the LED must flash red several times (= threshold
exceeded).
3. Now stop the blades and check: a) the LED briefly
flashes red and green alternately several times
(= threshold not exceeded); b) the sensor must
deactivate the protection function: send a trans-
mitter command to the motor, the awning should
respond.
4. Press the B Button to end the procedure.
5.3 - Testing the rain sensor (Quick reference
guide - Step 6)
• Before performing the procedure, move the awning
to a middle position.
• To escape the procedure at any point, press the B
button.
• Warning! The rain sensor may be hot (about 45°C).
1. Press and hold the
Button and Button for at
least 2 seconds, release when the LED starts flash-
ing orange.
2. Place a finger on the rain sensor, hold it there and
check: a) after 2 second the motor must raise the
awning; b) the LED must flash orange several times
(= rain detected).
3. Take your finger off the sensor and check: after 3
seconds the LED briefly flashes red and green alter-
nately several times.
4. Press the B Button to end the procedure.
6 - SETTING THE CLIMATIC SENSOR TRIP
VALUE
You can set the “trip value” of the climatic sensors, i.e.
a value above (or below) which the sensor trips and
sends a wireless command to the receiver in which it
is memorized.
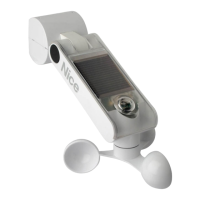
6.1 - Operation of the “Wind” threshold (fig. 5)
The wind sensor measures the wind speed in real time;
when it exceeds the threshold for at least 3 seconds,
the sensor sends the "Wind over-threshold" status and
suspends sending commands for other sensors.
When the wind speed drops below half of the thresh-
old for at least 4 minutes, the sensor sends the "Wind
under-threshold" status. After 10 minutes (about) the
sensor resumes sending other commands.
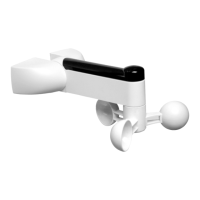
6.2 - Operation of the “Rain” sensor (fig. 6)
The rain sensor operates in ON/OFF mode and has no
threshold adjustment. When it starts to rain the sensor
sends the "Presence of rain" status.
When the rain or snow stops, the sensor sends the
"Absence of rain" status.
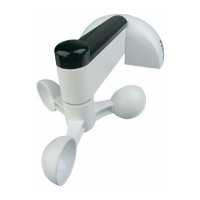
6.3 - Operation of the “Sun” threshold (fig. 7)
The sun sensor measures the brightness of the sunlight
in real time; when it exceeds the threshold for at least
2 minutes, the sensor sends the "Sun over-threshold"
status.
When the brightness drops below half of the thresh-
old for at least 15 minutes, the sensor sends the "Sun
under-threshold" status.
6.4 - Setting the “Sun” threshold (Quick reference
guide - Step 7)
1. Press the
Button once.
2. During the procedure, the green LED indicates cur-
rent threshold (see Table 1) every 1 second.
3. Press the
Button to cycle to the next position.
4. To terminate the procedure, press the B Button or
wait for the green flashing to stop.
5. Orange LED will indicate saved threshold position.
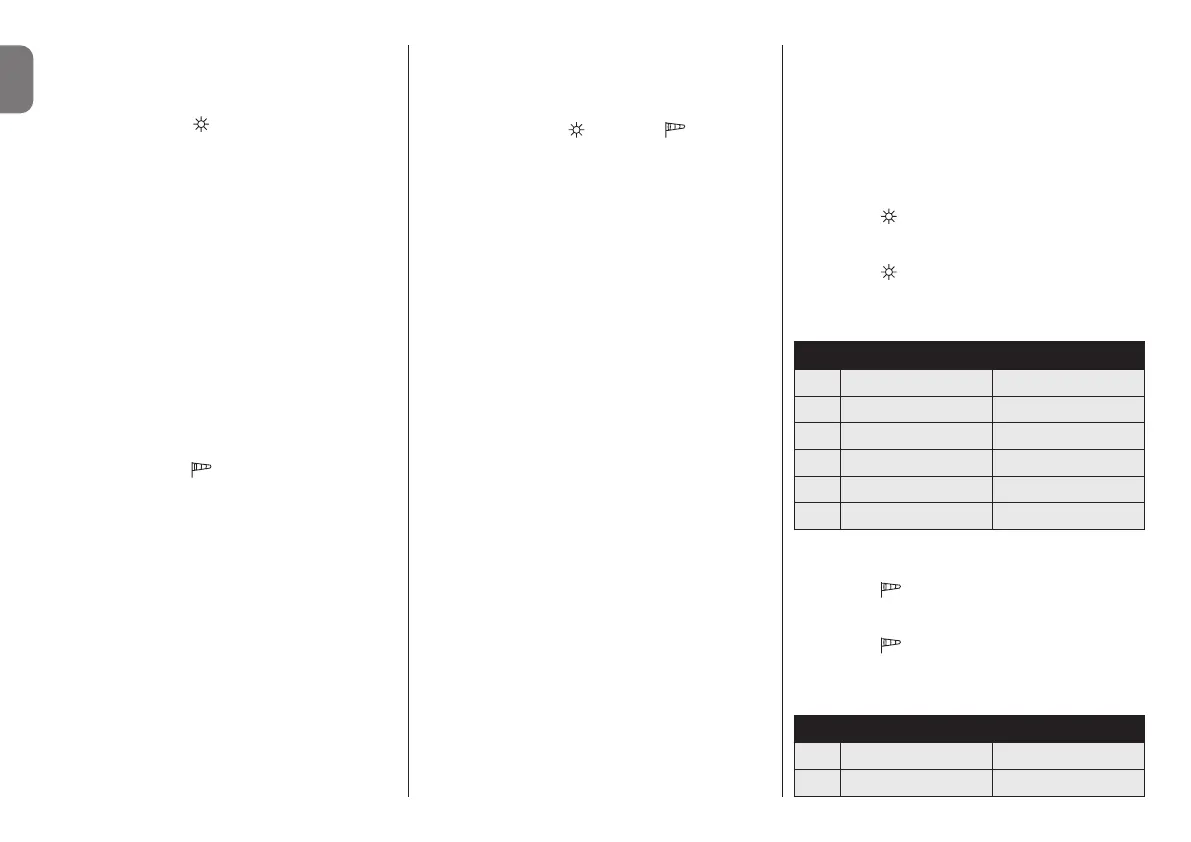
Table 1 - available "Sun" thresholds
N° LED signal Threshold
1 1 ash 5 klux (default)
2 2 ashes 15 klux
3 3 ashes 30 klux
4 4 ashes 45 klux
5 5 ashes 60 klux
6.5 - Setting the “Wind” threshold (Quick refer-
ence guide - Step 8)
1. Press the
Button once.
2. During the procedure, the red LED indicates current
threshold (see Table 2) every 1 second.
3. Press the
Button to cycle to the next position.
4. To terminate the procedure, press the B Button or
wait for the green flashing to stop.
5. Orange LED will indicate saved threshold position.
Table 2 - available "Wind" thresholds
N° LED signal Threshold
1 1 ash 20 kph (default)
 Loading...