GB
7
1. Press and hold down the or key until the shutter (awning) reaches the desired position.
2. Press the key corresponding to position 0. The LED on the key starts flashing.
3. The green OK LED starts flashing: press OK within 3 seconds to confirm.
3s
4. On completion of the operation, the LED on the key for position 0 will light up.
Note: the movement associated with the and keys may not be correct until you have set position 1.
Note: on certain types of motor, changing position 0 may cancel positions 0 and I.
Table 10 Programming position 0 Example
or
1. Use the or keys to bring the shutter (awning) into the desired position.
2. Press the key corresponding to position 1. The LED on the key starts flashing.
3. The green OK LED starts flashing: press OK within 3 seconds to confirm.
3s
4. On completion of the operation, the LED on the key for position 1 will light up.
Note: changing position 1 cancels the intermediate position.
Table 11 Programming position 1 Example
or
1. Use the or keys to bring the shutter (awning) into the desired position.
2. Press the key corresponding to the intermediate position. The LED on the key starts flashing.
3. The green OK LED starts flashing: press OK within 3 seconds to confirm.
3s
4. On completion of the operation, the LED on the key for the intermediate position will light up.
Note: it is not possible to set the intermediate position if position 1 has not yet been set.
Table 12 Programming the intermediate position Example
or
4.4.1) Manual programming of positions 0, 1 and I
When setting the positions, follow the sequence: 0 1 I .
The procedure for setting the positions may differ according to the type of motor used; you are therefore advised to consult
the technical schedules, which are also available at the site www.niceforyou.com for specific details and example for each type
of motor.
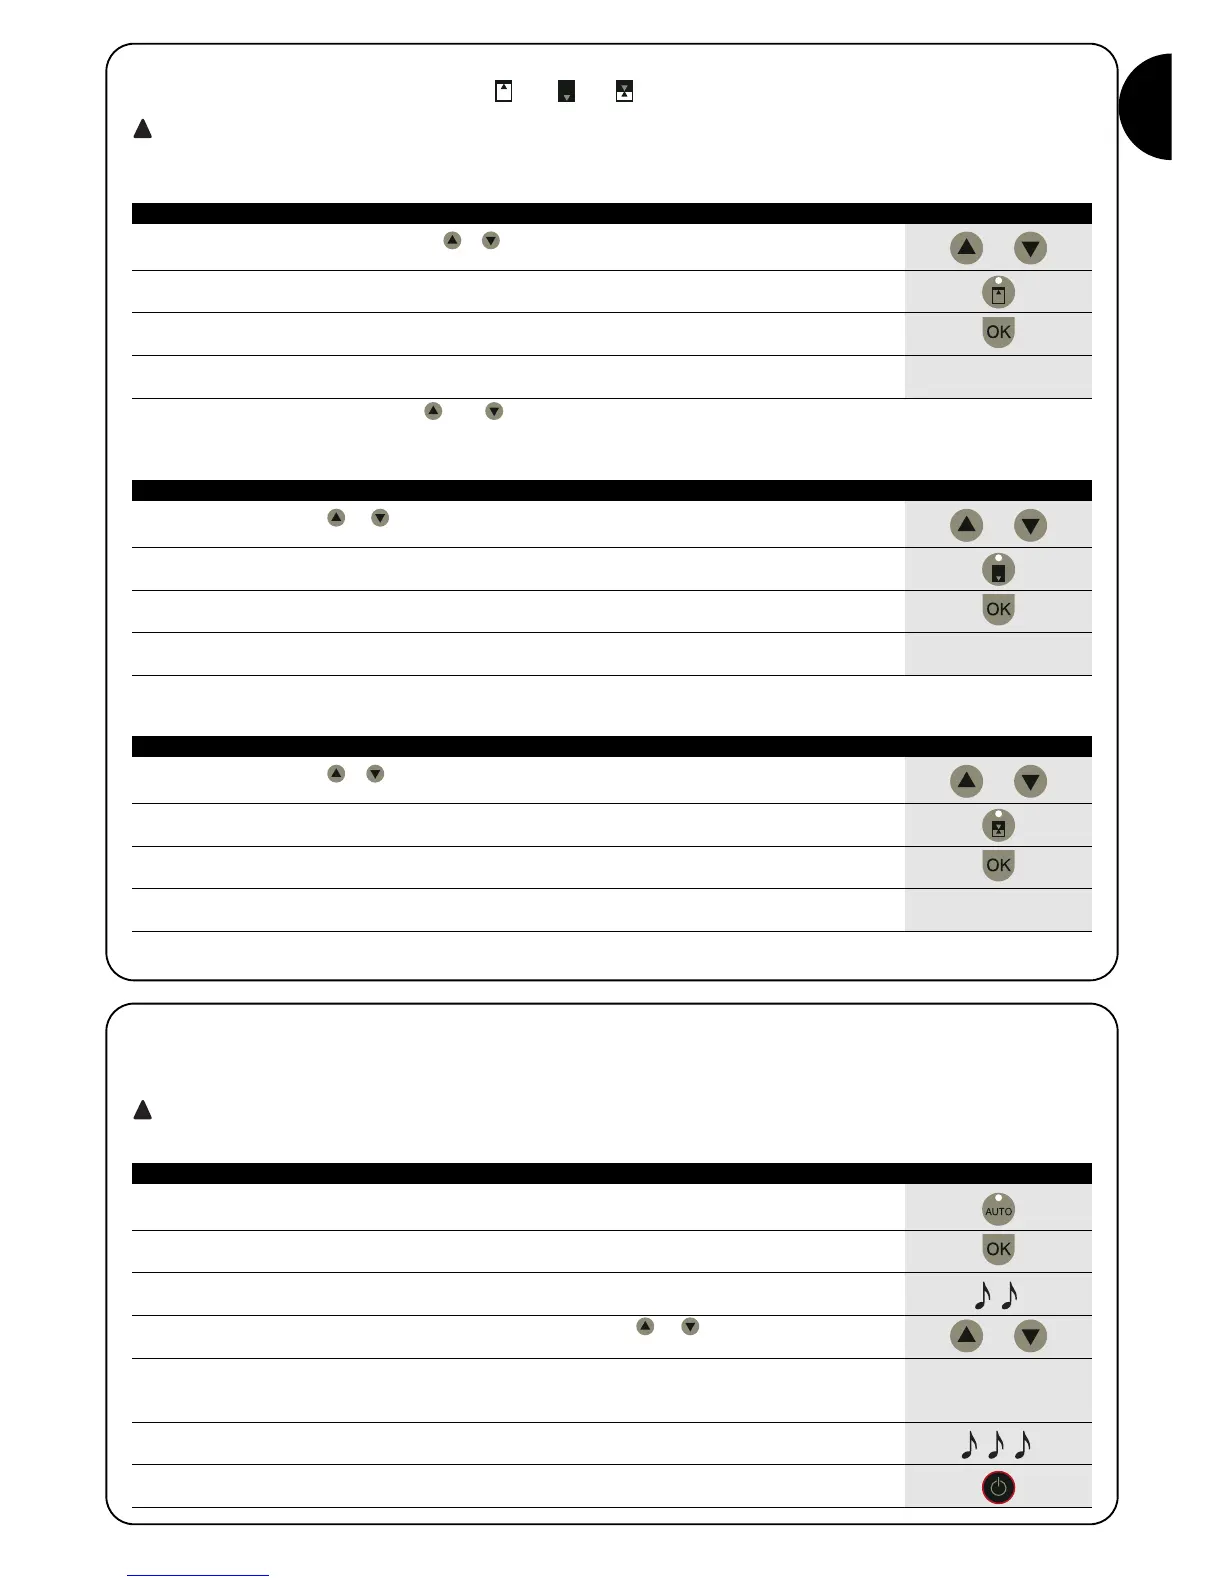
1. Press the “AUTO” key.
2. The green OK LED starts flashing: press OK within 3 seconds to confirm.
3s
3. The motor indicates that the procedure has started by emitting 2 beeps.
4. The shutter should move up; if it moves down, press or to reverse the direction.
5. At this point, the procedure continues automatically: first position “0” is located according to
the position of the opening plugs and then position “1” is located according to the position
of the anti-intruder closing springs.
6. The procedure ends when the shutter is fully down and the unit emits 3 beeps.
7. Press the ON/OFF key to display the new settings.
Table 13 Automatic search for positions 0 and 1 Example
or
4.4.2) Automatic programming of positions 0 and 1
On some motors for shutters with electronic limit switch, a procedure is available for automatically detecting the travel limit positions. After
switching on the TTP, if this function is available the LED on the “AUTO” key starts flashing.
This procedure can only be used if plugs for the UP phase and anti-intruder springs for the DOWN phase are fitted; for fur-
ther details refer to the instructions for the motor.