EasyManua.ls Logo

Nikon F3 High-Eyepoint - Page 12

Nikon F3 High-Eyepoint
47 pages
Print Icon
To Next Page IconTo Next Page
To Previous Page IconTo Previous Page
Loading...
-BASIC
OPERATION-continued-----------~
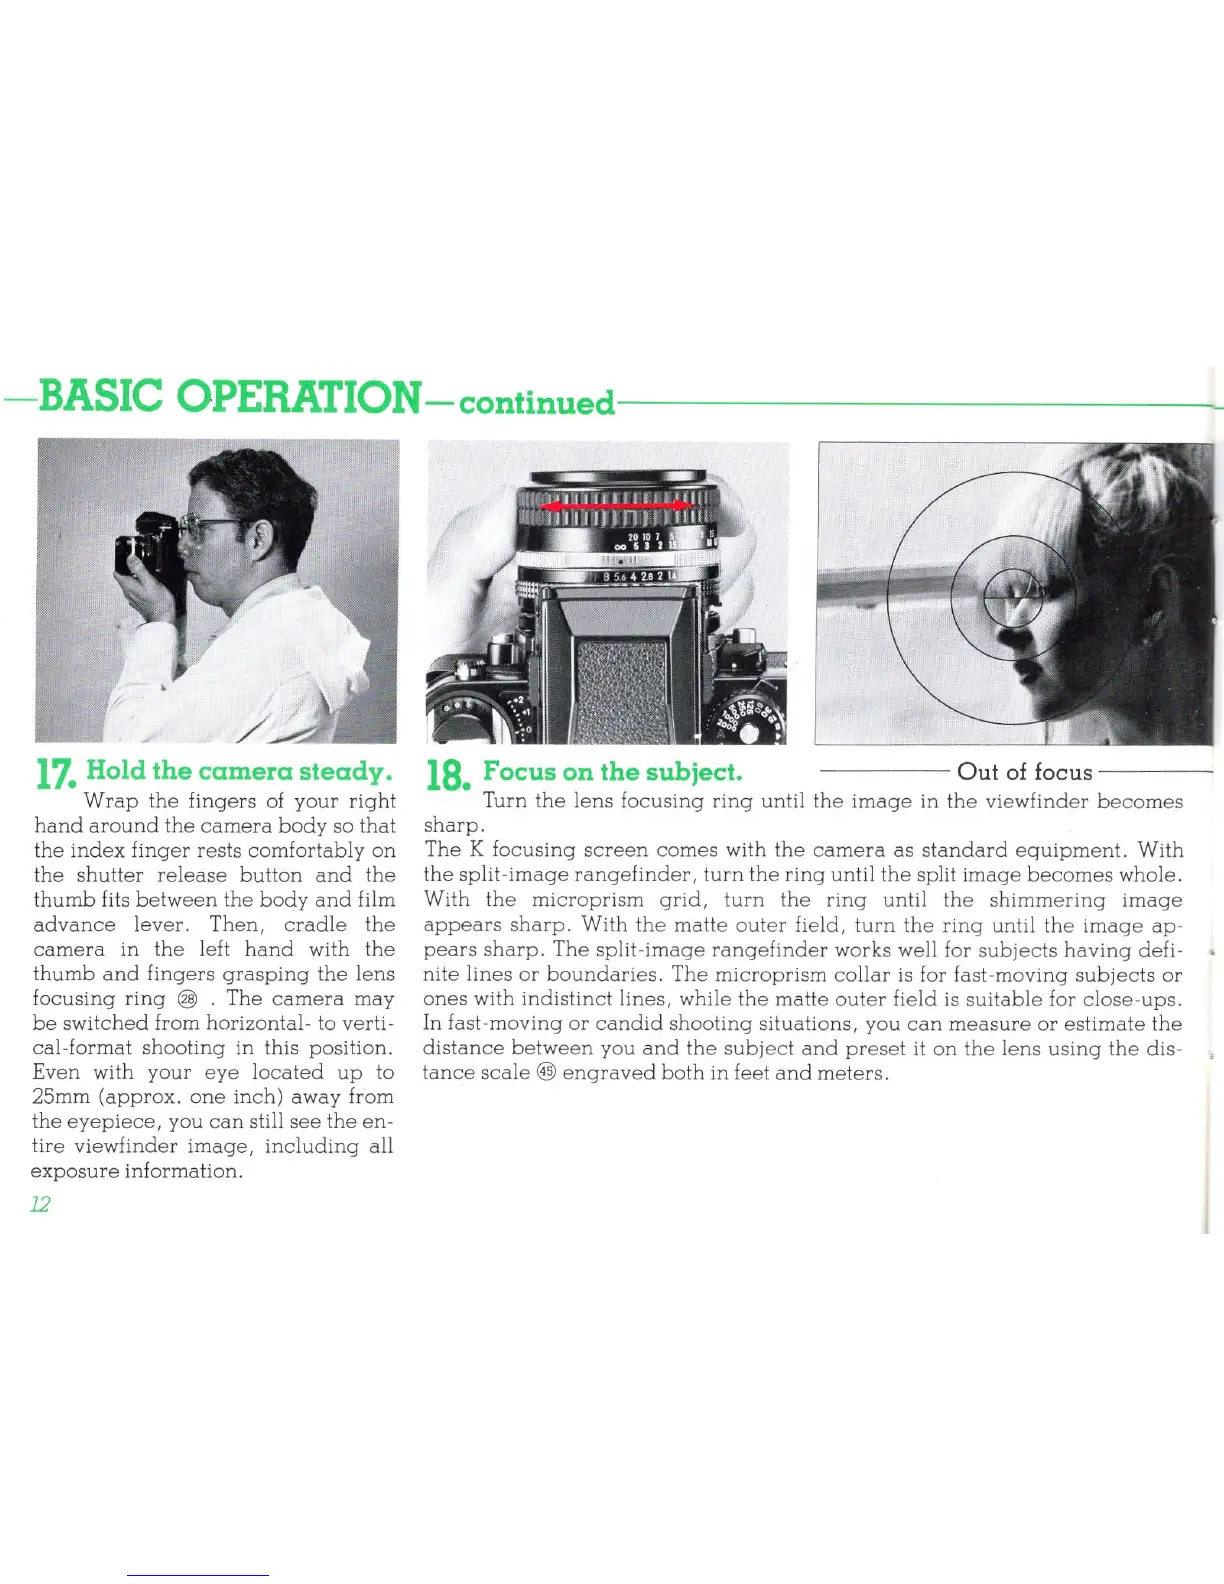
17.
Hold
the
camera
steady.
Wrap
the
fingers
of
your
right
hand
around
the
camera
body
so
that
the
index
finger
rests
comfortably
on
the
shutter
release
button
and
the
thumb
fits
between
the
body
and
film
advance
lever.
Then,
cradle
the
camera
in
the
left
hand
with
the
thumb
and
fingers
grasping
the
lens
focusing
ring
@ .
The
camera
may
be
sWitched from
horizontal-
to verti-
cal-format
shooting
in this position.
Even
with
your
eye
located
up
to
25mm
(approx.
one
inch)
away
from
the
eyepiece,
you
can
still
see
the
en-
tire
viewfinder
image,
including
all
exposure
information.
12
18.
Focus
on
the
subject. Out
of
focus
----
Turn
the
lens
focusing
ring
until
the
image
in
the
viewfinder
becomes
sharp.
The
K
focusing
screen
comes
with
the
camera
as
standard
equipment.
With
the
split-image
rangefinder,
turn
the
ring
until
the
split
image
becomes
whole.
With
the
microprism
grid,
turn
the
ring
until
the
shimmering
image
appears
sharp.
With
the
matte
outer
field,
turn
the
ring
until
the
image
ap-
pears
sharp.
The
split-image
rangefinder
works well for
subjects
having
defi-
nite
lines
or
boundaries.
The
microprism
collar
is for fast-moving
subjects
or
ones
with
indistinct
lines,
while
the
matte
outer
field is
suitable
for
close
-
ups.
In
fast-moving
or
candid
shooting
situations, you
can
measure
or
estimate
the
distance
between
you
and
the
subject
and
preset
it
on
the
lens
using
the
dis
-
tance
scale
@
engraved
both
in feet
and
meters.