Do you have a question about the Ninja Foodi SMART and is the answer not in the manual?
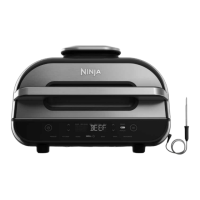
Explains the functions of the POWER, COOKING, arrow, START/STOP, SKIP, and THERMOMETER buttons.
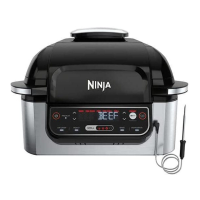
Details how to correctly place the thermometer in food for accurate cooking results.
Advises on the importance of preheating for optimal results and how to cancel the preheat stage.
Guides on safely removing food with the thermometer and the importance of the resting period.
Explains how food continues to cook after removal from the heat source.
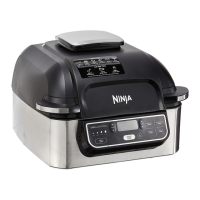
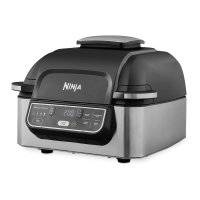
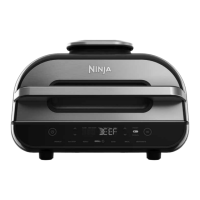
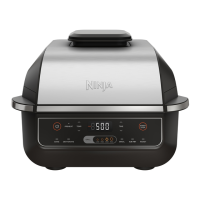
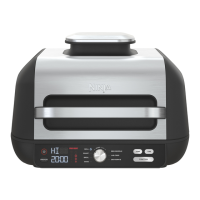
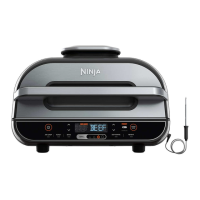
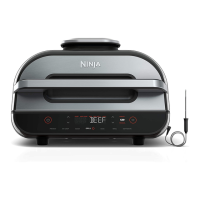
The Ninja Foodi Smart XL Grill is a versatile indoor grilling and cooking appliance designed to provide a range of cooking functions with smart thermometer technology for precise results.
The device offers multiple cooking functions, including:
A key feature is the Foodi Smart Thermometer, which continuously monitors the internal temperature of food throughout the cooking process. This eliminates the need for traditional instant-read thermometers and helps ensure food is cooked to the desired doneness. The thermometer can be programmed for specific protein types and doneness levels, or it can be used in manual mode to set a target internal temperature.
The control panel is intuitive, featuring:
Preheating: The device emphasizes preheating for best grilling results, typically taking approximately 10 minutes. Adding food before preheating is complete may lead to overcooking and smoke.
Thermometer Placement: Proper thermometer placement is crucial for accurate readings. It should be inserted horizontally into the center of the thickest part of the meat, avoiding bones, fat, or gristle. For whole chicken, it should go into the thickest part of the breast, parallel to the bone, without going all the way through into the cavity. The thermometer is not recommended for frozen protein or cuts of meat 1 inch thick or thinner.
Oil Recommendations: For less smoke, it is recommended to use oils with a high smoke point, such as canola, coconut, avocado, vegetable, or grapeseed oil, instead of olive oil. Using olive oil or cooking at higher temperatures than recommended may lead to more smoke and a burnt, acrid flavor.
Cleaning: To help prevent grease buildup and smoke, it is important to clean the splatter shield after every use. The manual provides further instructions on cleaning the unit.
Storage: The device includes a storage compartment on the left side for the thermometer and its cord, ensuring convenient and organized storage.
| Smart Cook System | Yes |
|---|---|
| Power | 1760 watts |
| Smart Thermometer | Yes |
| Smoke Control Technology | Yes |
| Cooking Functions | Grill, Air Fry, Roast, Bake, Broil, Dehydrate |
| Temperature Range | 105°F–500°F |
| Product Type | Indoor Grill |