www.ninjakitchen.com 4
CAUTION: DO NOT BLEND HOT LIQUIDS.
IMPORTANT: Place the motor base on a clean,
dry, level surface such as a counter or table top.
1 Makesurethatthemotorbaseispluggedinforuse.No
lightswillturnon.
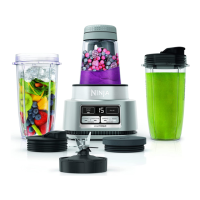
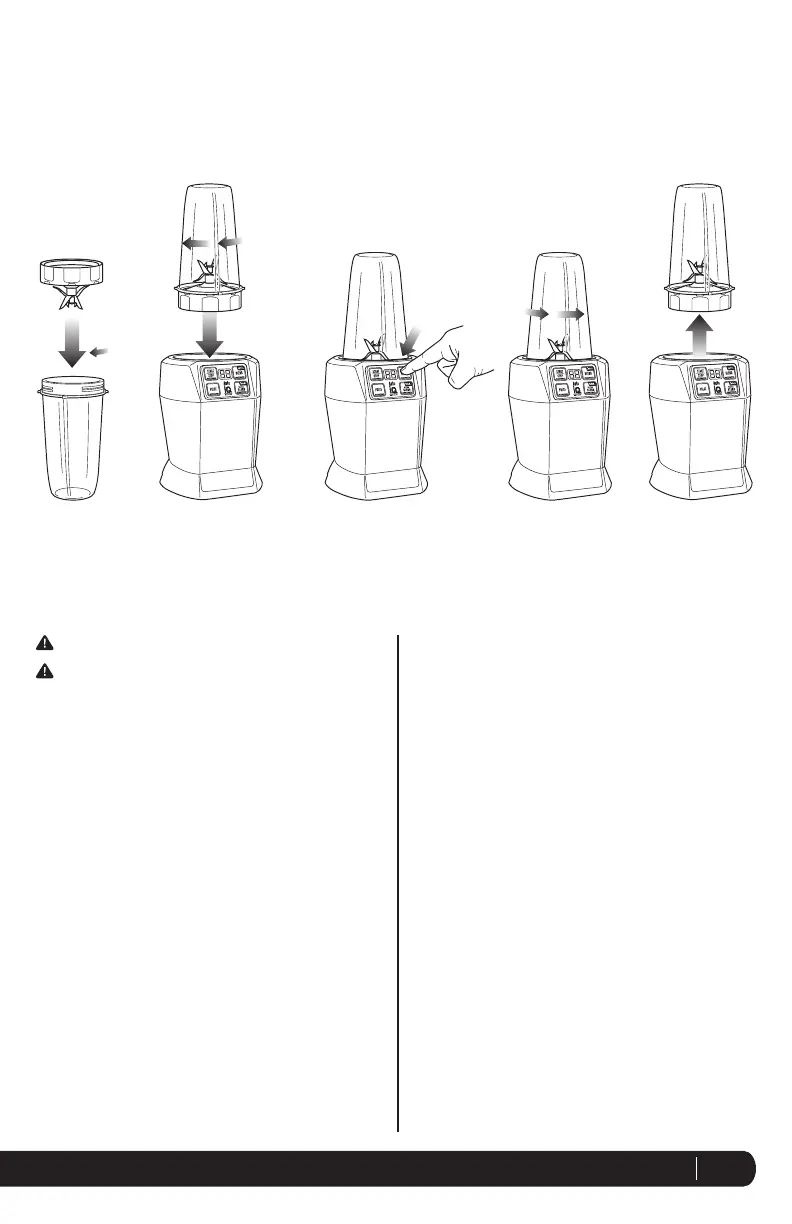
2 Addingredientstothecup.
NOTE:Donotoverll!Toavoidspilling,donotadd
ingredientspastthe“MAX”llline.
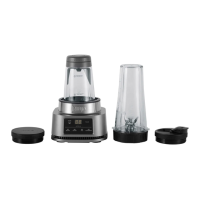
3 Placethebladeassemblyontothecupandtwistiton
tightlyuntilyouhaveagoodseal. (Fig. 1)
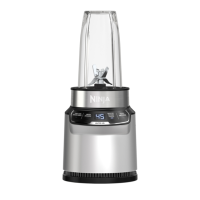
4 Turnthecupupsidedownandplaceitontothemotor
base,aligningthetabsonthecupwiththemotorbase.
Turnitclockwise,untilyoufeelitclickintoplace.The
Timerlightwillilluminate.(Fig. 2)
5 Pressoneofthebuttonstoactivate.(Fig. 3)
Fig. 1 Fig. 2
Use
Fig. 3 Fig. 4 Fig. 5
ASSEMBLY USE REMOVAL
NOTE: WhenusingtheAUTO-iQ
™
presets,theunitwill
operateusingpulses,pausesandcontinuousruns.The
pausesallowthecontentsofthecuptosettle.When
thetimerreaches“0”,itwillstopbyitself.
6 Toremovethecup,ensurethatthemotorhasstopped
running.Thenturnthecupcounterclockwise(Fig. 4)
andpullstraightuptoremove. (Fig. 5)
7 Turnthecupuprightandremovethebladeassemblyby
twistingthebladeassemblycounterclockwise.Besure
tostorethebladeassemblyattachedtoanemptycup
whennotinuse.
8 TwisttheSip&Seal
™
lidontothecuptoenjoyyour
drinkonthego.Pressiptopcaprmlyintothe
openingtogetthebestseal.Theiptopcaplocksopen
whenpressedbackward.
9 Makesurethatthemotorbaseisunpluggedwhennot
inuse.
10 Toremovethemotorbaseunit,tiptheunitforward
fromthereartoeasilydisengagethesuctioncups.