5
( 3 ) Adjustment of presser foot angle(Diagonal skiving method)
① Replace with the 20 mm width plastic presser foot included in the accessories.
※The 20mm wide presser foot is already 15 ° angled compared to the 40mm one.
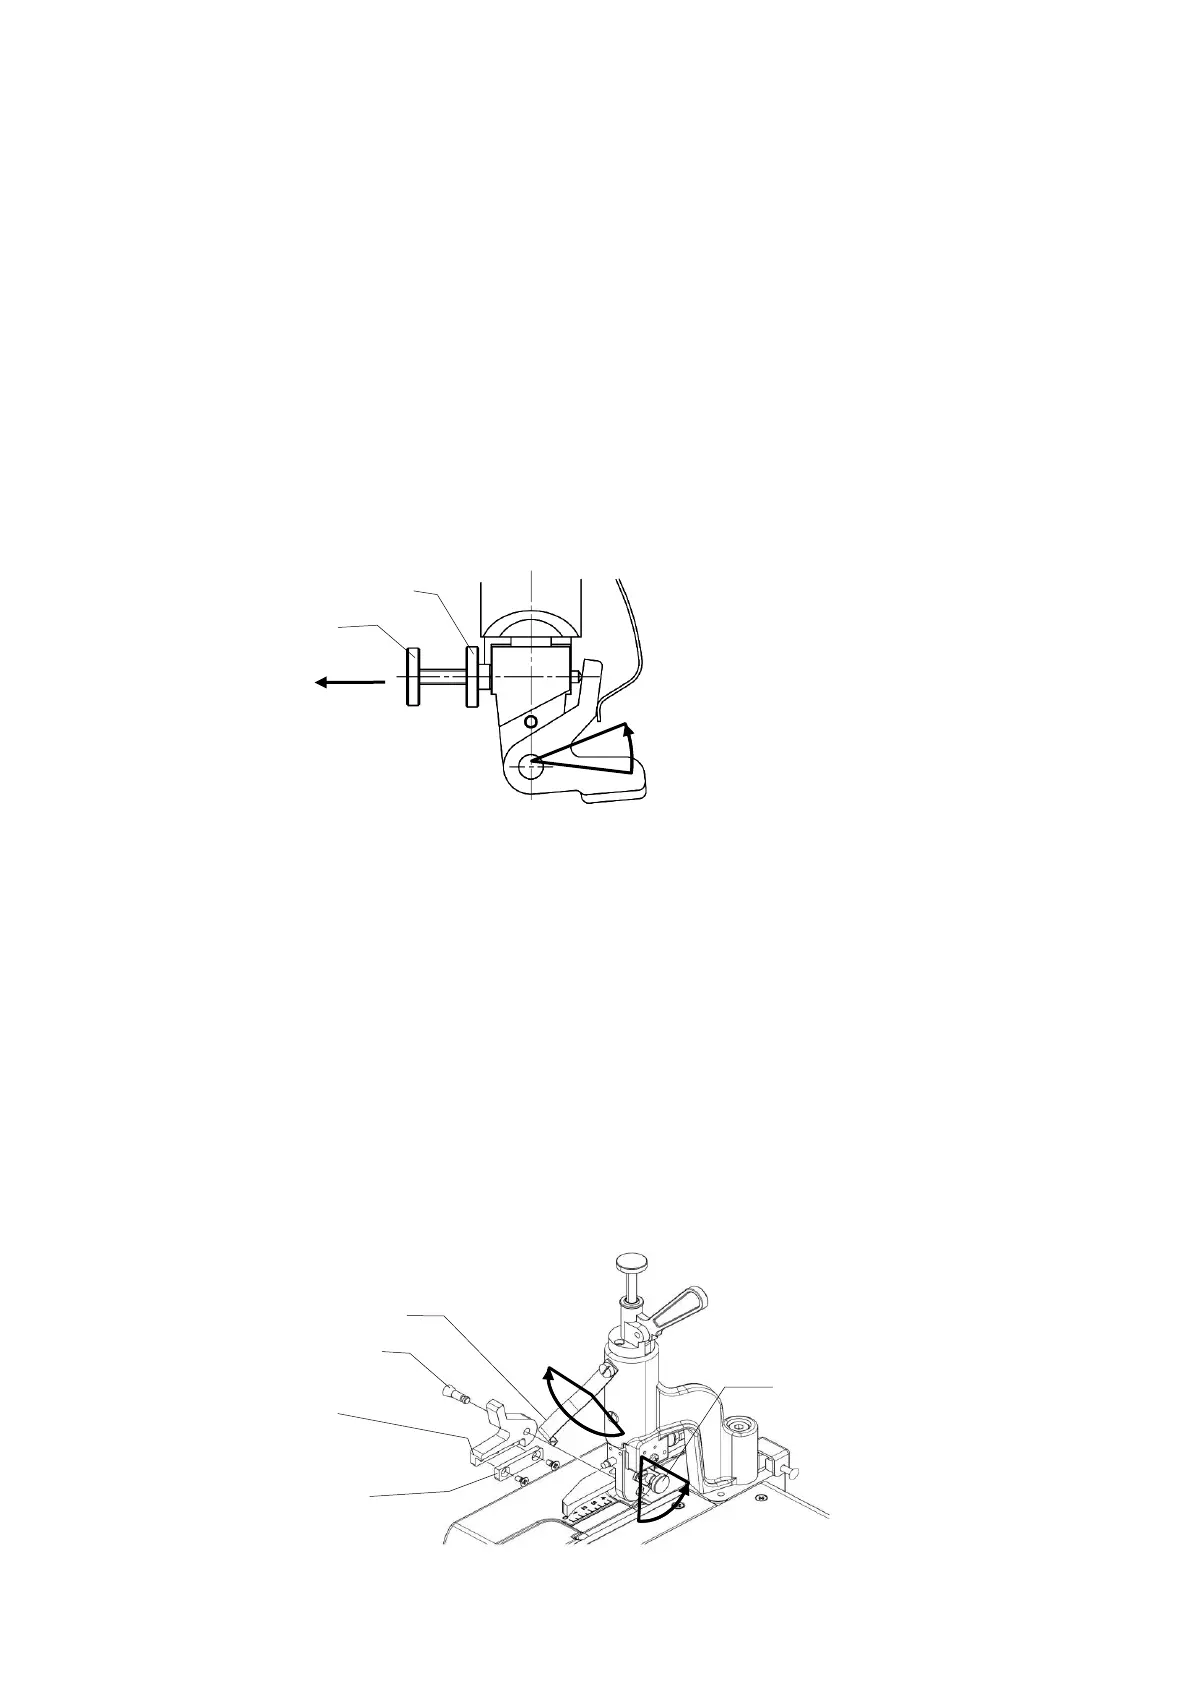
② When turning the angle adjustment screw left or right, changes the distance between the
presser foot and the blade and adjust to any angle, fix firmly with lock nut.
(When Turned to the left with an angle. When turned to the right, it approaches parallel.)
③ After changing to any angle, adjust the presser foot up and down with the thickness adjustment
screw.
At this time, the presser foot is lowered too much, be careful not to touch the feed roller.
④ If the angle and upper and lower position is decided, pass through the material as usual.
(Precaution)
Too much angle, note that the feed force of the material will be weak.
( 4 ) How to replace presser foot
① Raise the thickness adjusting screw upward, remove the presser foot from the blade, shift the
flat spring.
② Loosen the knurled screw of the presser foot and remove the lock and removed together with
the pin for presser foot.
③ Remove the two set screws on the right side of the presser foot, replace tip attachment.
④ Attach the replacement presser foot by a reverse process.
(Precaution)
The replaced presser foot must be securely fixed. The thickness adjusting screw is fastened too
tightly and it may impair the feed roll and the presser foot.
The thickness adjusting screw must be loosened in advance and replace. Then tighten the
thickness adjusting screw and adjust the presser foot height.
 Loading...