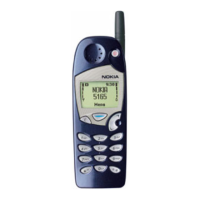
62
wall outlet and connect the connector to the back of the
Compact Desktop Charging Stand. Place your phone and/or
a spare battery in the stand to begin battery charging.
When the phone is charging, no lights are displayed on the
stand; check the charging status of the phone battery on
the phone display.
Charging moves to the rear slot once the front battery is
100% charged.
When the spare battery is charging, check the status
indicator on the left side of the charging stand. A red light
indicates that the battery is charging; a green light
indicates that the battery is charged to at least 80% of its
capacity.
The phone has the built-in intelligence to maintain the
battery, so there is no need for a discharge feature on the
stand.
DCH-9 Rear Slot Charging Times
Battery
Using ACP-7U Using ACP-9U
Front slot
empty
Front slot
occupied
Front slot
empty
Front slot
occupied
BLS-2 Extended
Li-Ion 900 mAh
6 hours,
30 minutes
8 hours,
30 minutes
4 hours,
30 minutes
5 hours,
30 minutes
BMS-2S Extended
NiMH 900 mAh
BMS-2V Vibrating
NiMH 900 mAh
BLS-4 Ultra Extended
Li-Ion 1500 mAh
12 hours
15 hours,
45 minutes
8 hours
10 hours,
30 minutes