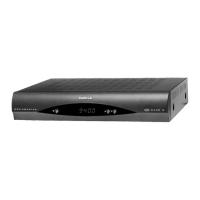
3.3 Starting up for the rst time
4. Quick guide to using your receiver
Optional
When you start the Nokia receiver for the rst time, the initial setup wizard will appear on the TV screen. Use
buttons to move the highlight to the setting you wish to change. Use buttons to change the values or
press OK to open a list for quick selection.
• Language: Select your on-screen display language (OSD).
• Country: Select in which country the receiver is used. Depending on the selected country, the LCN settings
and the channel grid will be set.
• Antenna power: activate this function with “On” if you connect your Nokia receiver to an active DVB-T2
antenna. If you enable this function, the receiver will supply 5 V AC power to the active DVB-T2 antenna via
the connected antenna cable.
Deactivate this function with “O” if you use a passive DVB-T2 antenna.
• Search mode: Select “FTA” to store only Free-To-Air channels or select “All” to store scrambled channels as
well. The Nokia receiver is a receiver for Free-to-Air channels, so you should select FTA as search mode. Once
all settings are made, move the highlight to “Channel Search” and press OK to start scanning. The receiver
will now search for all available channels. Once scanning is nished, the receiver switches to viewing mode.
NOTE: selecting a wrong country may result in a disorderly channel list and channels may be missed.
In case the guided installation menu does not appear after switching on the receiver the rst time, please reset
the receiver to factory settings by pressing the button and select “Restore Factory Default” in the submenu
“System” (Default PIN 000).
The following quick guide will make you familiar with the basic operation.
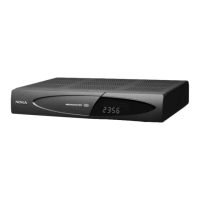
To turn your receiver on or to standby, press POWER on the remote control.
You can adjust the volume with
or V+/V- buttons.
8
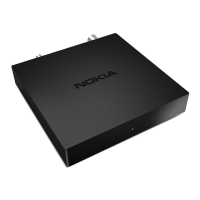
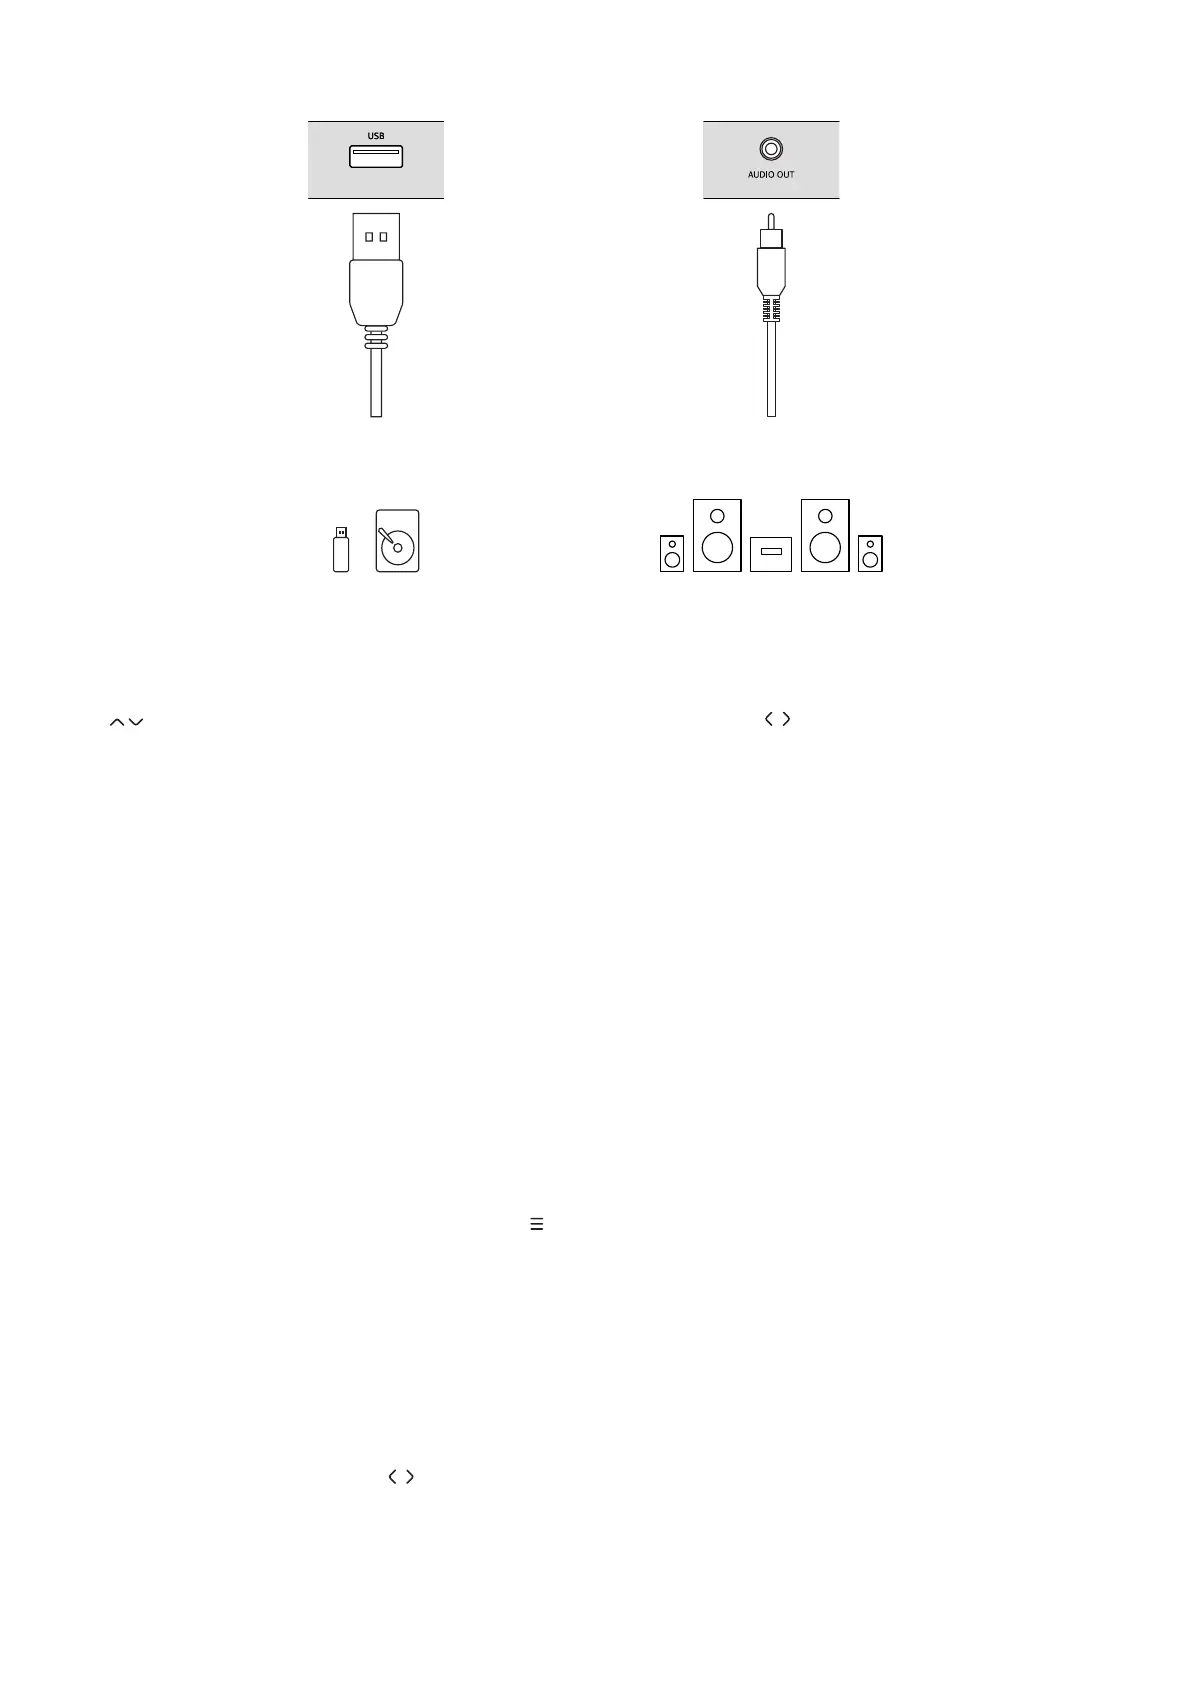
USB 2.0
Audio digital
(coaxial)