1 Function key. To insert special
characters printed at the top of keys,
press the function key, and then press
the desired key. To enter several
special characters in a row, press the
function key twice quickly. To return
to normal mode, press the function
key.
2 Shift key. To switch between upper
and lower case modes, press the shift
key twice. To enter a single upper case
character in lower case mode, or vice
versa, press the shift key, and then the
desired alphabet key.
3 Sym key. To insert special characters
not shown on the keyboard, press the
sym key, and select the desired
character.
4 Ctrl key. Some shortcuts require the
ctrl key.
5 Space key
6 Shift key
7 Enter key
8 Navi™ key (scroll key). Press the scroll
key to make a selection. Press the
edges of the scroll key to scroll left,
right, up, or down on the display.
Press and hold the edge of the scroll
key to accelerate scrolling.
9 Backspace key. To delete a character,
press the backspace key. To delete
several characters, press and hold the
backspace key.
Insert characters not shown on the
keyboard
It is possible to insert variations of
characters, for example, characters with
accents. To insert á, press and hold the
sym key, and then press A repeatedly,
until the desired character is displayed.
The order and availability of letters
depends on the selected writing
language.
Touch input
Handwriting
The input methods and languages
supported by the handwriting recognition
vary by region and may not be available
for all languages.
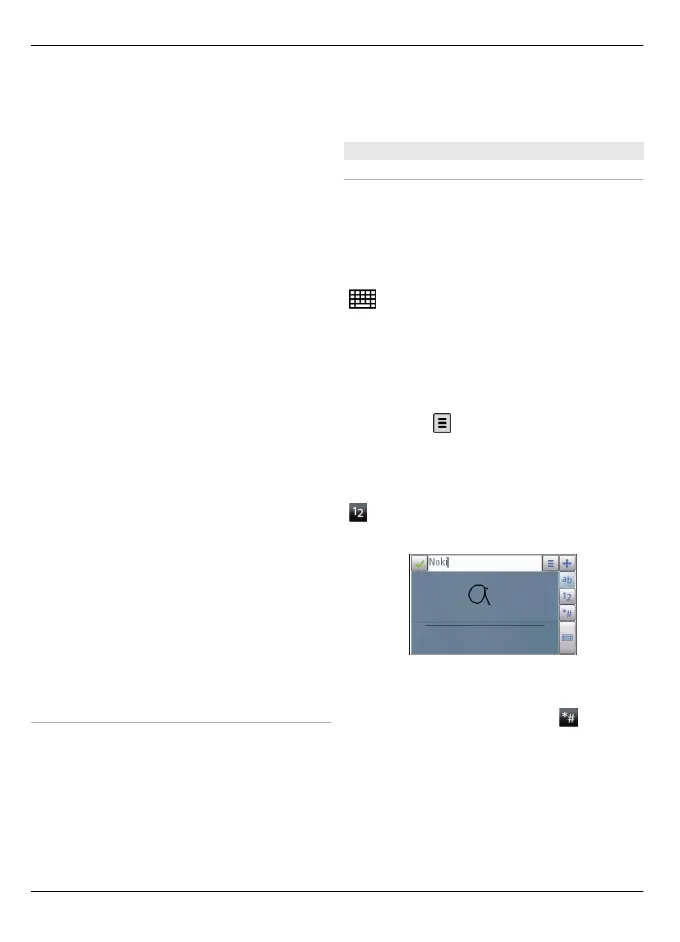
To activate handwriting mode, select
> Handwriting.
Write legible, upright characters on the
text input area, and leave a space between
each character.
To teach the device your handwriting
style, select
> Handwriting training.
To enter letters and numbers (default
mode), write words as you would
normally. To select number mode, select
. To enter non-Latin characters, select
the corresponding icon, if available.
To enter special characters, write them as
you would normally, or select
and the
desired character.
To delete characters or move the cursor
back, swipe backwards (see Figure 1).
To insert a space, swipe forwards (see
Figure 2).
18 Get started
© 2010 Nokia. All rights reserved.