Training & Vendor Development
CMO Operations & Logistics
Multimedia Creation & Support CONFIDENTIAL
12.Dec.2006
27
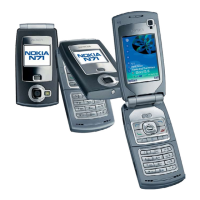
Service Manual N71 RM-67/RM-112 Copyright © 2006 NOKIA Corporation. All rights reserved.
Approved 4.0
MGR
Page
(35)
41. Place the LR LID PWB onto the LID CENTER FRAME and check
the position of the CAMERA MAIN ASSY.
42. Fit the LCD into its place.
43. Close the LCD connector. 44. Remove the protective film.
45. Fit the SHIELD LID ASSY into the LID CENTER FRAME. Take spe-
cial care to the grounding springs.
46. Close all snaps.
47. To prevent damaging the plastic threads, turn the screws
slightly left first. Then tighten them in the shown order with a
torque setting of 17Ncm.
48. Close the LCD connector.
 Loading...