23
ENGLISH
FIG. 2 FIG. 3 FIG. 4
FIG. 5 FIG. 6 FIG. 7
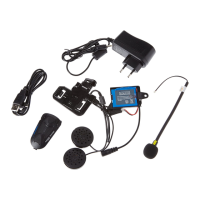
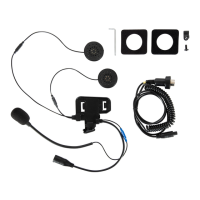
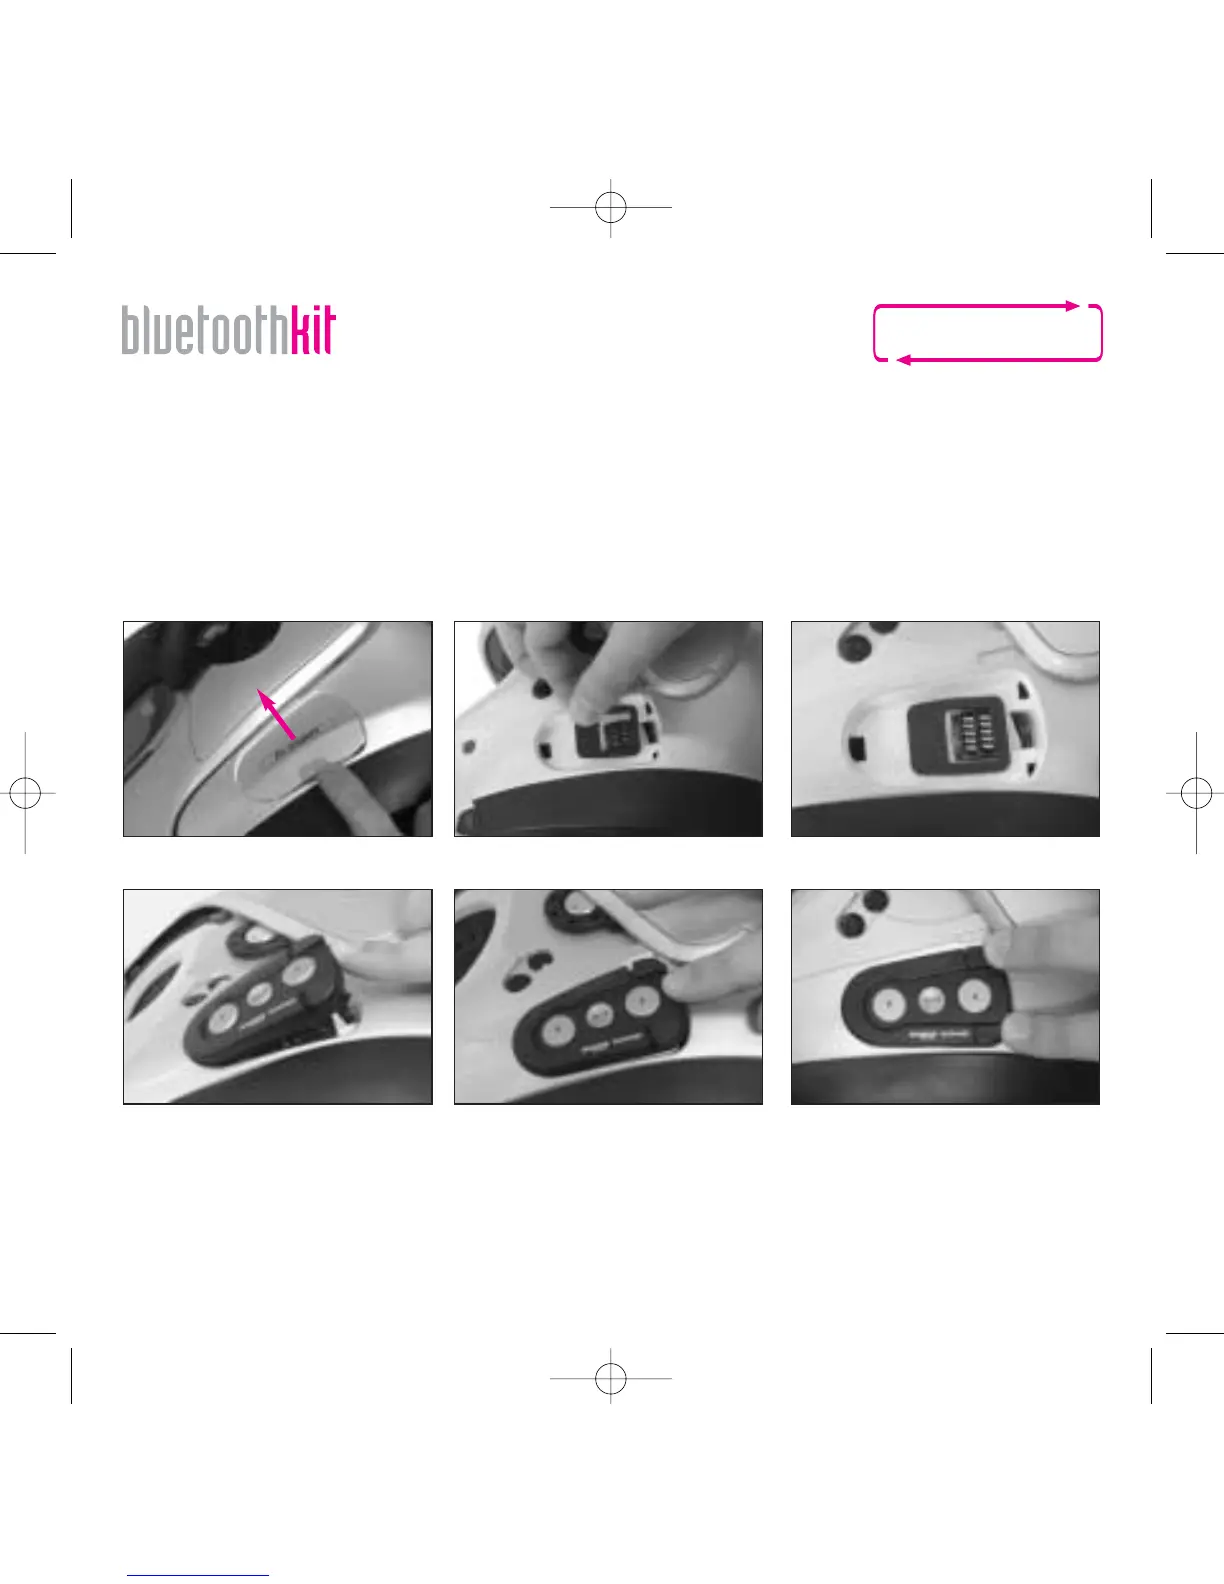
- After positioning the Basic Kit inside the helmet, apply the adhesive sealing trim around the 10-way connector as follows:
• Remove the N-Com protection cover from the helmet (fig. 2).
• Remove the protective film from the gasket.
• Apply the sealing trim around the 10-way connector as shown in figure 3 and 4.
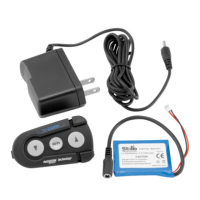
- Insert the e-box in its compartment (fig. 5). First insert the front part, then press down on the e-box until both fasteners
click (fig. 6). To remove the e-box, operate at the same time on both sliding hooks until the e-box is ejected (fig. 7).
Warning: Do not leave the helmet exposed to atmospheric agents without the e-box or the protection cover supplied with
the helmet.
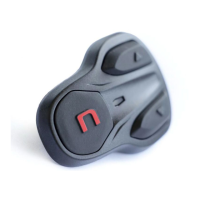
4. BASIC FUNCTIONS
All functions available on the N-Com system can be turned on using 3 keys: “ ”, “on” and “ ” located on the e-box. Each
command is confirmed by a special acoustic signal, depending on the requested function. This means that you can use all
the functions while wearing your helmet.
4.1 Switching on the system
- Insert the Intercom e-box in the relevant housing on the helmet.
- Press the “on” key and keep it pressed for 2 seconds until the LEDs turn on and you hear a buzz in the earphone.
LL MM