Adjusting the Projected Image
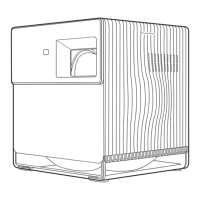
The P1000 comes with auto-focus and auto keystone correction. Place the projector to where it best
ts your use scenario. Note that there should be at least 20 inches (50cm) between the side ventilation
fan and any surface to keep the projector cool.
The auto keystone feature will automatically correct the vertical and horizontal keystones. Alternatively,
you can go to Home > Settings > Basic Setting > 4 Corner Adjustment to adjust the projected image.
The auto focus feature will automatically adjust image clarity. You can also press and hold the focus
button for 3 seconds on the remote control to manually adjust the image focus.
Placing the Projector
4 Corner Adjustment
Fine-Tuning the Image Clarity
Setting Up P1000
Powering On/O
Connect the power cord to the P1000, and press the power button. A solid green light will stay on after
the startup.
Press the power button, and a pop-up window will appear. Press the power button again to turn o
the projector. Alternatively, you can press the power button on the remote control to turn o the P1000.
Powering On the P1000
Powering O the P1000
5