6
FEATURES
Sequencer view
The SL MkIII has a 16-step sequencer per Part. The 16 ‘Steps’ of a Part have their own ‘view’ with settings that affect just
steps, and the 16-step sequence is referred to as a ‘Pattern’, again with its own ‘view‘ where you can adjust settings relating
to each 16-step pattern.
Press and hold the Shift button followed by the Sequencer button to turn On, or Off, the Sequencer. The Sequencer button
will turn white when activated, and orange when disabled. After switching on the Sequencer, the Transport buttons (far-right
of the controller) light up, showing they can control the Sequencer.
Press the Sequencer button to enter Sequencer view, which consists of two subviews: Steps view and Patterns view
(see following sections), accessed via the Steps and Patterns buttons, respectively. While in another view (Zones view,
for instance) pressing the Sequencer button will take you back to the last selected Sequencer subview. The Grid button
toggles the function of the 8x2 pads between the last Sequencer subview and Template (see “Templates” on page 13).
Note: when the Sequencer button is orange (off) pressing it accesses Sequencer view, where you can view and/or edit the
Sequence in the current Session. Transport buttons, however, will be unusable until the Sequencer is re-enabled.
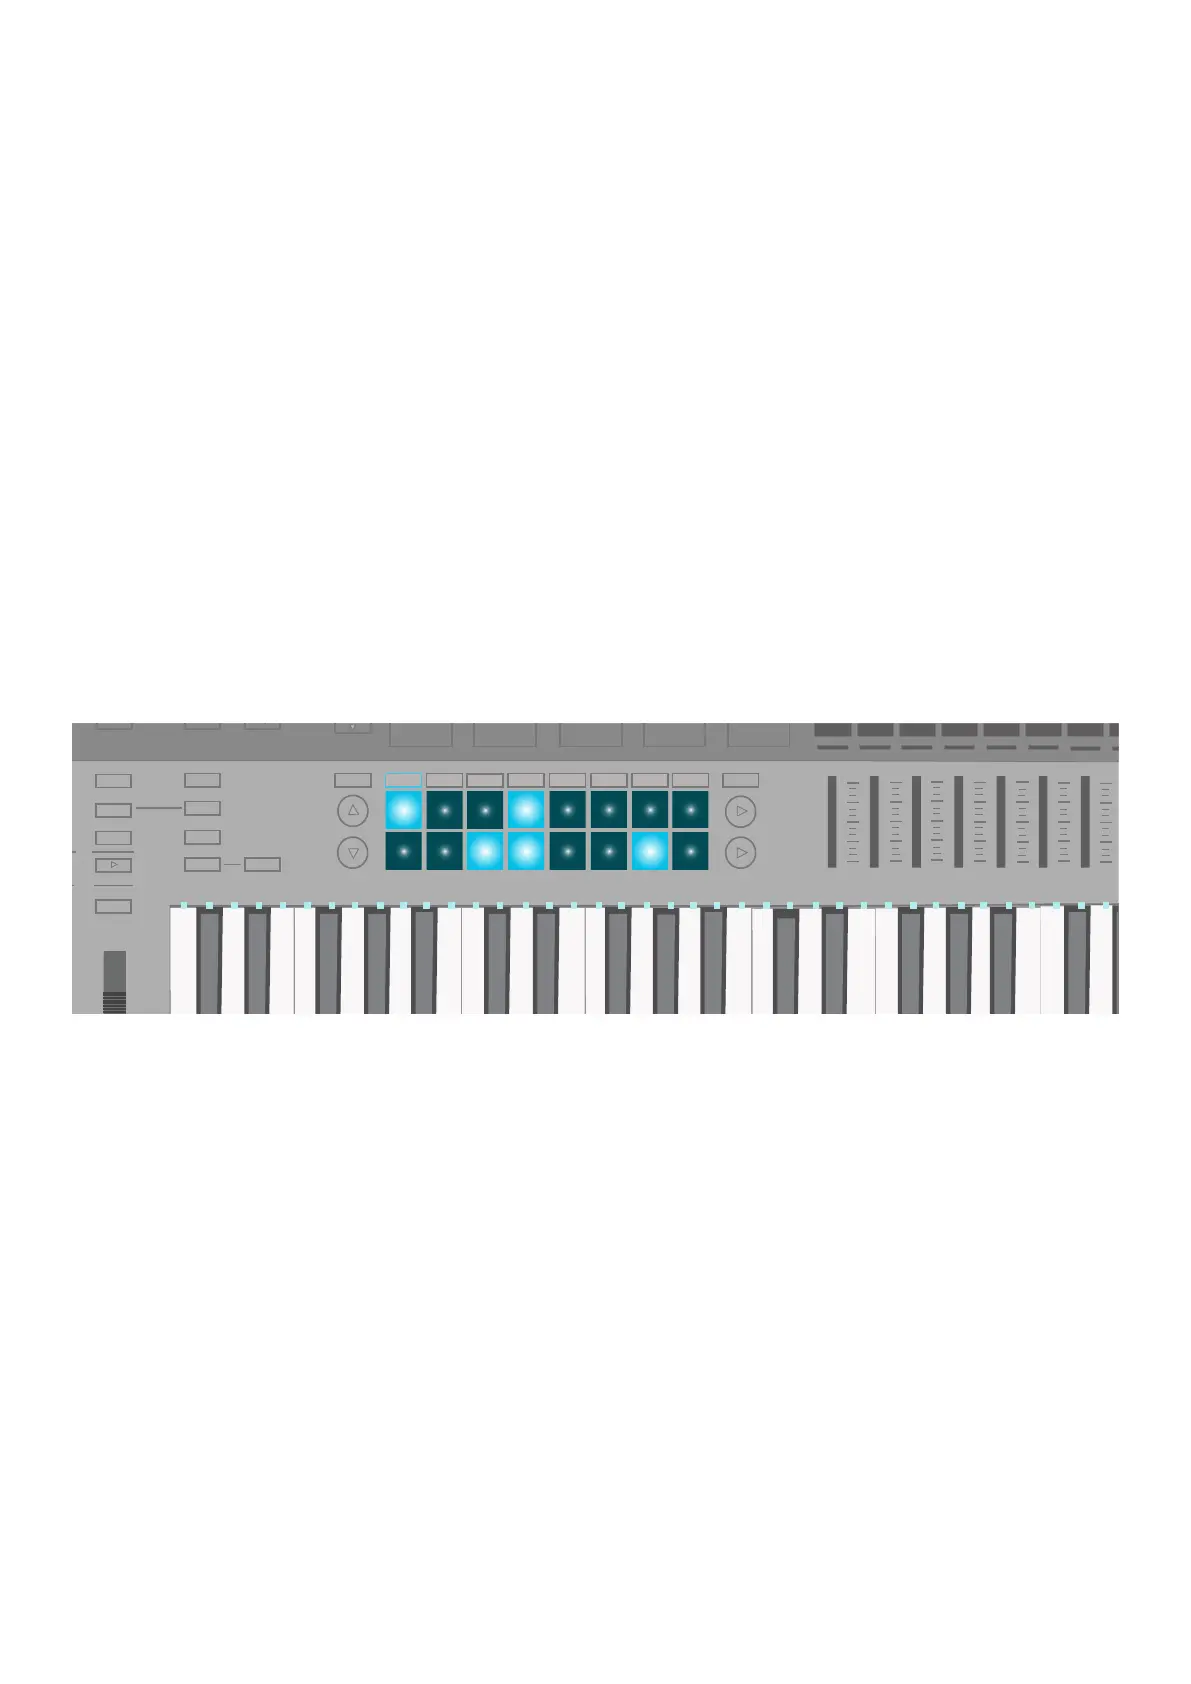
Steps view
Steps view allows you to view and edit ‘Steps’ of a Pattern. The 16 (8x2) square pads beneath the screens represent the
16 available Pattern Steps.
Tempo INCONTROLGlobalShift
Zones
Sequencer
LatchArp
Scales
Sessions
Patterns
Steps
Grid
Options
Octave
Track
+
Templates
Expand
With the Sequencer enabled, pressing play on the Transport will show the play head ‘stepping’ through the pads, turning
each pad (aka Step) white along the way. Steps with MIDI notes assigned will light brightly. As the play head reaches one
of these bright Steps, it will play any notes assigned to them.
To assign a note/s to a Step, select the Track using the buttons directly below the screens. Press and hold a pad, then press
the key/s you want that step to trigger. You can also do the reverse: first press and hold the key/s and then press any pads
you wish to populate with notes or sounds. Finally, you can record notes, and automation data, ‘live’ by pressing the Record
button on the Transport (see “Live Record” on page 11).
To remove a note/s from a Step press and hold a pad. LEDs of corresponding keys will light up in red. If the Transport is
stopped, notes will play out to the corresponding Part (See “Part Settings” on page 13), and with the velocities assigned
to them. Remove the note/s by pressing the key/s.
With the Transport either running or stopped, hold the Clear button and press a Step (briefly turning it red) to remove all
note and automation data from that Step. To copy a Step, hold the Duplicate button and press a pad, briefly turning it green.
While continuing to hold Duplicate, press the pad/s where you wish to paste. Duplicating one pad to another will erase
whatever existed on the latter - not add to it.
You can also copy Steps between Tracks. Again, hold the Duplicate button and press a pad to copy a Step. With the
Duplicate button still held, change Tracks, then press pads to paste to them. However, the automation data will not copy
with these Steps.
 Loading...