20
1 Gently remove each O-ring by hand (Fig. 28, Fig. 29).
2 Insert the complete set of new O-rings in the correct
grooves.
* Refer to Accessories and Spare Parts List to identify
the correct parts.
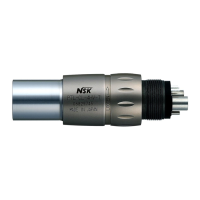
O-ring(Large)
O-rings(Small)
O-ring(Medium)
Fig. 28
O-rings(Large)
O-rings(Small)
Fig. 29
6–2 Replacing the O-ring (KCL-
LED, QD-J B2/B3, QD-J M4)
Replace the O-ring if there are symptoms such as air
leakage from the connection between the handpiece and
the coupling, and water in the exhaust.
CAUTION
• To prevent infection, clean and sterilize a coupling
before replacing the O-rings. After replacement,
clean and sterilize the coupling again.
• Do not pull the O-ring with excessive force.
• Since O-rings come in different sizes, be careful not
to attach the wrong O-ring. Stretch the O-ring
slightly for easier attachment, and then attach the
O-ring in the appropriate groove.
 Loading...