Do you have a question about the Nuna pipa lite rx and is the answer not in the manual?
Specifies the weight (4-32 lb) and height (<32 inches) limits for the child restraint.
Crucial safety warnings about injury, unattended children, and reading manuals.
Child restraint can ONLY be used rear facing in a vehicle.
Do not use car seat involved in moderate to severe crashes.
Warnings about loose straps and soft surfaces causing suffocation.
Never modify restraint; only use Nuna-approved products and accessories.
Defines a minor crash based on vehicle damage, injuries, and airbag deployment.
Car seats need replacement after moderate to severe crashes.
Restraint for forward-facing seats only; airbag warning for rear-facing.
Lists vehicle belt types that CANNOT be used and details specific restrictions.
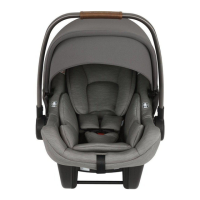
Guidelines for securing a child in the restraint and proper fit.
Ensure correct head position and harness strap placement at/below shoulders.
Steps for buckling, chest clip, and tightening harness for a snug fit.
Position the chest clip at the child's armpit level.
Verify buckle fastened, straps snug, not twisted, and chest clip level.
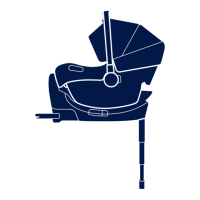
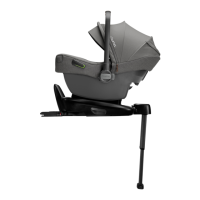
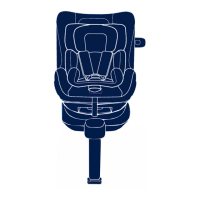
Instructions for deploying, adjusting, and checking the stability leg.
Release leg from storage and extend until indicator is green.
Ensure leg contacts floor firmly; green indicator confirms correct contact.
Limit base gap to 1 inch; do not use leg for recline adjustment.
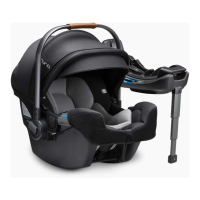
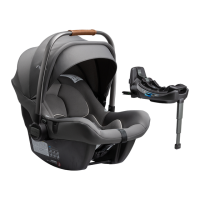
Install the base using the vehicle's lower anchor bars (rigid latch).
Grasp anchors and push to connect to vehicle lower anchor bars.
Ensure base is firmly seated with no gap between base and vehicle seat.
Verify green latch indicator and understand base retracted positions.
Test security: check movement, indicators, and base-to-seat back gap.
Install the base using the vehicle's lap and shoulder belts.
Use positioner, buckle belt, ensure belts are under lock-off and lay flat.
Press base down while tightening belt by pulling shoulder belt.
| Brand | Nuna |
|---|---|
| Model | pipa lite rx |
| Category | Baby Carrier |
| Language | English |