3
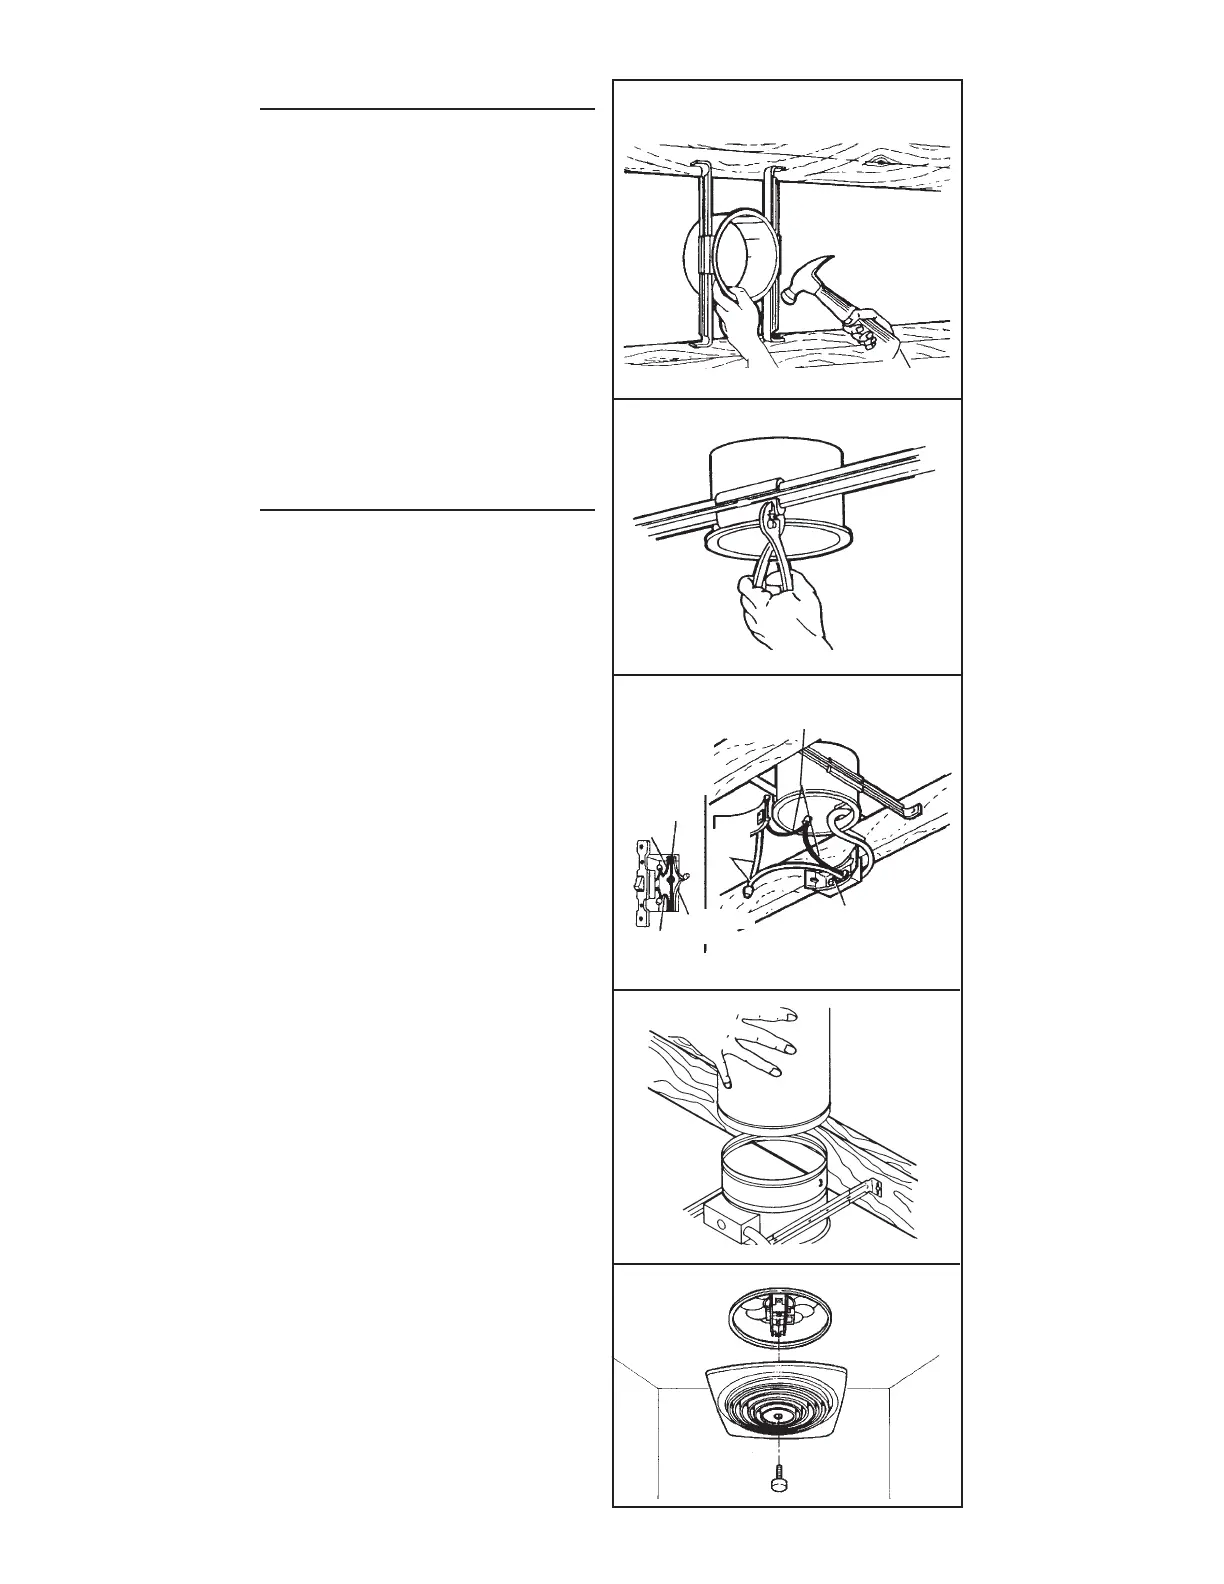
INSTALL FAN
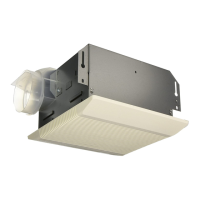
1. Place fan in installation location. Extend adjustable
brackets to fit joists (FIG. 5).
2. Nail or screw brackets to joists so that flange on
housing will flush with finished ceiling (FIG. 6). For
wide joist centers: A #8 x 3/8 self-tapping screw
can be used to join extended brackets together
and create a rigid mount.
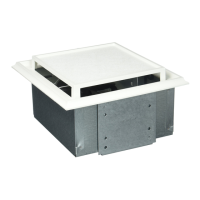
3. Slide fan to either side for final positioning. Crimp
bracket channels with pliers to keep fan from shifting
to one side (FIG. 7).
4. Connect cable to wiring box with proper cable
connector for type of cable used. Provide 6” leads
inside box. Make electrical connections as shown
in Figure 8. Make sure unit is grounded using green
ground screw. Install wiring box and cover.
5. Install ductwork and roof cap. Check both fan
damper and damper inside roof cap to make sure
that they open freely (FIG. 9).
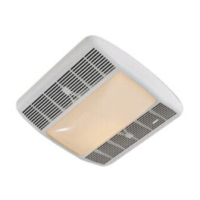
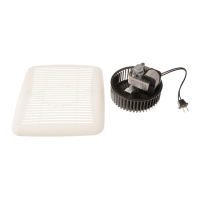
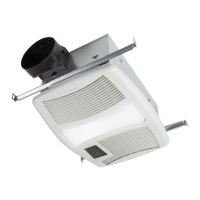
6. Reinstall motor assembly. Spin fan blade by hand
to make sure that blade does not strike anything
in housing. Plug in motor, turn on power and check
operation of fan. Install grille (FIG. 10).
USE AND CARE
DISCONNECT ELECTRICAL POWER SUPPLY BE-
FORE SERVICING FAN.
Always unplug the fan motor before servicing the fan.
The motor bearings on this fan are lifetime lubricated
and will never need oiling.
Clean the fan blade and motor every six months by
removing the grille, unplugging the motor, and gently
vacuuming the fan blade and motor.
Clean the grille in warm, soapy water. Use a mild de-
tergent, such as a dishwashing liquid. DO NOT USE
ABRASIVE CLOTHS, STEEL WOOL OR SCOURING
POWDERS.
FIG. 10
FIG. 6
FIG. 7
FIG. 8
BLACK
WHITE
BLACK
BLACK
WHT
GROUND (BARE OR GREEN WIRE)
FIG. 9
GROUND (BARE
OR GREEN WIRE)