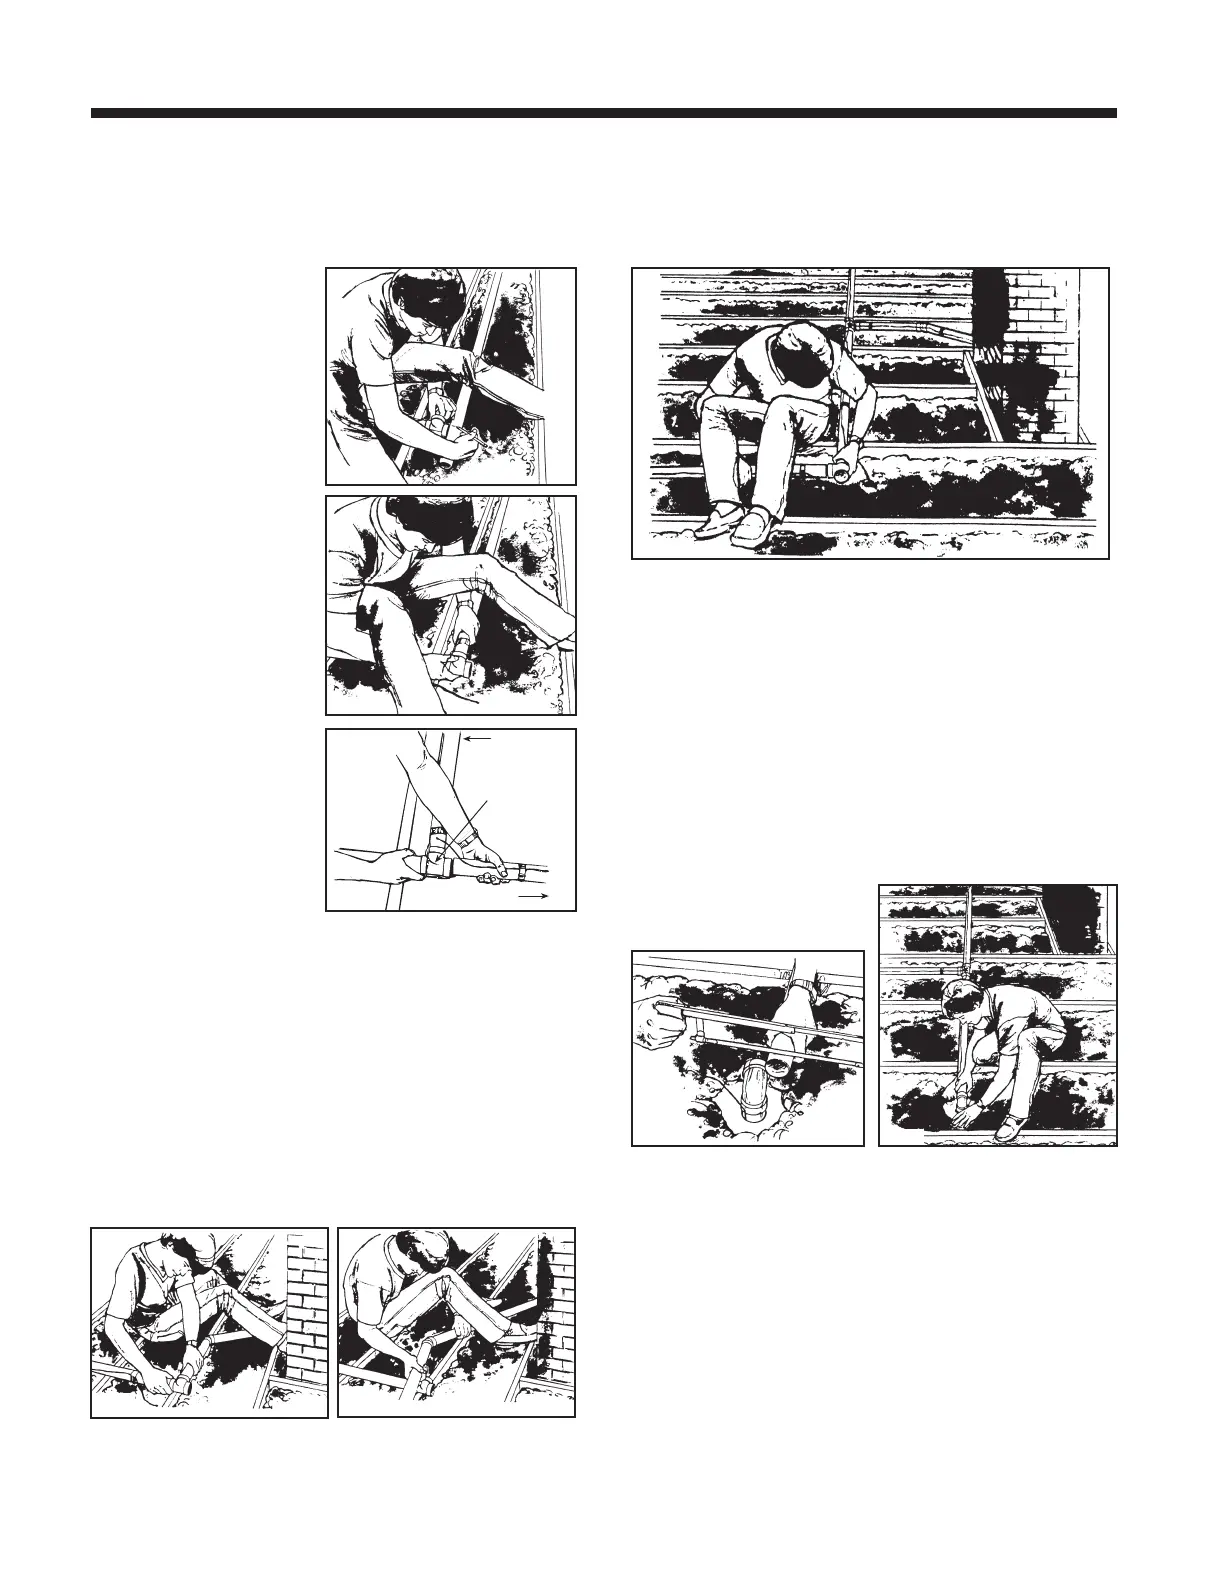
Connecting a Branch Line
A branch line connects
the inlet line to the trunk
line. Follow the methods
previously described for
aligning, marking and
cutting the inlet tubing.
Attach a 90° elbow and
run tubing from the inlet
line to the trunk line.
To align and measure the
branch line, attach a 90°
tee fitting to the trunk
line. Make sure the tee
connects with the air flow
going toward the power
unit. Align, measure, and
mark the branch line for
inserting it into the tee
fitting. Then, cut the
branch line to length and
insert it into the tee.
Check to make sure the
cut is straight and even.
Connect the next section
of tubing to the out-take
side of the tee fitting.
Continue the trunk line
until you come to another
branch line junction point.
Circumventing an Obstacle
Wherever possible the branch lines should connect to the
trunk line in straight paths. The fewer turns in a tubing system,
the more efficient air flow. Accordingly, you should locate the
inlets to avoid zig-zags in the branch lines. But, sometimes,
when you just can’t avoid an obstacle, you are required to
construct the tubing around it.
In the example illustrated here, you might run the branch line
at an angle to avoid a chimney. Then, once the branch line
has run past the chimney, you can use a 45° elbow to turn the
branch line back perpendicular to the trunk line. Again, the
branch line and the trunk line connect with a 90° tee.
You can also use a piece of flexible tubing to run a branch line
around an obstacle. See “Using Flexible Tubing,” on page 17.
Completing the Trunk Line
Continue to run the trunk line toward the power unit,
connecting all branch lines as you go along. Again, make sure
you connect all fittings with the air flow toward the power unit.
Bring the trunk line to the access hole you have drilled for the
power unit’s intake tube. Place a 90° elbow over the hole and
cut the trunk line to fit into this final elbow. Allow 5/8” (16 mm)
of tubing to fit into the elbow’s collar. Connect the elbow to the
trunk line so that it aligns over the intake access hole. You
will make the intake tube
connection itself after you
have installed the power unit.
When you are satisfied that all fittings and tubing are aligned
for maximum air flow, make sure that all your cuts are square
and that all joints are tight. Then, prepare the tubing and
cement the joints as described in “Working With Plastic
Tubing,” page 4.
Connecting the Low-Voltage Wiring
Ideally, you will run the wiring and make all the wiring
connections after you have completed the tubing system.
Of course, the inlet wiring must be run at the time the inlet
tubing is threaded through the walls.
 Loading...