32
GB
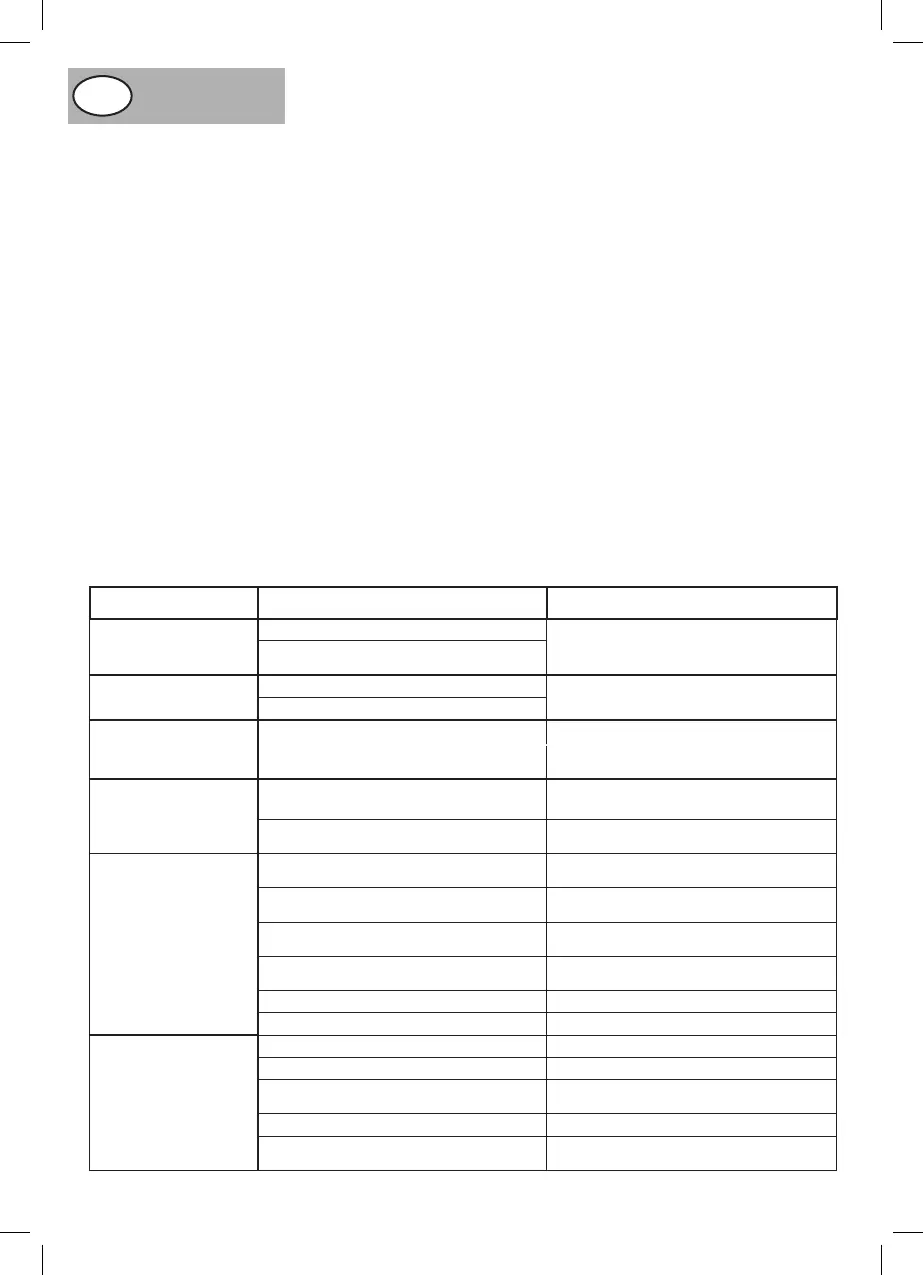
PROBLEM POSSIBLE CAUSE REMEDY
The saw will not start
Saw is not plugged in and switched on Plug in and switch on
Fuseblown,circuitbreakeror(RCD)has
tripped
Replacefuse,re-setcircuitbreakeror(RCD).
Does not make accurate
45°or90°ripcuts
Tilt stops not adjusted correctly
Check the blade using a set square and adjust
thestopcorrectly.Adjustthepointerto0°
Tilt pointer not set at accurately
The material pinches the
blade when ripping
Ripfenceisnotalignedwiththeblade. Check alignment of blade and adjust
Warpedmaterial,theedgeagainstthe
ripfenceisnotstraight.
ifrequired.Trueupunevenedge.
Select another piece of material
The material binds on
therivingknife.
The riving knife is not correctly aligned
with the blade
Check the alignment of the riving
knifeandadjustifrequired.
The blade set is narrower than the riving
knife.
Selectanotherbladeorrivingknife.
The material is kicked
backfromtheblade.
The rip fence is out of alignment
Check the alignment of the rip fence
andadjustifrequired.
The riving knife is not aligned with the blade or
notfitted.
Check the alignment of the riving knife and
adjust/fitifrequired.
Feeding the material without using the rip
fence.
Installtheripfence.
Releasingthematerialbeforethecutis
completed
Feed the material all the way through before
releasing the material
Adullblade Replacetheblade.
The mitre gauge locking knob is not tightened Secure the locking knob
The saw makes an
unsatisfactory cut
Dull blade Mountthebladethecorrectwayround.
Blade mounted backwards Fissarelalamanelsensocorretto.
Gum or pitch build up on the blade
Removethebladeandcleanwith
suitablecleanerandsteelwool.
Incorrect blade for the operation Usethecorrectblade.
Gum or pitch build up on the table
causing erratic feed
Clean the table with suitable cleaner
andsteelwool.
FAULT FINDING
andoperatingproperly.Checkthatthebladeissetto90°andat
itslowestposition.Ensurethatthetableisclearofanytoolsor
othermaterials.Ensurethatallnuts,boltsandotherfastenings
aresecure.Ifthemachinemakesanyunusualnoiseorvibrates
excessively, STOP the machine immediately and investigate the
causeandrectify.IfthecausecannotbeidentifiedNONOTuse
themachineandcontactyournearestservicecentre.
LUBRICATION (PIC.40)
Before lubricating, remove the bottom safety cover by removing
thecrossheadpanscrews.(Pic.40) Lubricate the blade tilting
operating screw and both pairs of locking and adjustment nuts
and the blade elevating threaded rod once a month using a light
machineoilorothersimilarlubricant.
MAINTENANCE
Do not make any adjustment while the motor is in motion,
Alwaysmakesurethemachinesplughasbeenremovedfrom
the mains power source before changing brushes, lubricating
orwhendoinganyworkormaintenanceonthemachine.After
each use, check your machine for damage or broken parts and
keep it in top working condition by repairing or replacing parts
immediately.Cleanoutaccumulateddust.Duringusethecarbon
brushes will wear down, this will be indicated by a possible loss
of power and excessive sparking seen through the ventilation
slots.Whenthebrusheshaveworndowntoapproximately4-
5mmtheywillrequirereplacing.Removethetworoundcover
plates, one on either side of the motor casing (Pic.41).Remove
the worn carbon brush and replace it with the new one, and
re-fittheroundcoverplate,Repeatthisoperationfortheother
carbonbrush.Replacetherectangularcoverplateandsecure
withthescrew.NOTE:Carbonbrushesmustalwaysbechanged
asapair.
WARNING
To assure safety and reliability, all repairs with the exception
of externally accessible brushes should be performed by
AUTHORISED SERVICE CENTRE or any other authorised
servicecentreororganisations.
NOTE: In all cases where electrical problems occur consult a
qualifiedelectrician.Isolatethemachineandunplugfromwall
socket before attempting to work on the machine even if the
problemseemsminor.
 Loading...